Table of Contents
Upgrading Checkpoint
Upgrading Checkpoint is a simple process that maintains your server connection and user details during the uninstallation of your current version and installation of the new release.
Download Installer
As some firewalls or security settings within your network may prohibit access to downloading the TapeTrack executable, it is always best to download the TapeTrack file before uninstalling your current version to maintain TapeTrack access.
Download Checkpoint:
Remove Current Installation
The following instructions are the suggested method for Windows 10.
If you are running another operating system, please follow the instructions for that system.
- Open the
Startmenu. - Click
Settings(Gear icon). - Click
Systemon the Settings menu. - Select
Apps& features from the left pane to display a list of all installed apps. - Select
Checkpointfrom the list by left clicking. - Click the
Uninstallbutton that appears. - Click the
Uninstallpop-up button to confirm.
Install New Release
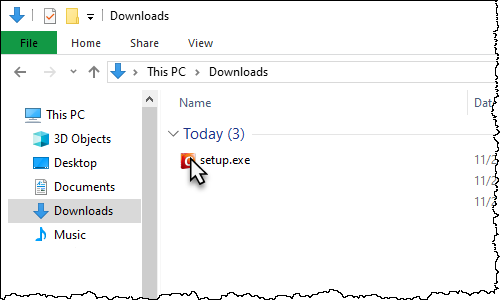
Locate the executable you downloaded, setup.exe, and double click to initiate the installation.
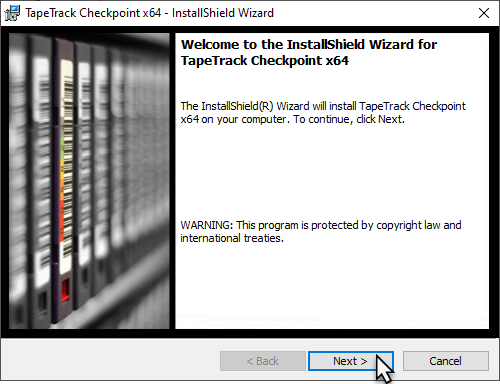
Click Next > to start the Install Shield Wizard.
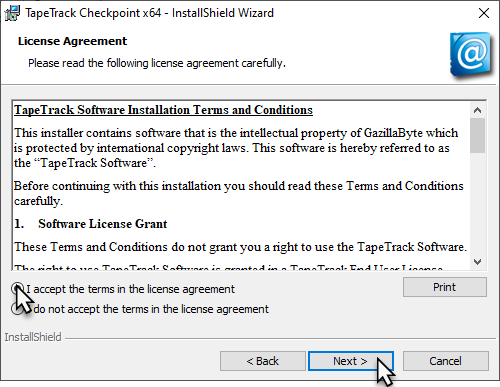
After reading and agreeing to the License Agreement click I accept the terms in the license agreement and Next > to proceed.
Complete Installation
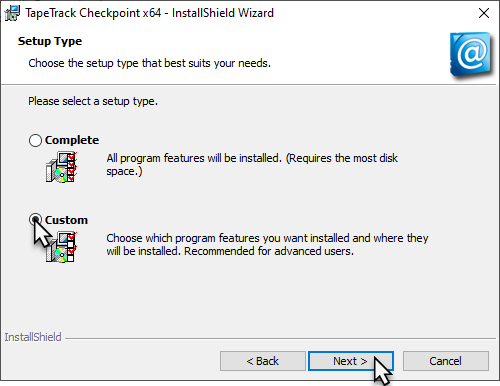
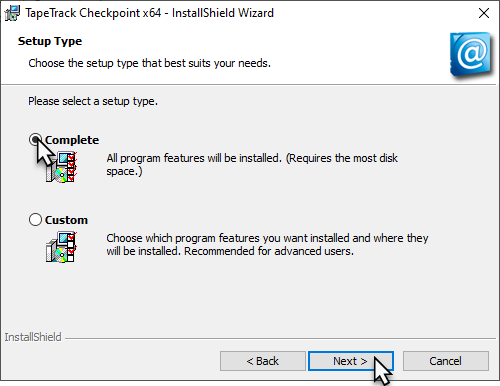
Click Complete to install Checkpoint in the standard install directory C:\Program Files\TapeTrack\TapeTrack Checkpoint and Next to continue the installation. Skip down to Start Installation.
If you wish to install in a custom directory follow instructions for Custom Installation.
Custom Installation
To install in an alternate directory, select Custom and click Next.
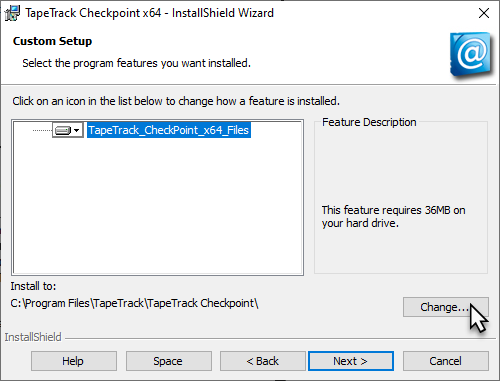
Click Change to select open the installation location window.
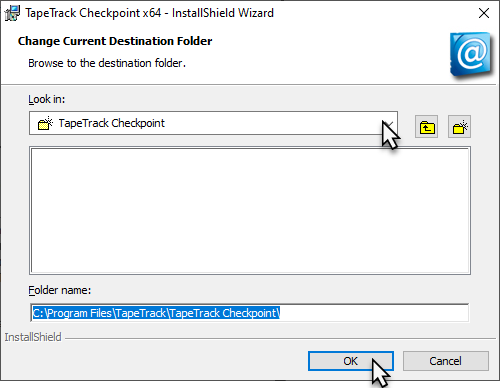
Select the desired installation location and OK to close the window.
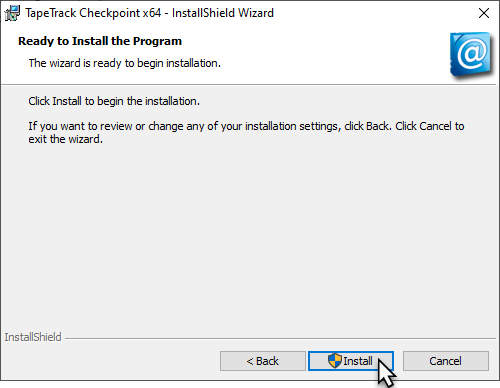
Click Next to proceed.
