Table of Contents
Upgrading TapeMaster
Upgrading TapeMaster is a simple process that maintains your server connection and user details during the uninstallation of your current version and installation of the new release.
These instructions are for upgrading TapeMaster only, such as a stand alone install that accesses a Framework Server on a remote connection.
The TapeMaster Configuration file is not removed when TapeMaster is uninstalled. This ensures any modifications to this file will remain and will be used for the next installation, provided it is installed in the same location.
Download Installer
As some firewalls or security settings within your network may prohibit access to downloading the TapeTrack executable, it is always best to download the TapeTrack file before uninstalling your current version to maintain TapeTrack access.
Download the TapeMaster executable:
Remove Current Installation
The following instructions are the suggested method for Windows 10 via the Start Menu.
- Open the
Start menu. - Scroll down the Programs and expand the TapeTrack folder.
- Scroll down and click on the
TapeTrack TapeMaster Uninstallentry. - Click
Yesto the Windows Installer popup to confirm the uninstall process.
The following instructions are the suggested method for Windows 10 via the Settings Menu
- Open the
Start menu. - Click
Settings (Gear icon). - Click
Appson the Settings menu. - Select
Apps & Featuresfrom the left pane to display a list of all installed apps. - Scroll down and select
TapeTrack TapeMasterfrom the list by left clicking. - Click the
Uninstallbutton that appears. - Click the
Uninstallpop-up button to confirm.
Install New Release
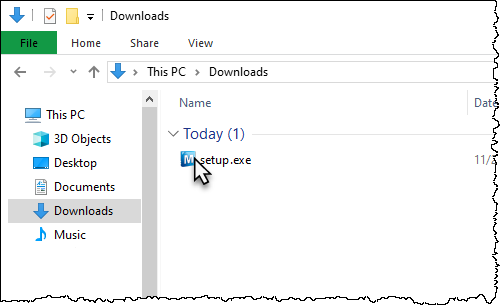
Locate the executable you downloaded, setup.exe, and double click to initiate the installation.
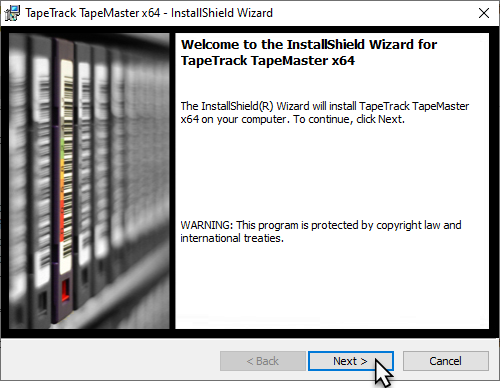
Click Next > to start the Install Shield Wizard.
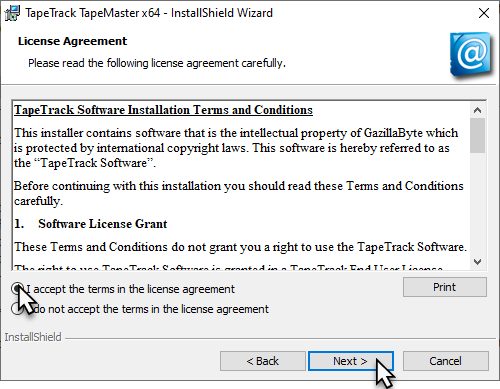
After reading and agreeing to the License Agreement click I accept the terms in the license agreement and Next > to proceed
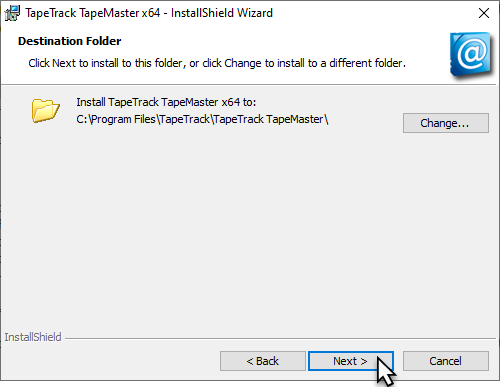
Confirm the installation directory is correct,
or click Change to select another installation directory.
Click Next > to proceed.
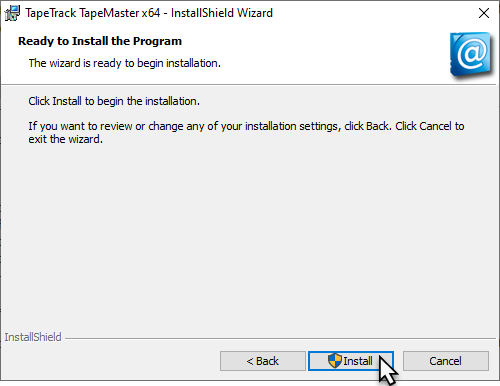
Click Install to begin the installation
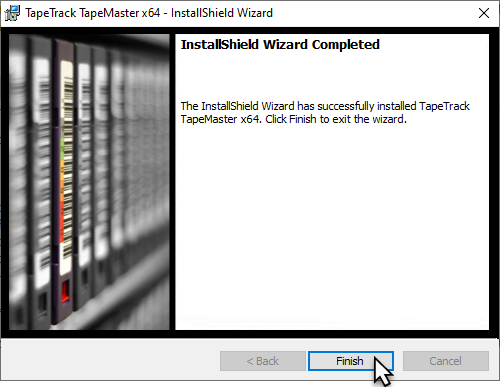
Click Finish to exit the installer.
