Table of Contents
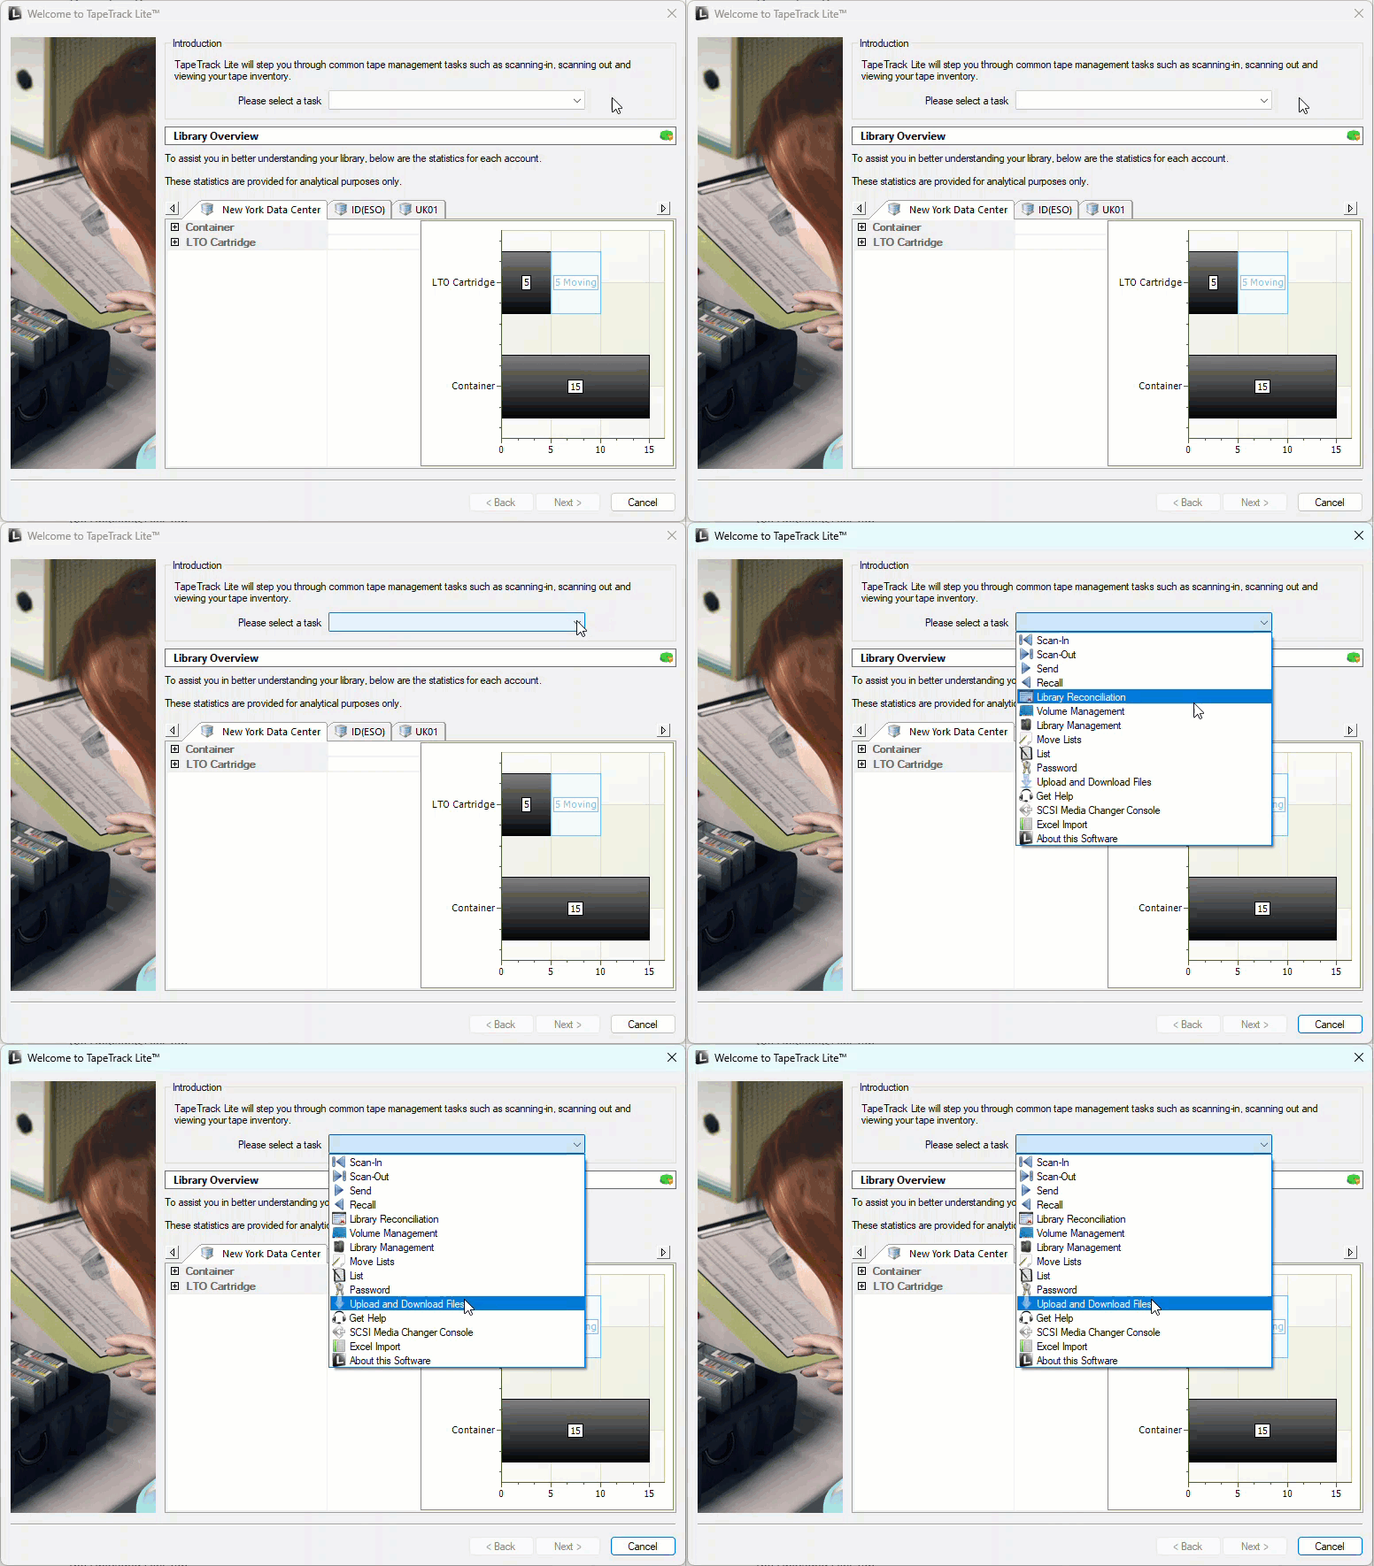
Upload and Download Files
Menu option Upload and Download Files needs to be enabled via the Lite config file
File Upload Process
Options
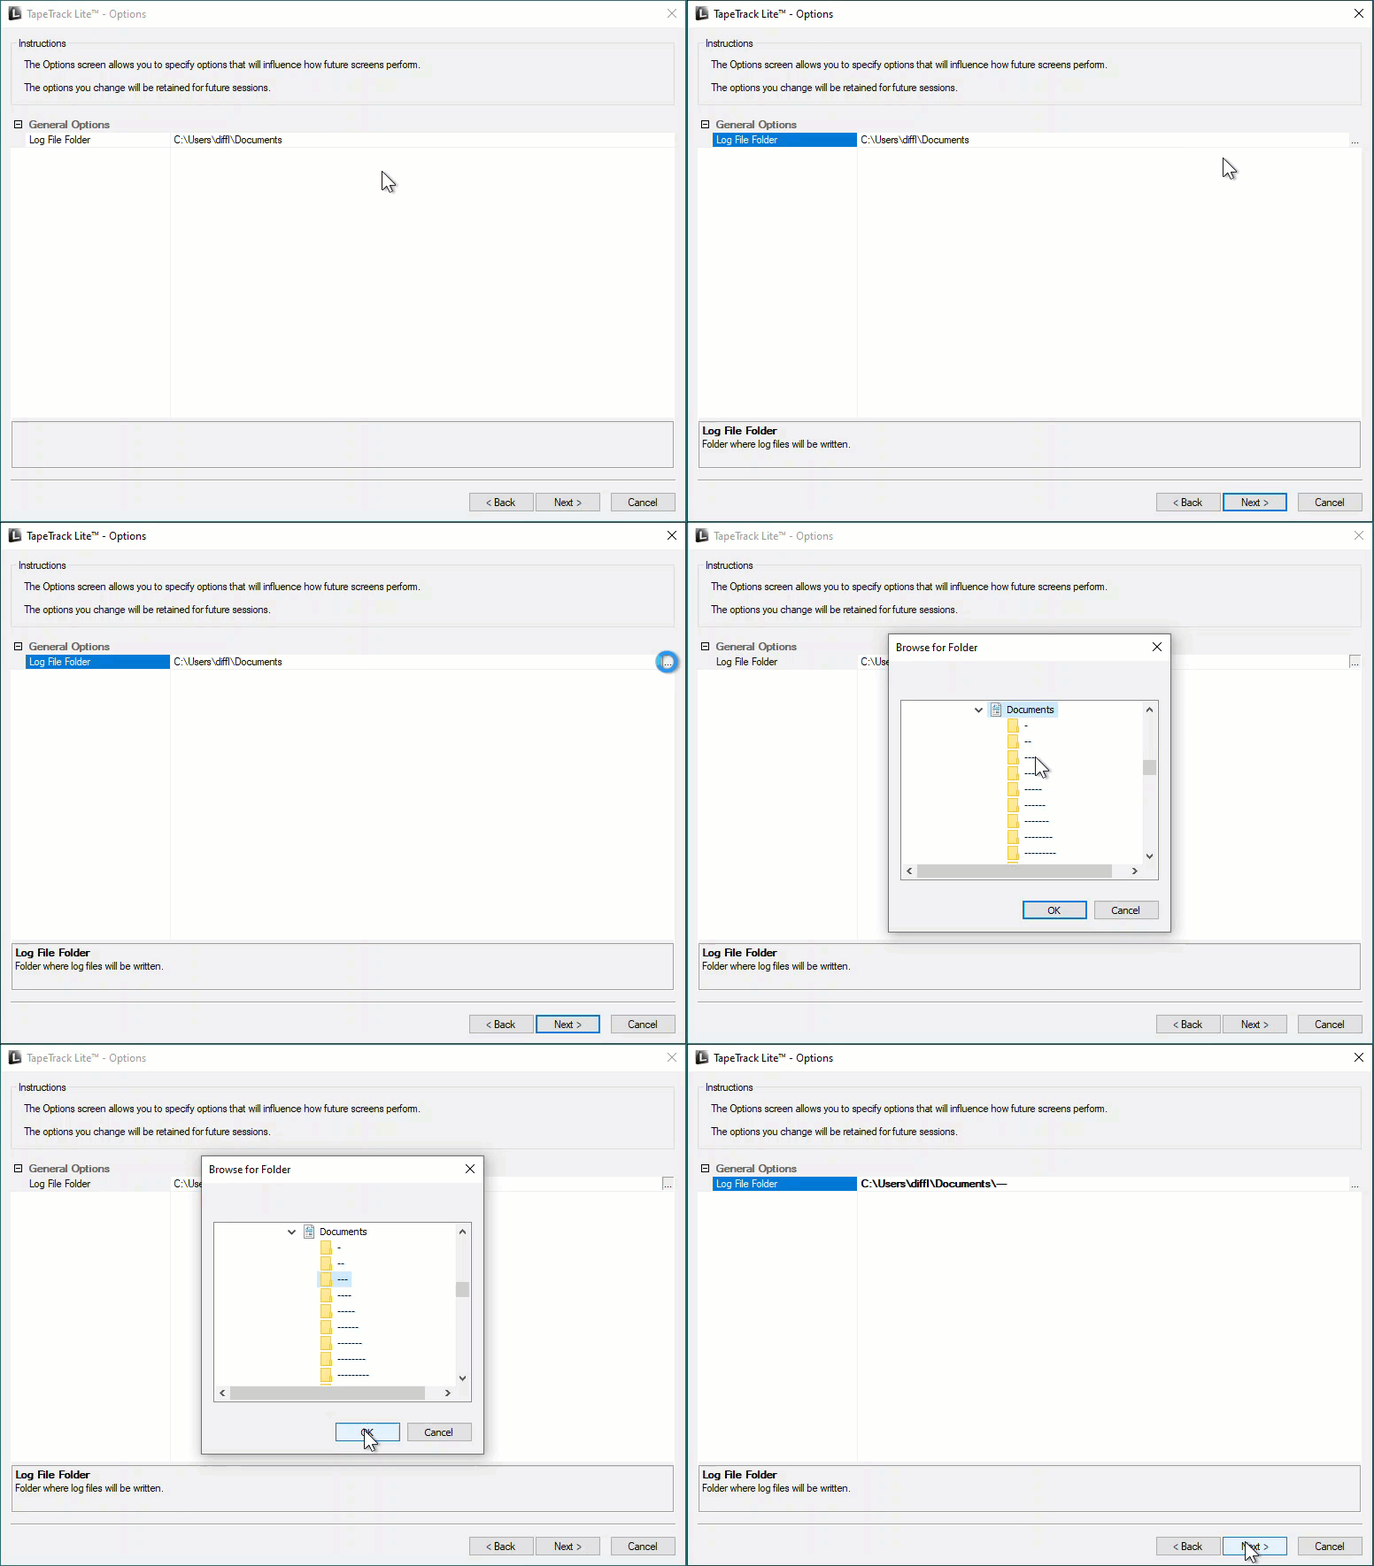
This will open the Options window. If required you can change the location for the log files to be written to, or leave the default.
To change the default directory, click in the field to the right of the Log File Folder and click on the (…) button, select the required directory and click OK to save.
Click Next to continue.
Customer Selection
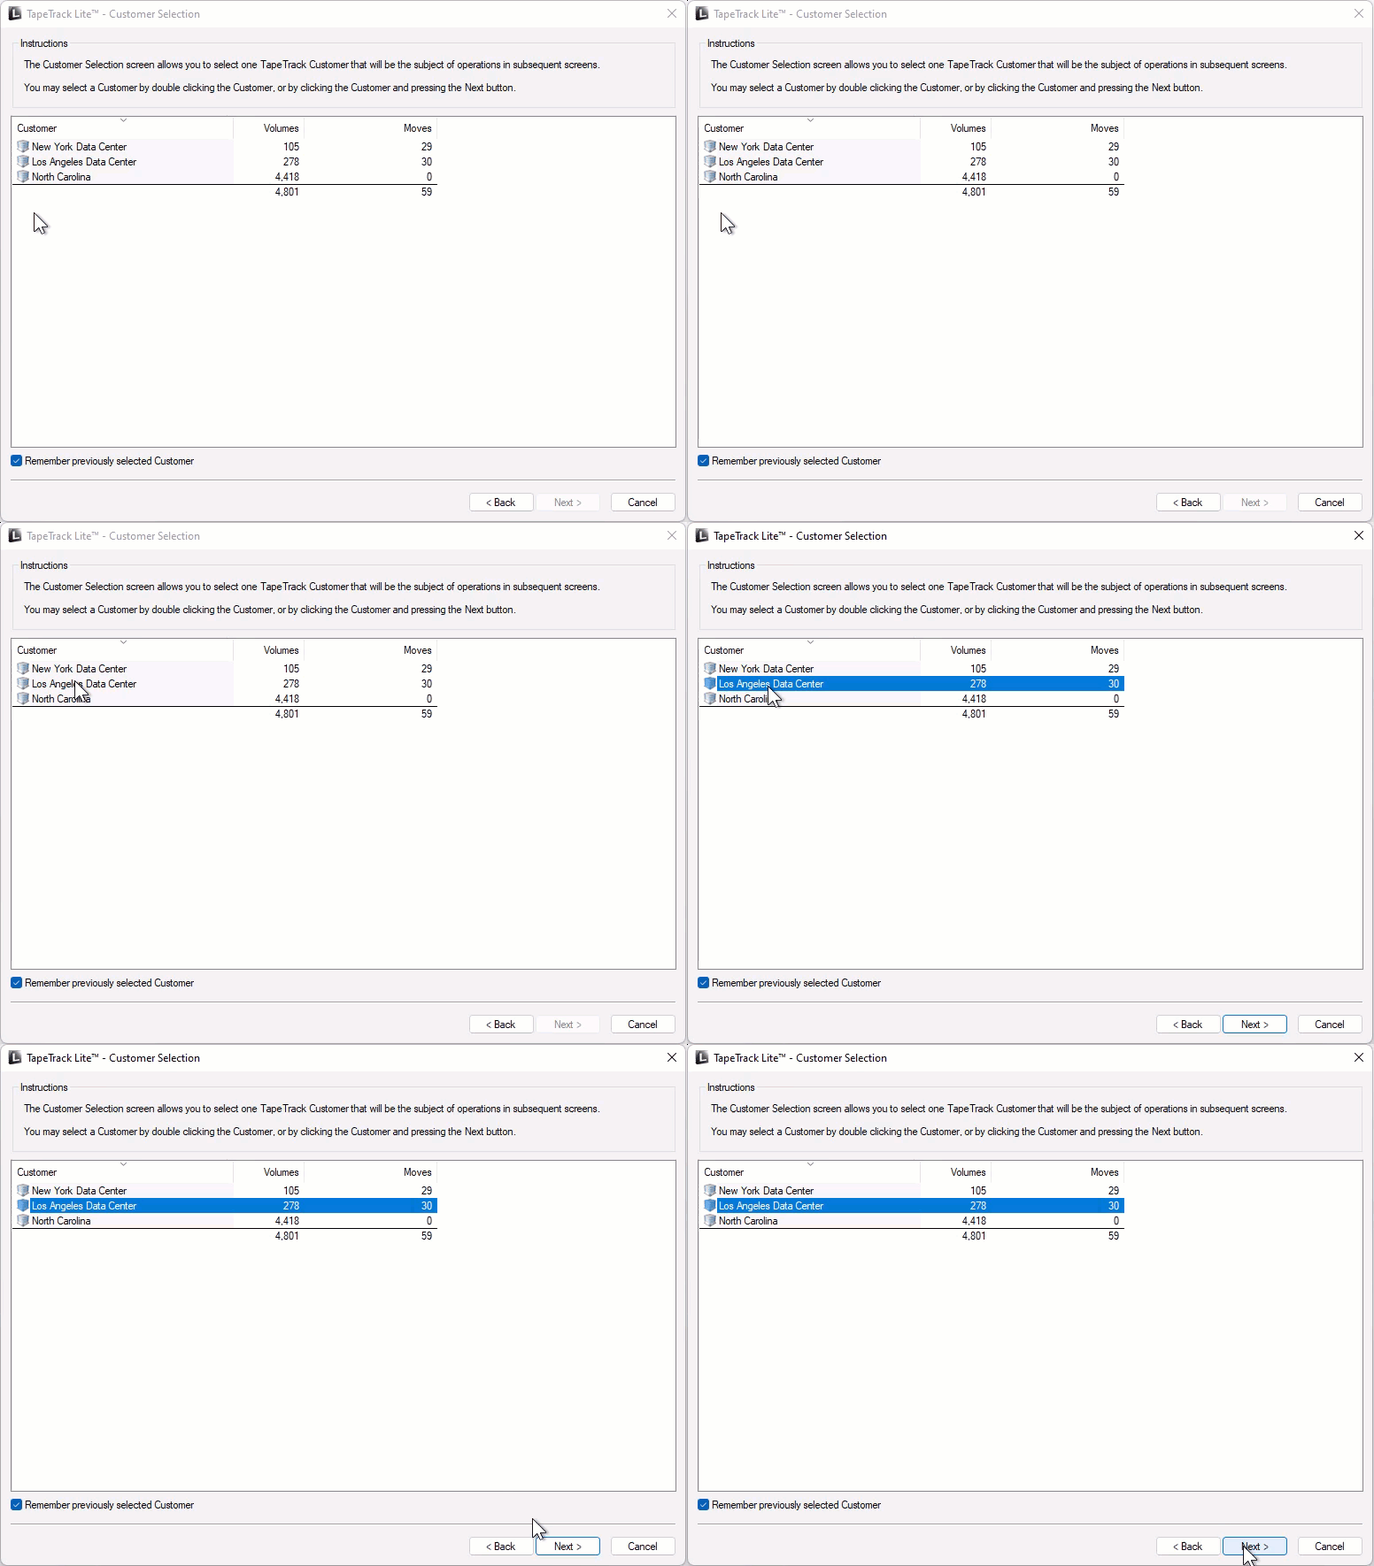
Select the Customer or account that you want to manage tapes for by double-clicking the Customer-ID or left-clicking the Customer-ID and clicking Next at the bottom of the window to continue.
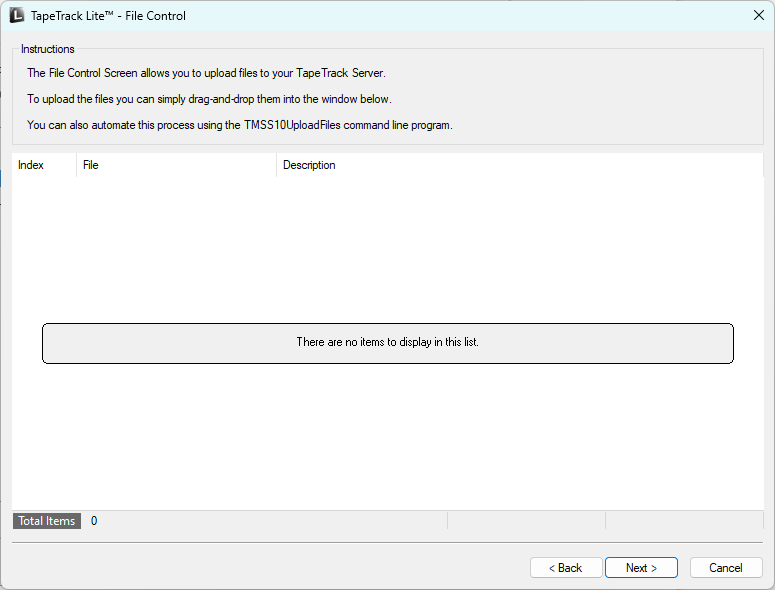
Drag selected file from Windows Explorer and drop in the main window and click Next.
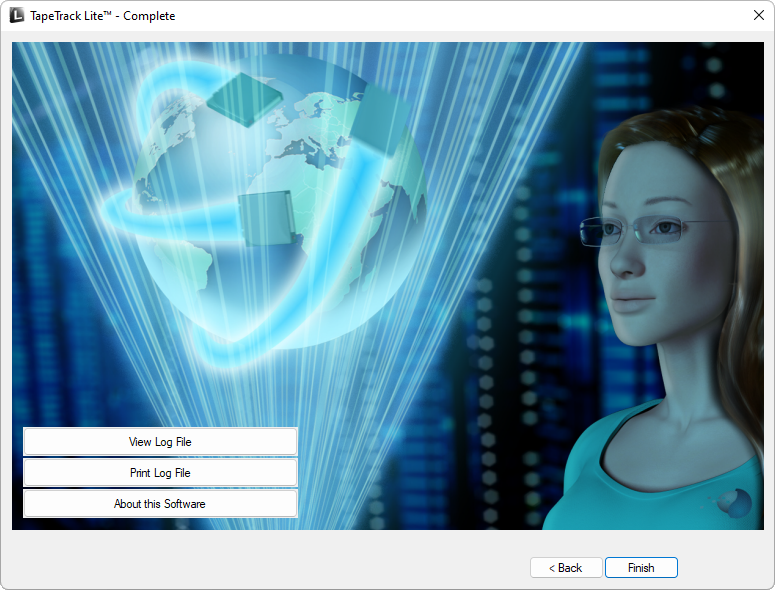
Complete
This will bring up the Complete window, from here you can:
- Click
View Log Fileto view the log file of the last completed process.. - Click
Print Log Fileto save a PDF of the log file to print from your PDF viewer. - Click
About this Softwareto view product and support (email, phone & website) information. - Click
Backbutton to return to start menu and select another task. - Click
Finishbutton orXat the top right of the window to exit TapeTrack Lite.
