Table of Contents
TapeTrack for iPhone
Installing the App
To install the TapeTrack app on your iPhone, simply click on the App Store and search for TapeTrack by Gazillabyte LLC
Alternatively a link from iTunes can be found on iTunes.
Settings
Sign-in Settings
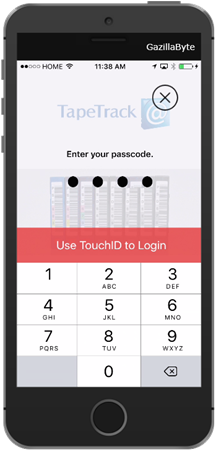
The first time you login you will be prompted to enter your 4 digit access code, on subsequent logins you have the option of the 4 digit code or using your Touch_ID sensor (if supported).
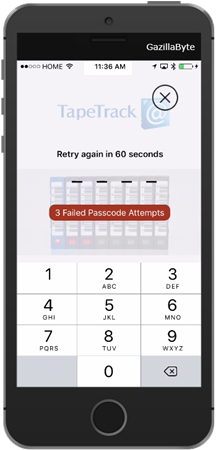
Once you have established a passcode (PIN), on future logins entering an incorrect PIN 3 times will lock you out for 1 minute. Subsequent incorrect login attempts will increment the lockout time.
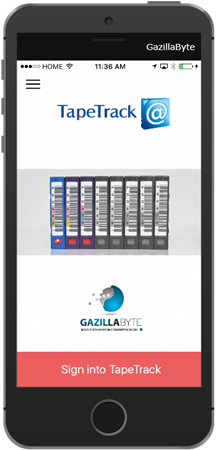
In the event you have forgotten your passcode, you can reset the pin using the Reset PIN button on the Sign-in Settings screen by selecting the ≡ button from the splash screen.
TapeTrack menu icon at the top.
Click on Sign-in Settings.
From the Sign-in Settings screen, select the Reset PIN button to enter the Reset Pin screen.
Enter your new PIN, re-enter your PIN in the Confirm PIN field and select Reset PIN. You will receive a confirmation popup stating your pin has been updated. You will now need to re-enter your adapter settings to connect with your Server.
Adding Adapter
To make a connection with your Server you will first need to add an adapter.
Select settings (gears icon) from the menu icons at the bottom of the screen.
Click Add at the top right of the screen to add an adapter.
An adapter can be added by either scanning a QR code supplied by GazillaByte, or by manually entering the details in the lower fields.
To manually add adapter details:
- Enter a descriptive name for the connection.
- Add the adapters URL.
- Enter your User-ID.
- Enter your password.
Click Save in the top right corner to add the adapter to the app.
Deleting Adapter
Select settings (gears icon) from the menu icons at the bottom of the screen.
Select Server to delete
Scroll down until you see the button Delete Server and click it.
Click Delete to confirm deletion. This will remove Server and return you to the settings screen.
Functions
List Options
The List screen will display your Libraries and their contents.
Scan options
There are 4 reasons why somebody would want to scan a tape with this App, and it is often different people who are scanning.
Move
Scan to Move: This is done by the tape owner who wants to tell the software that certain tapes have to move from one location to another.
This will place the tape in a “move status”.
Pickup
This is done by a courier. The purpose of this is so that they know they have picked up the right tapes. If an unexpected tape is picked up or a tape is missing from the expected list there will be a warning displayed on the screen. Once this step has been completed the tapes will be marked as “picked-up”.
Confirm
Once the tapes are confirmed at their location it will tell the system that the tapes have been returned. This takes the tapes out of a “move status”.
Audit
An Audit allows you to scan what you have and it will tell you if you have any tapes that you should not, or if any are missing. Tapes that are missing are flagged as audit failed on the system and as passed audit if they are where they are supposed to be.
Log
The Log screen will show all activity from the current session.


