Table of Contents
Adding New Volumes
Adding new Volumes to Tapetrack can be accomplished using one of two methods.
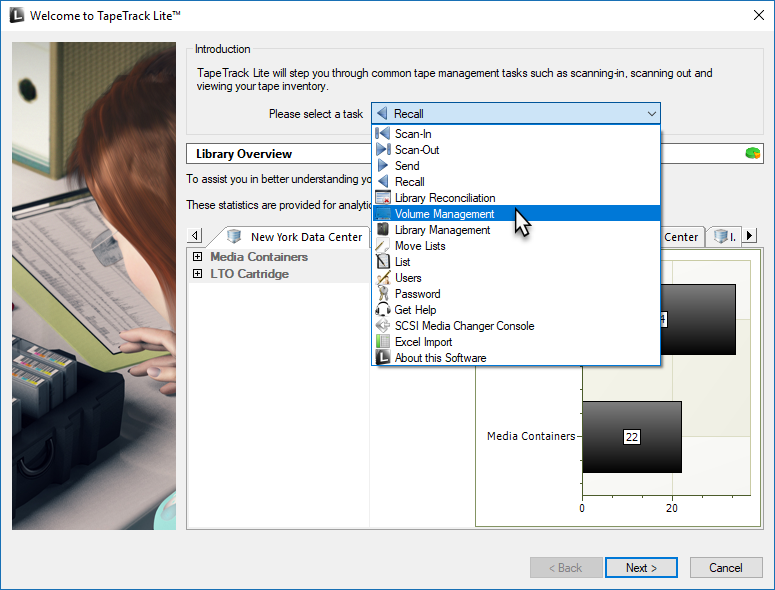
Adding New Volumes Using Volume Management
Options
This will open the Options window. If required you can set the location for the log files to be written to, or leave the default.
Click Next to continue.
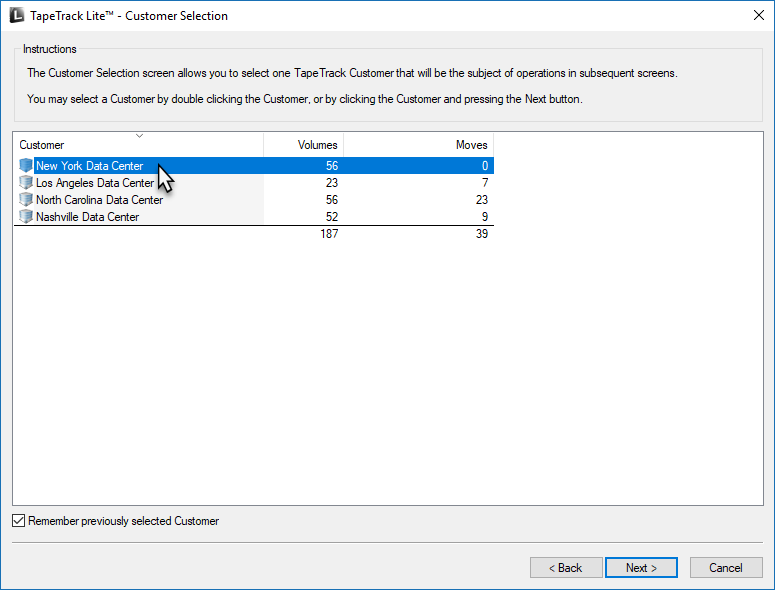
Selecting a Customer
From the Customer Selection window select a Customer that the new Volume/s are to be added to by double-clicking a Customer or selecting a Customer and clicking Next.
Selecting A Media Type
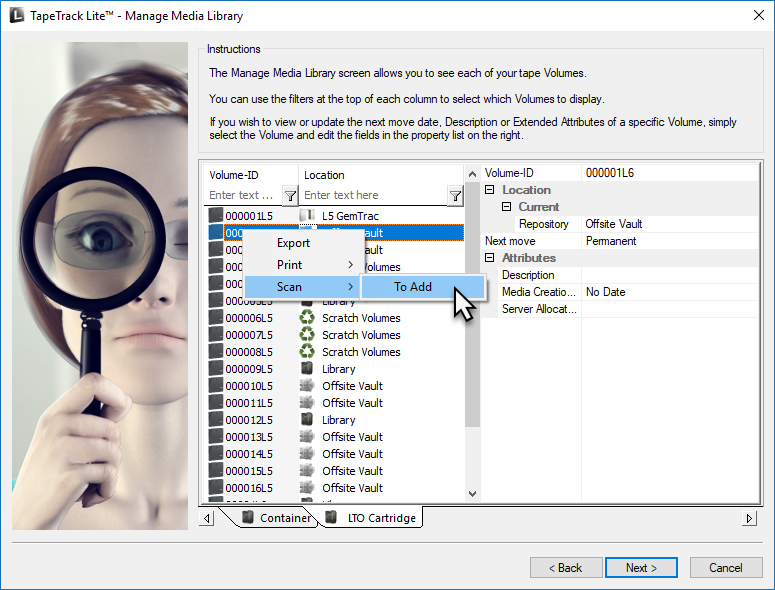
Select the correct Media Type from the tabs at the bottom of the Manage Media Library window.
Adding New Volumes
Right-click in the Inventory window and select Scan → To Add.
Scan in the new Volumes into the Scan-In window using a your preferred scanning method
When all new Volumes have been scanned close the Scan-in window by clicking X.
Click Next to exit the Volume Management process.
Complete
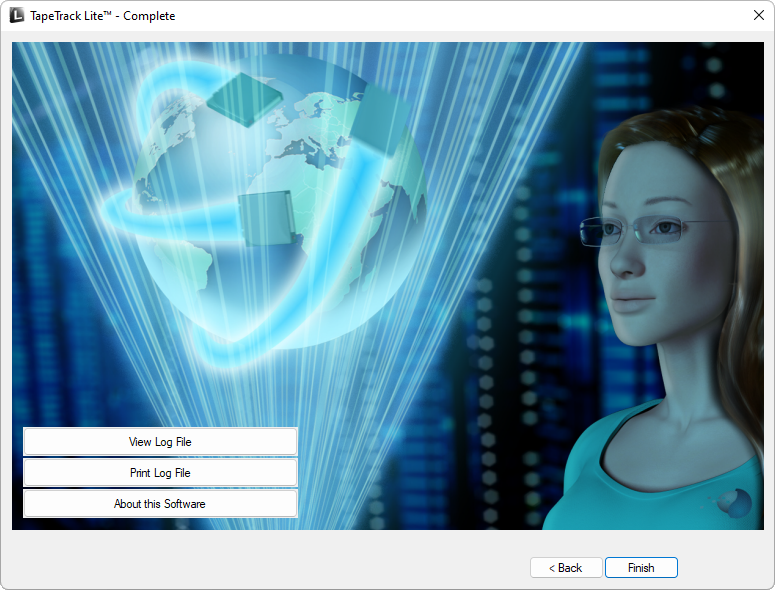
This will bring up the Complete window, from here you can:
- Click
View Log Fileto view the log. - Click
Print Log Fileto print out the log file for further reference. - Click
About this Softwareto view product and support (email, phone & website) information. - Click
Backto return to start menu and select another task. - Click
Finish,CancelorXto exit TapeTrack Lite.
Adding New Volumes Using Send
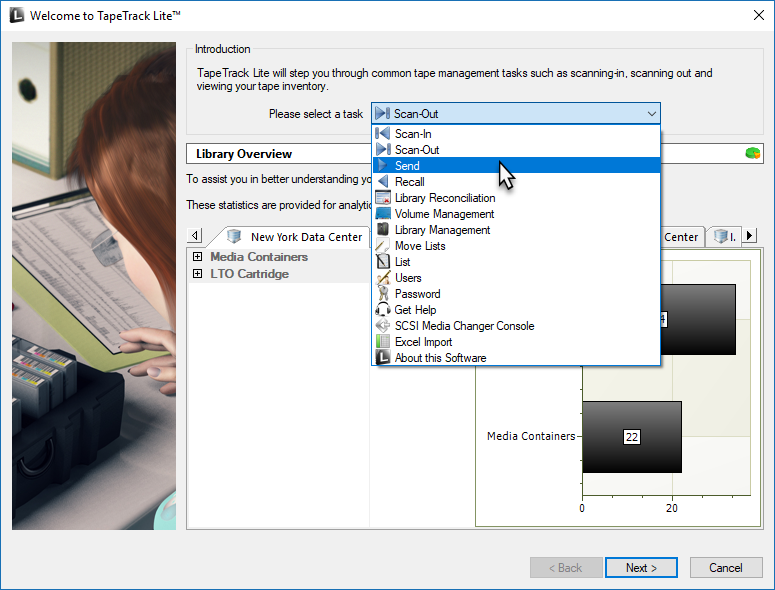
Using Send to add new Volumes is only recommended when the new Volumes are part of a consignment being sent already. If just adding new Volumes to the inventory using Volume Management is the correct method.
Send
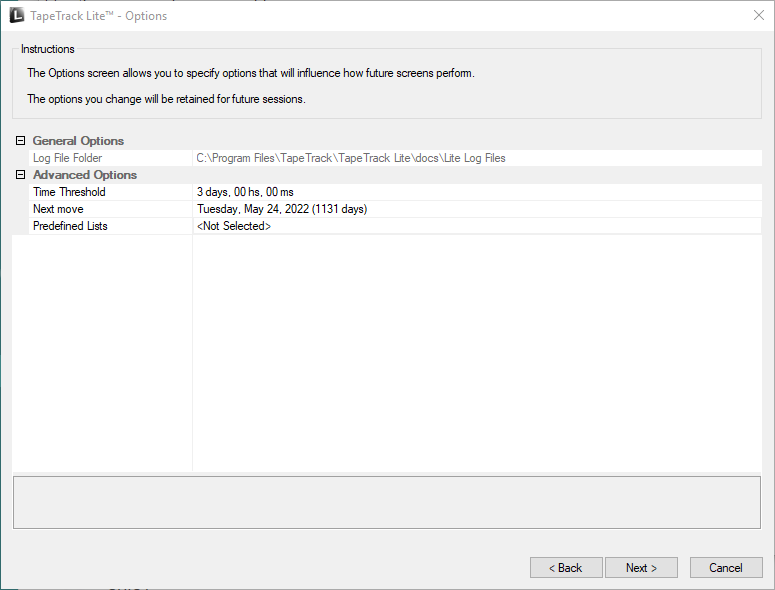
Options
Notes:
- A If required you can set the location for the log files to be written to, or leave the default.
To change the default directory, click in the field to the right of theLog File Folder, click on the more options button(…)and select the preferred directory. - B Under
Advanced Options:
Scanning to add Volumes
This opens the Scan and Modify window which, by default, opens the Scan To Add Volumes window.
Scan out the required Volumes using your preferred scanning method.
When all Volumes are scanned in, close the Scan To Add Volumes window by clicking X at top right of window.
Setting New Volume-ID's
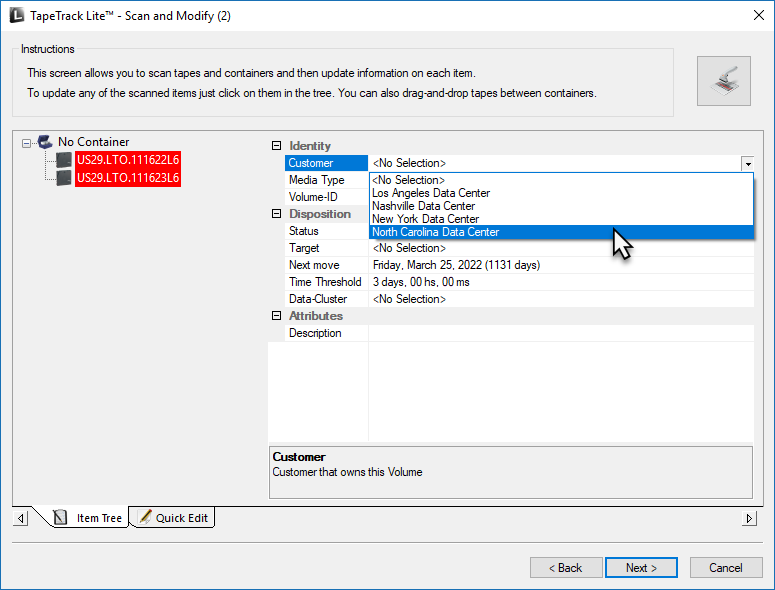
Select new Volume by clicking on it to display the Attributes in the right of the window
Select, in order, the correct Customer-ID, Media-ID from the identity section.
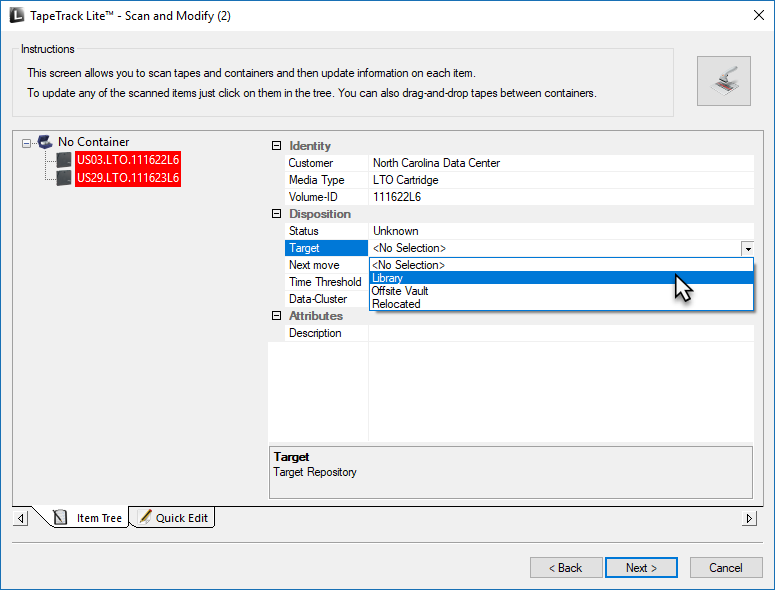
From the Disposition section, set the Target Repository, Next Move and Data Cluster (optional) to the required values.
Repeat for each new Volume.
Click Next to continue.
Adding Extended Attributes
If you have extended Attributes set for the Media type the new Volumes were added to, the Modify Extended Attributes window will be presented.
Clicking in the field to the right of each extended Attribute, you can type in the relevant values. Click Next to continue.
Complete
This will bring up the Complete window, from here you can:
- Click
View Log Fileto view the log file of the last completed process.. - Click
Print Log Fileto save a PDF of the log file to print from your PDF viewer. - Click
About this Softwareto view product and support (email, phone & website) information. - Click
Backbutton to return to start menu and select another task. - Click
Finishbutton orXat the top right of the window to exit TapeTrack Lite.

