Table of Contents
Modify Assign Container
Assign New Container/No Container is used to add or remove volumes from Container assignment.
Adding Volumes To Container
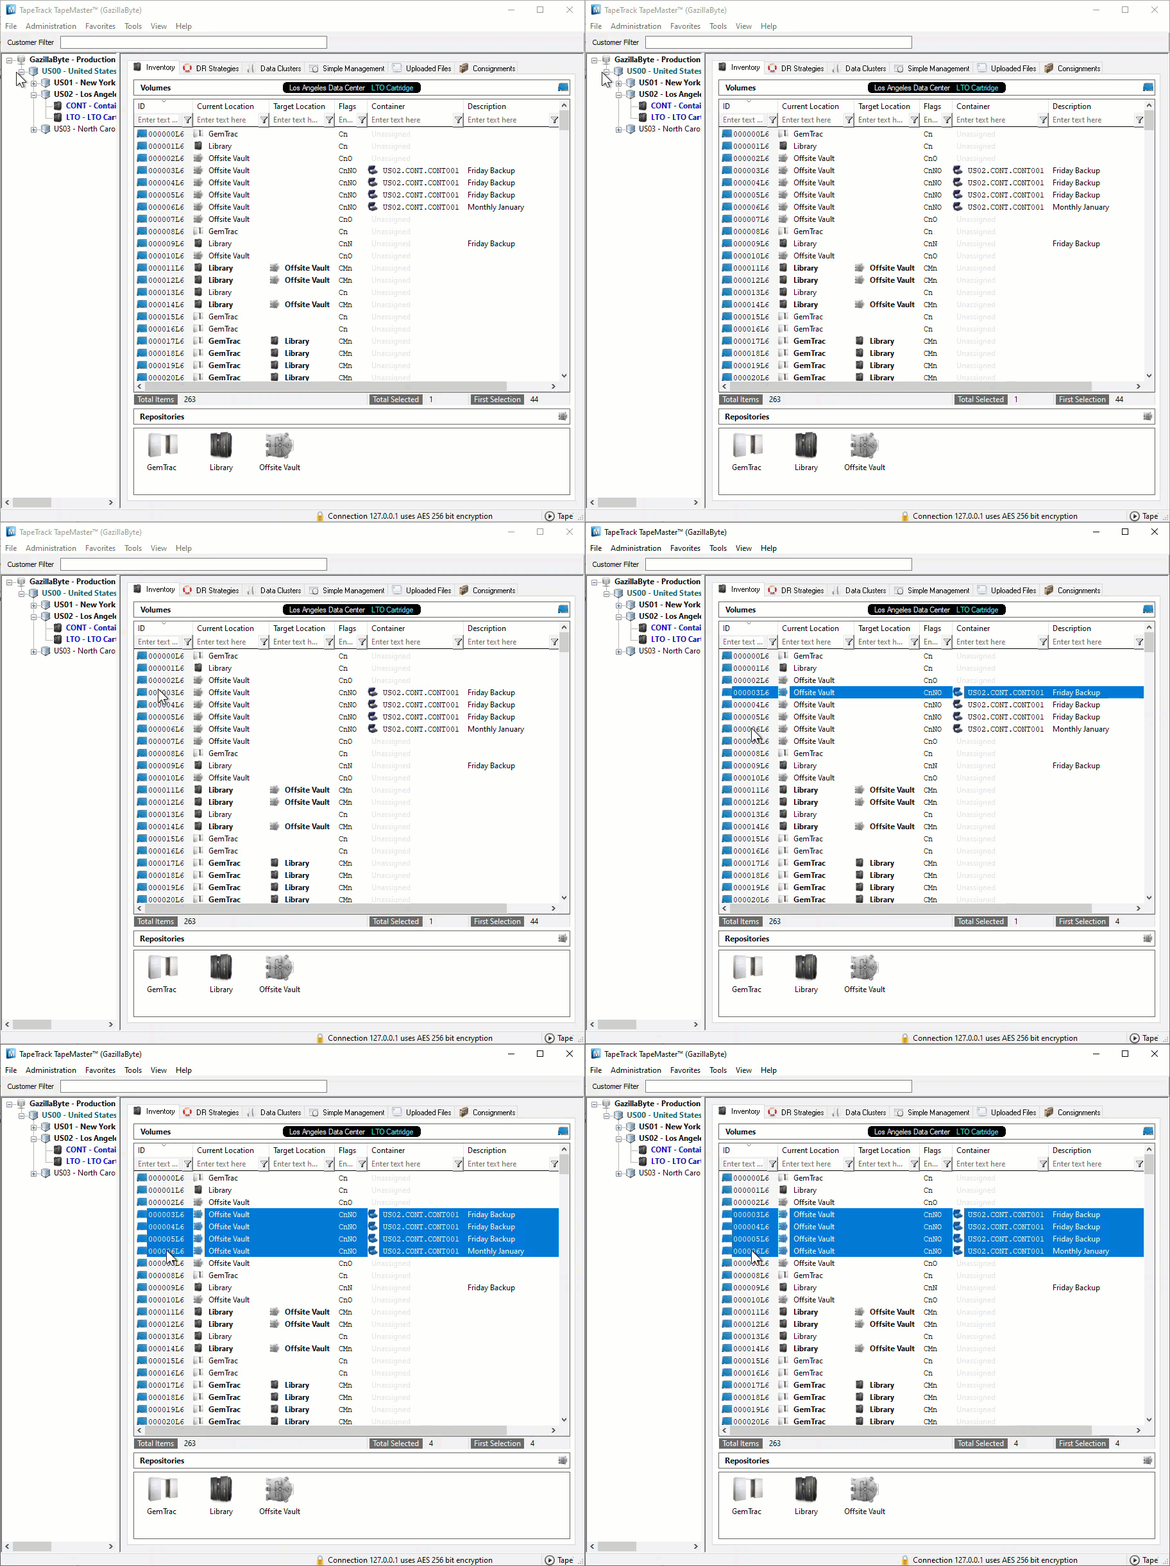
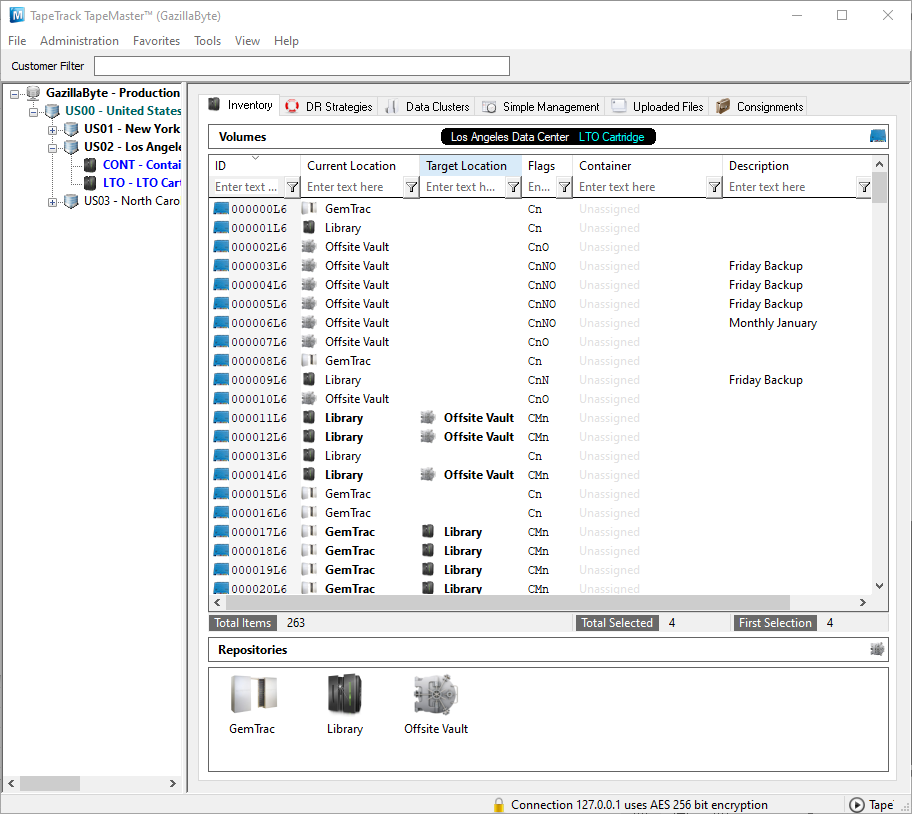
Select a volume or range of volumes (Shift+Click and or Ctrl+Click) from the inventory window to assign to a Container.
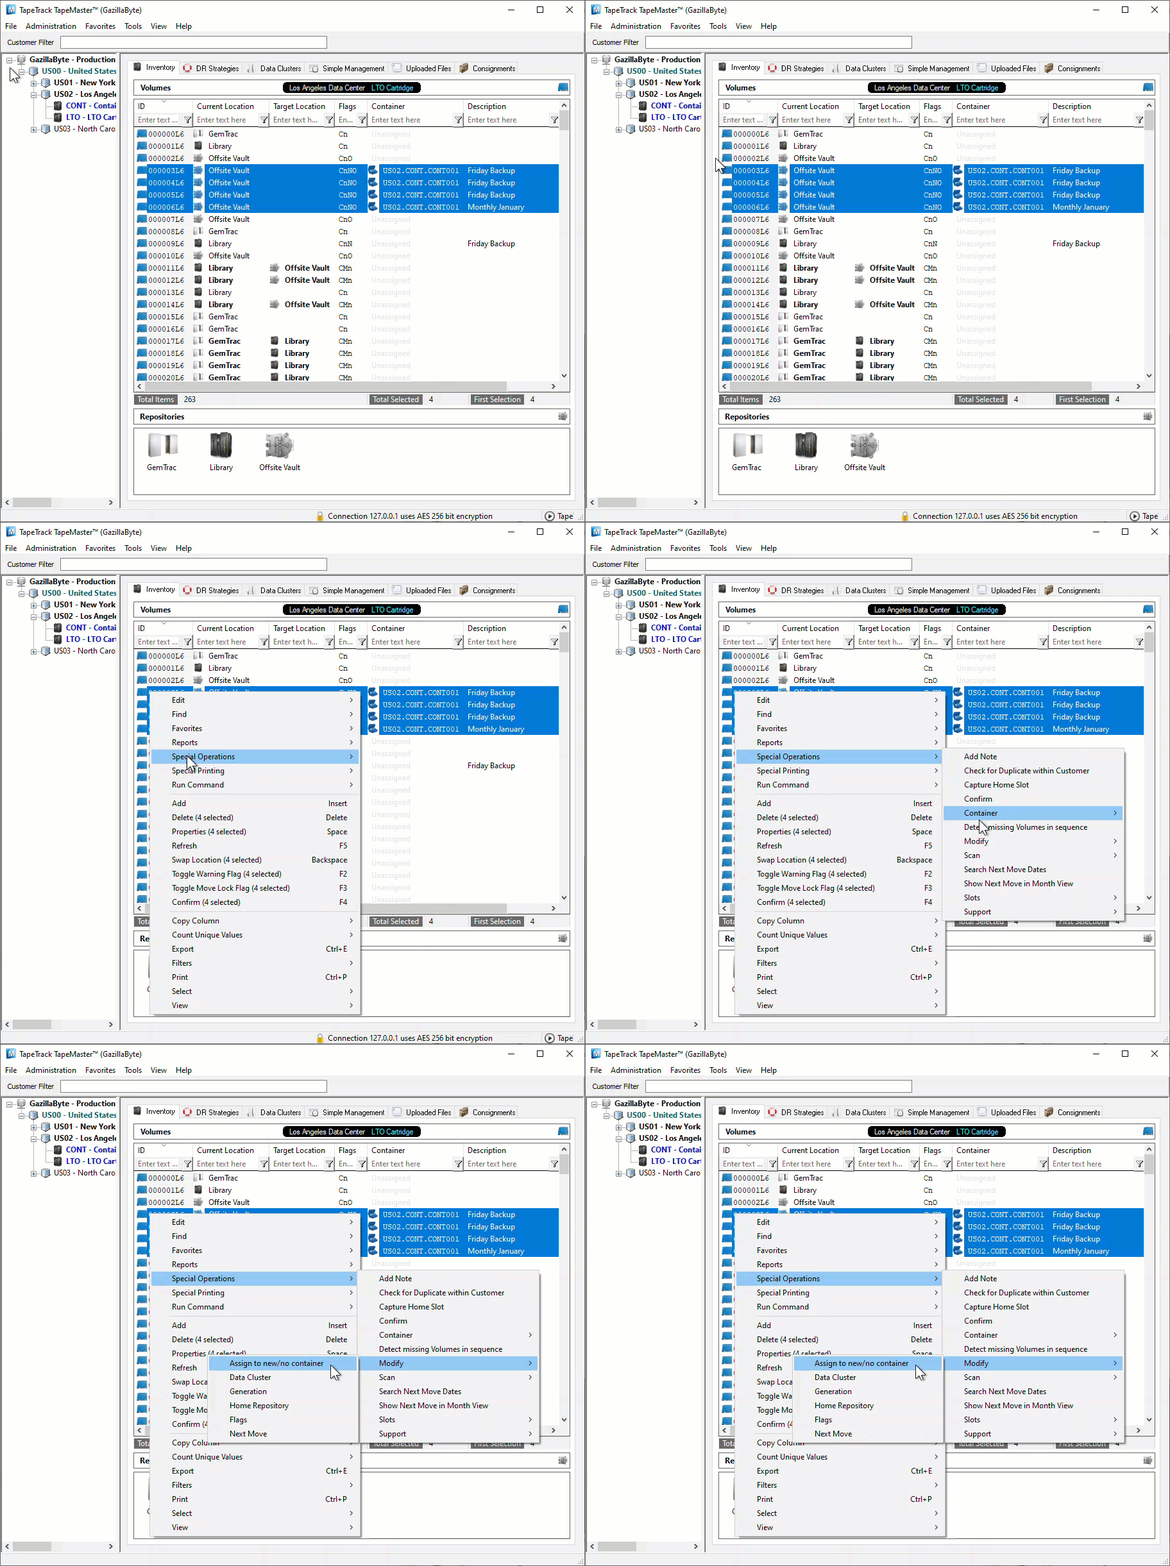
Right-Click highlighted volume/s and select Special Operations→Modify→Assign to new/no Container.
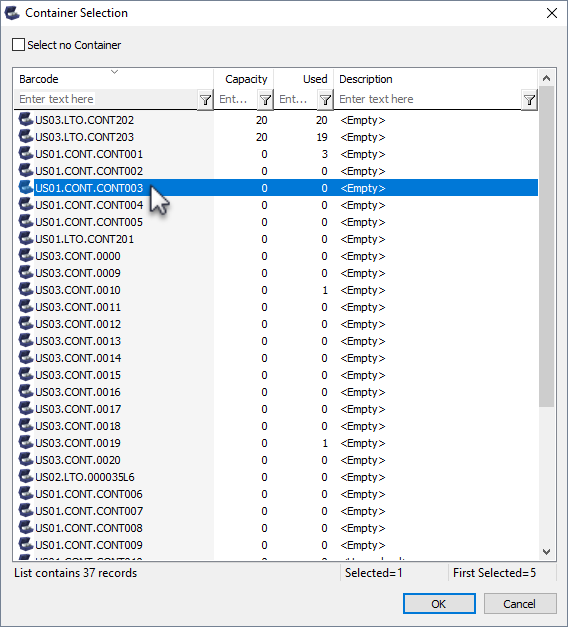
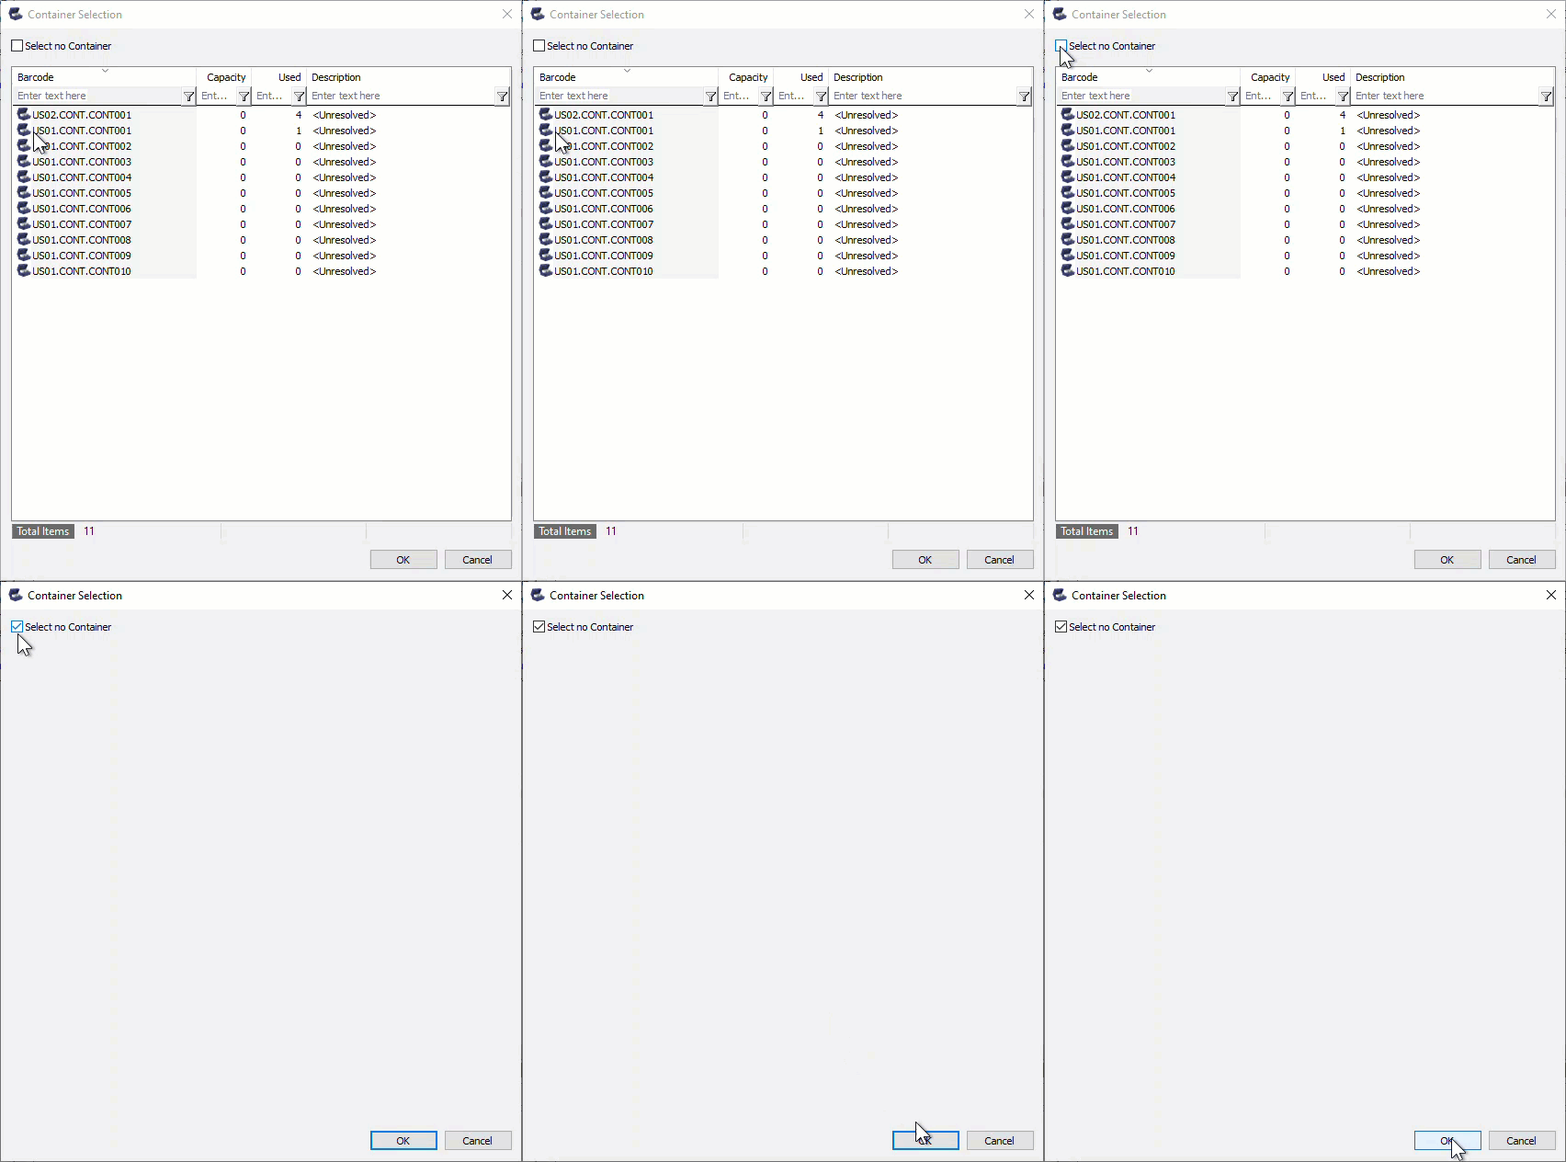
Select the required Container from the displayed list and click OK.
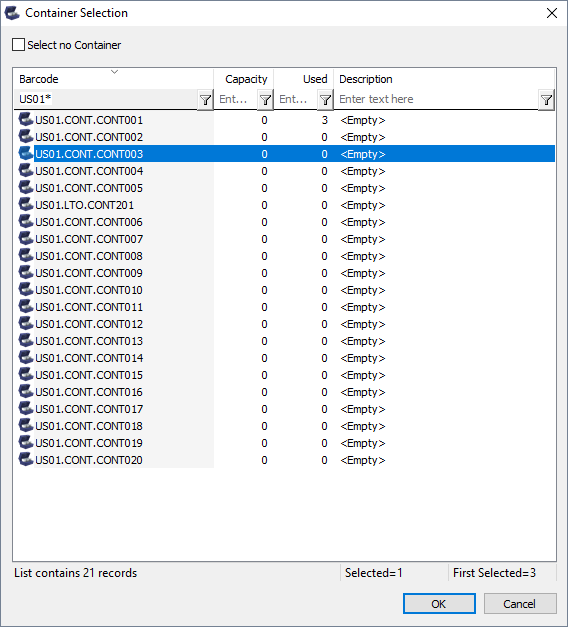
If you have a large quantity of Containers for multiple customers, filtering results on barcode values (e.g. US01* for all US01 Containers) can simplify the selection by removing unwanted Containers from the display.
Other filters, Container capacity, Container content quantity (ie. use 0 for empty Containers) or description can also be used to narrow results for Container selection.
Click OK to save results and exit back to the inventory window.
Remove Volumes From Container
Remove Volumes Via The Volume Media Inventory Window
Select a Volume or range of Volumes (Shift+Click and or Ctrl+Click) from the Inventory window to remove from Container/s. Volumes assigned to different Containers can be selected and removed at the same time, there is no need to handle one Container at a time.
Right click on the highlighted Volumes and select Special Operations > Modify > Assign to new/no Container
From the Container Selection window check the Select No Container checkbox at the top left. This will remove the displayed Containers.
Click OK to remove the Volumes from the assigned Containers and exit back to the inventory window.
TapeMaster will now display the Volumes with no assigned Containers.
Remove Volumes Via The Container Media Inventory Window
Purge Container Contents
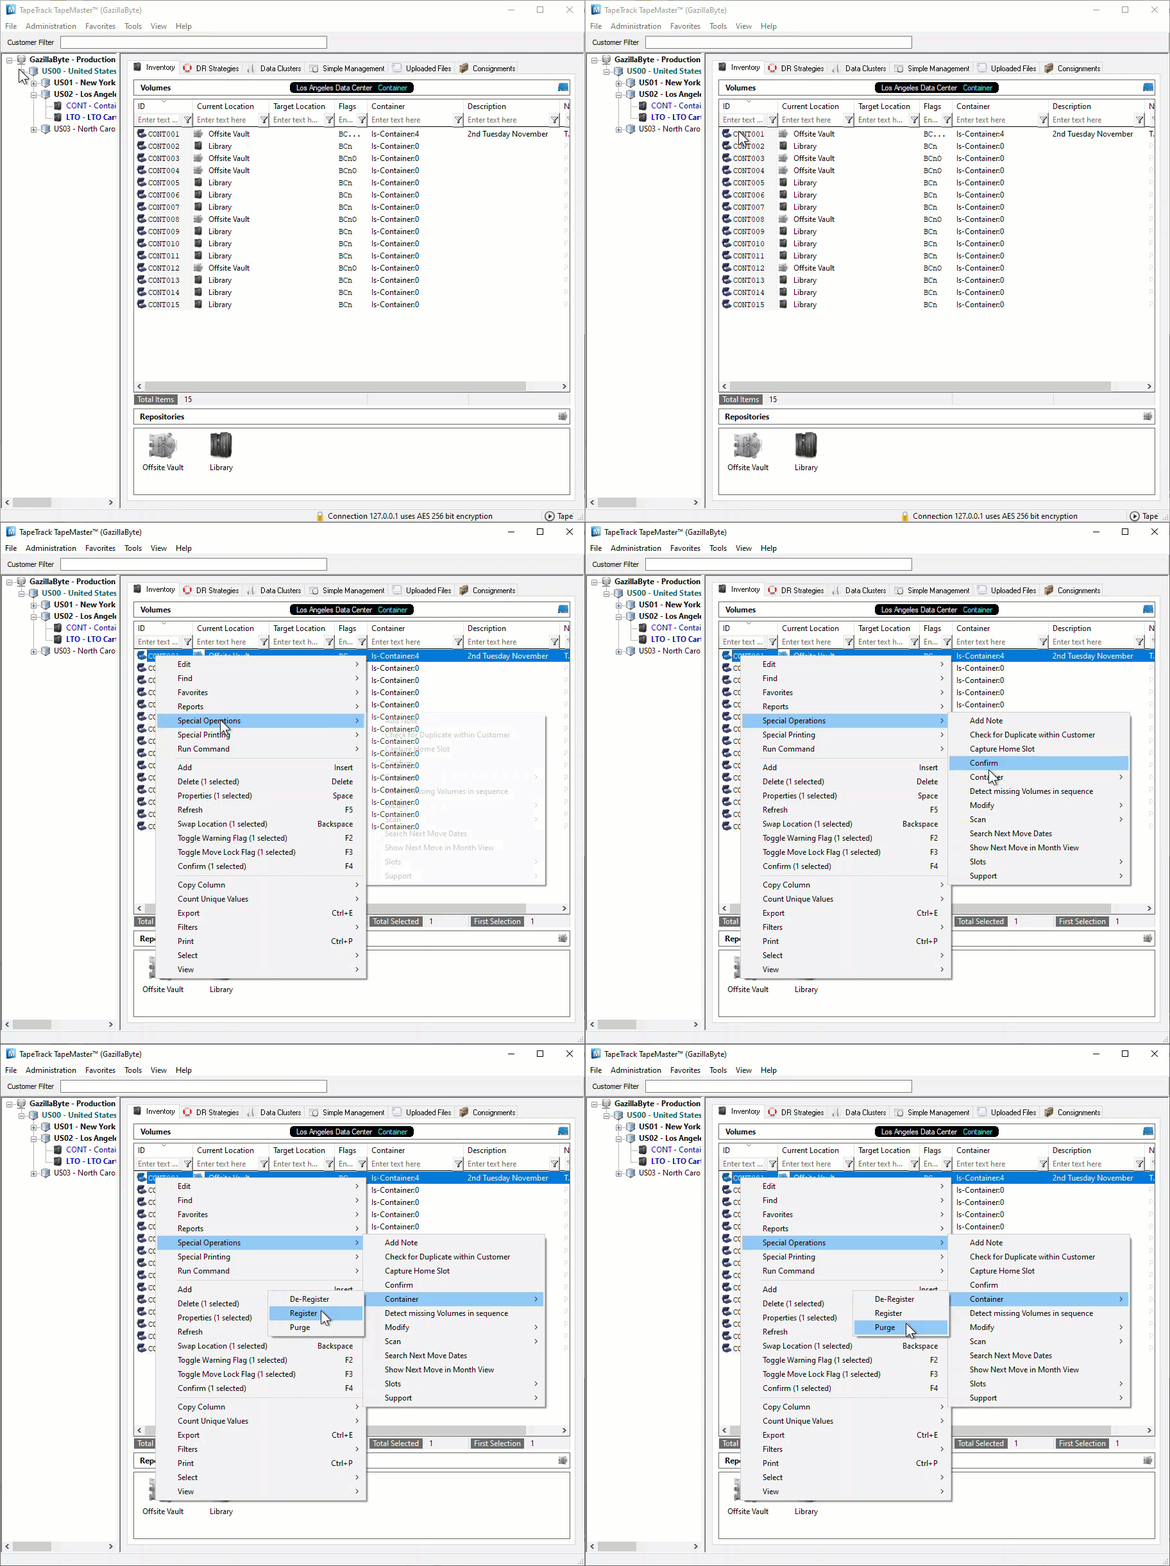
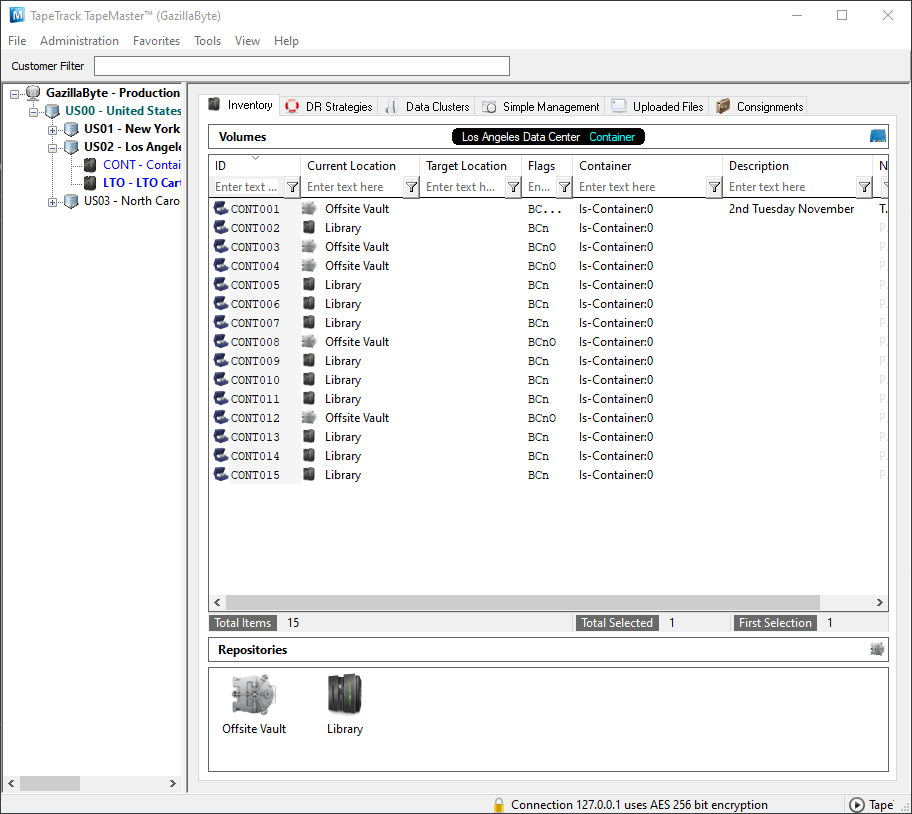
Right click on the Container you want to remove the Volumes from and select Special operations > Container > Purge.
Multiple Containers can be purged together by selecting them, using Shift+Click or Ctrl+Click, before right clicking and selecting Special operations > Container > Purge.
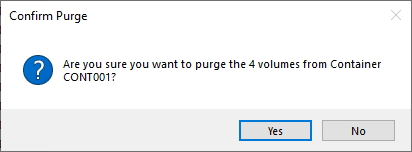
Then click Yes to Confirm purge popup.
TapeMaster will now display the remaining Container contents, in this example as 0 as all Volumes were removed.
Remove Volumes Via The Container Properties Contents Tab
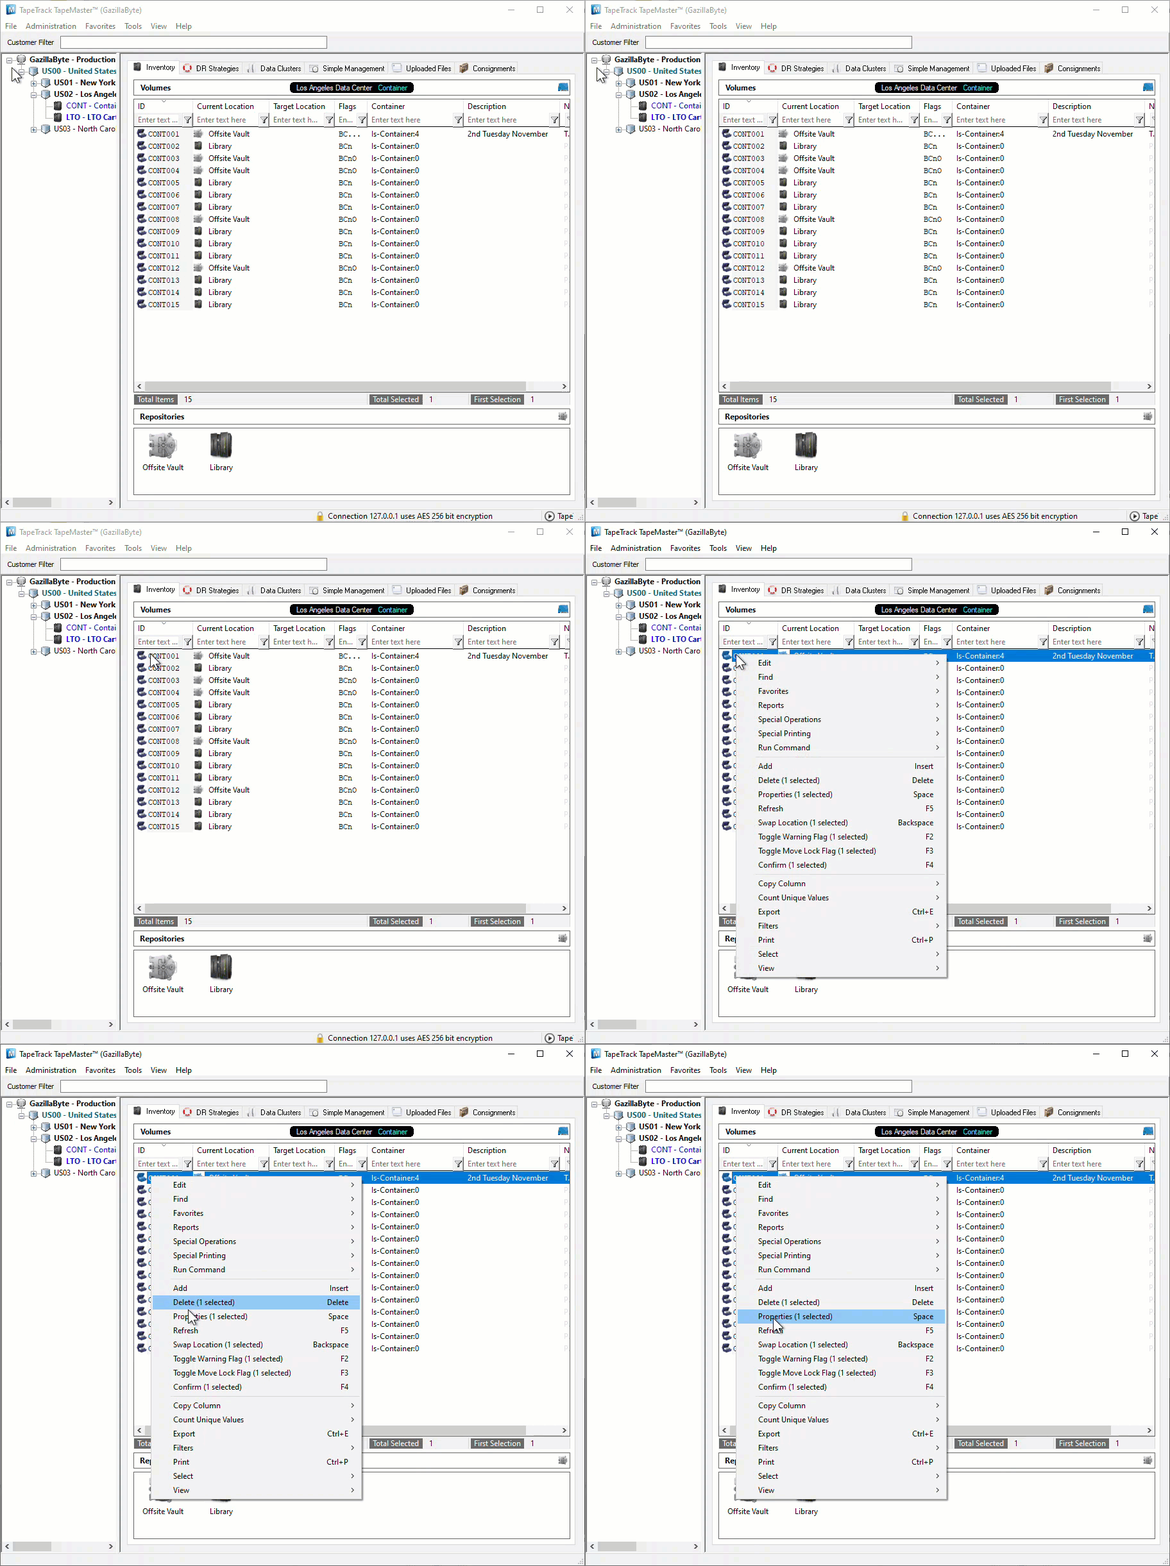
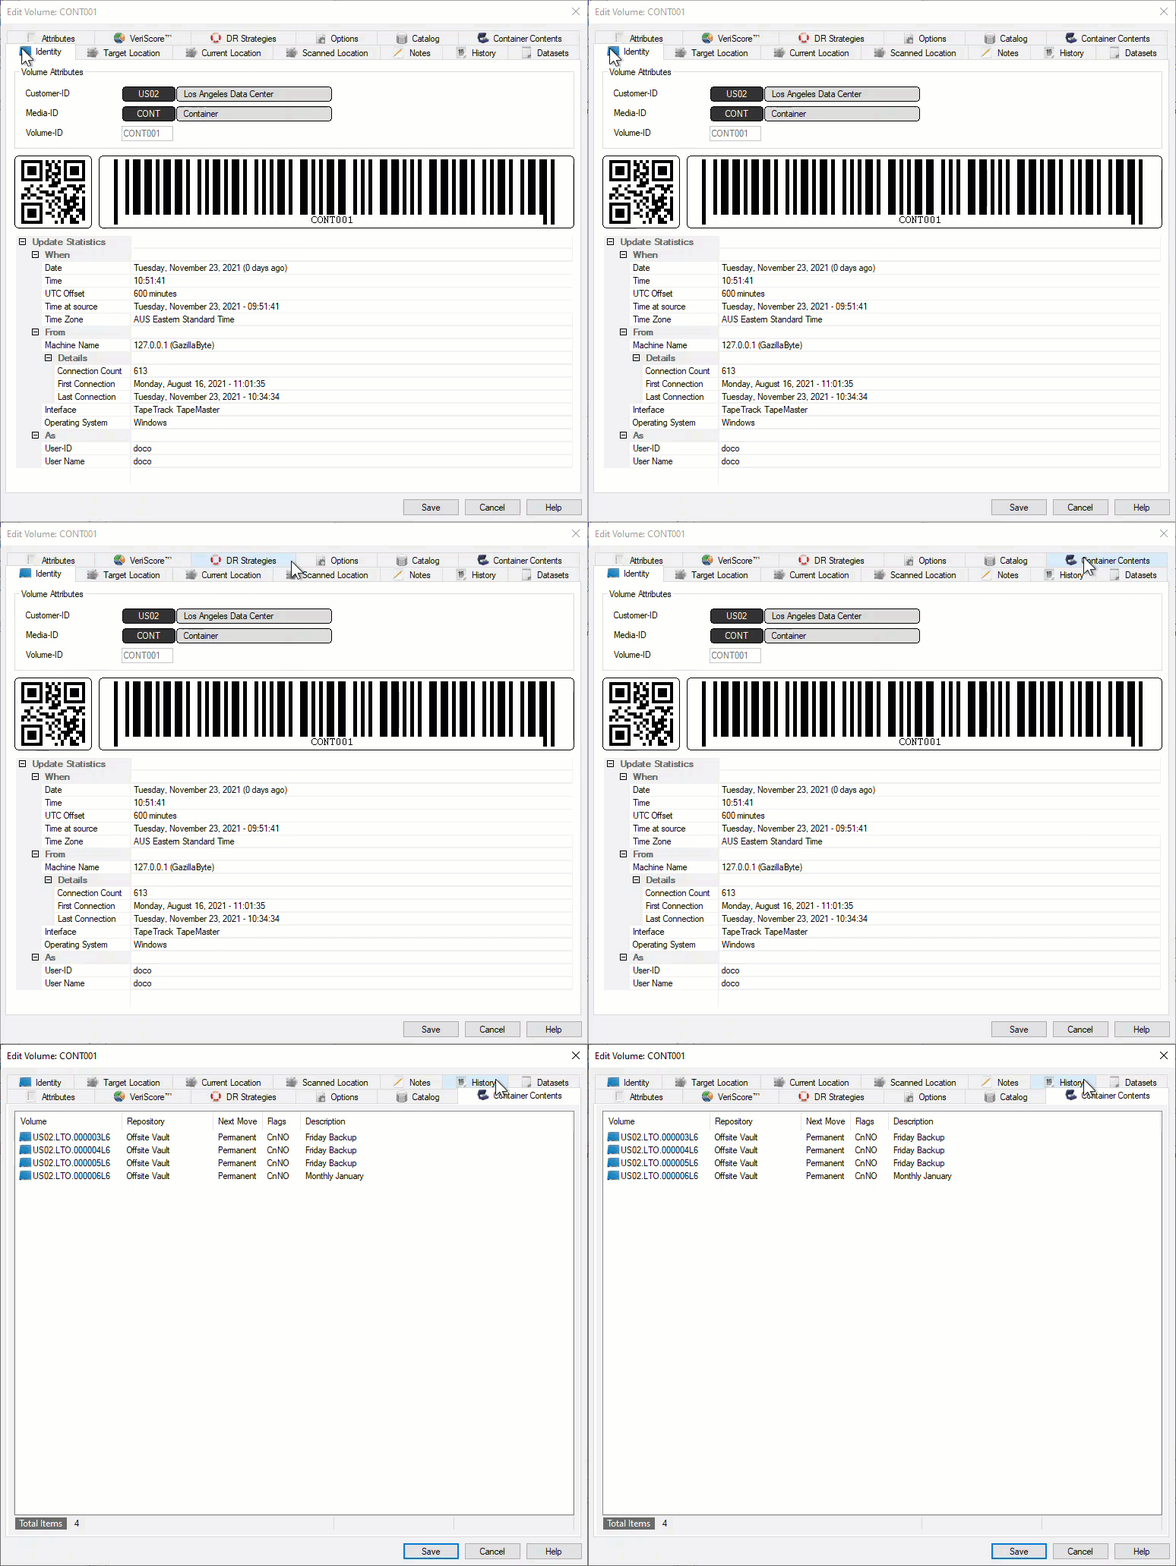
Right click and select Properties, or double click, the required container.
Select the Container Contents tab.
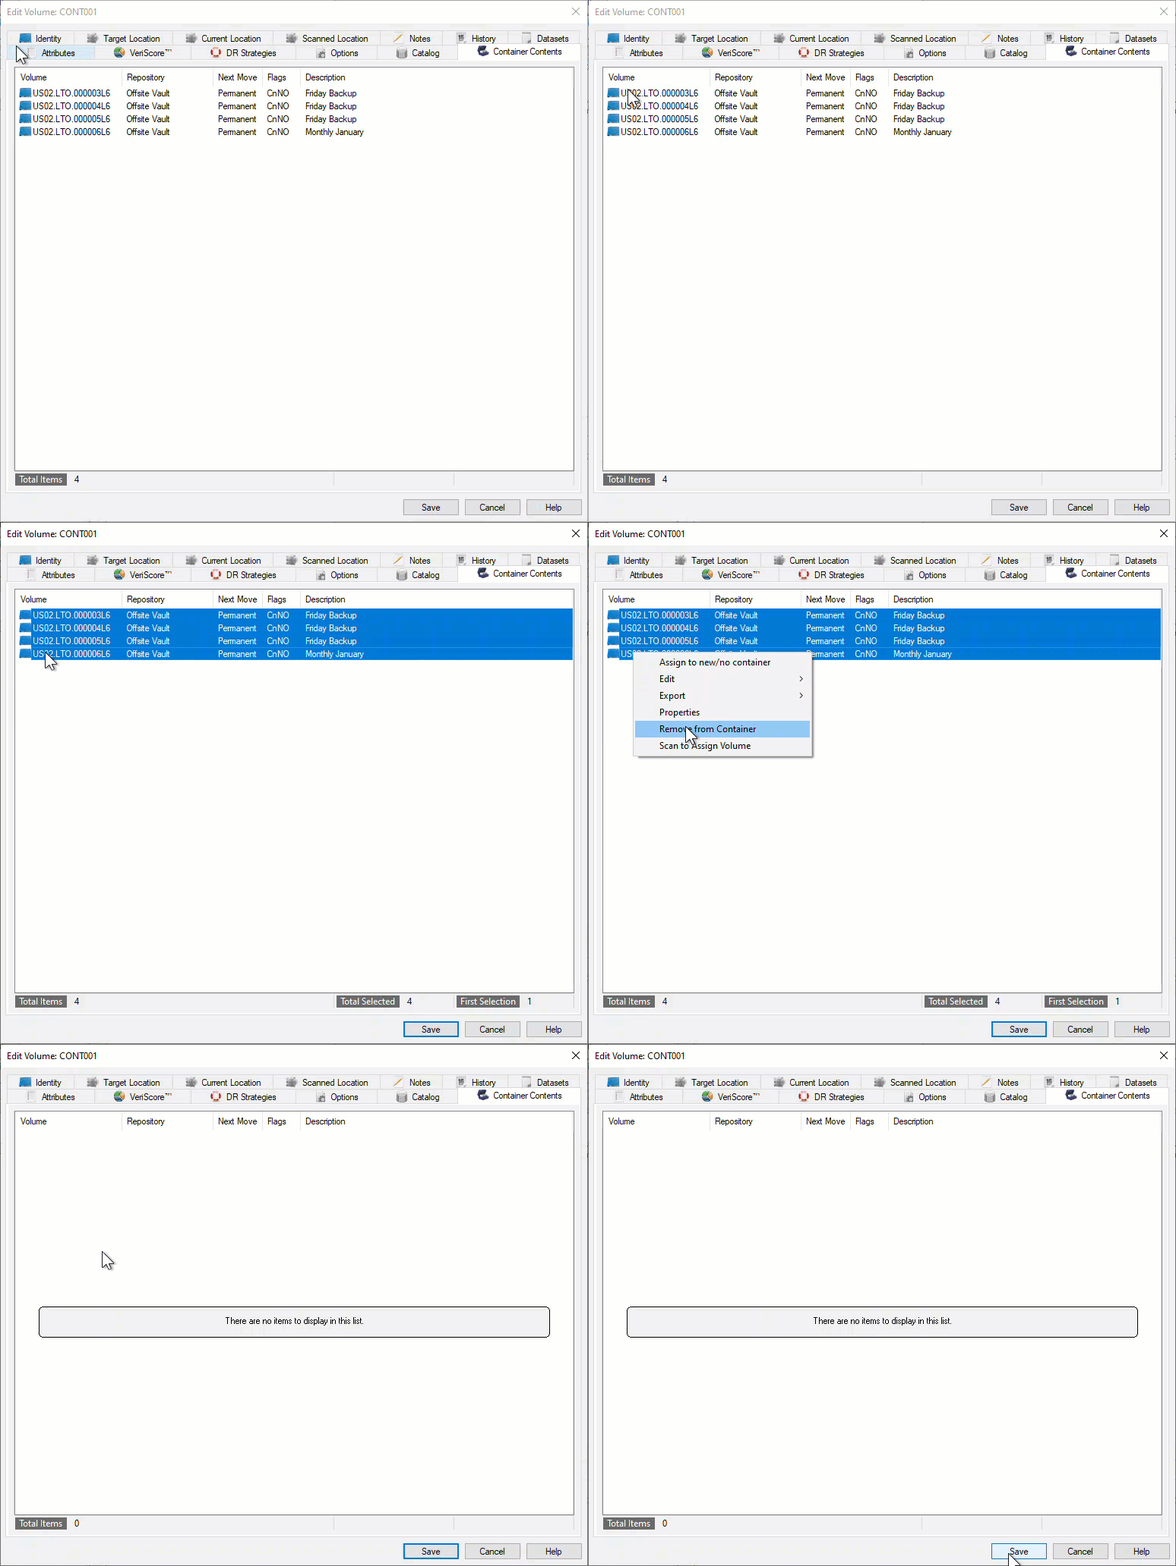
Select the required Volumes from the displayed list, right-click highlighted Volumes and click Remove From Container and Save to close window.
TapeMaster will now display the remaining Container contents, in this example as 0 as all Volumes were removed.


