Scan To Assign Slots
The Scan to assign slot function allows you to select a Zone and slot/s to allocate a group of Volumes to using a Barcode scanner.
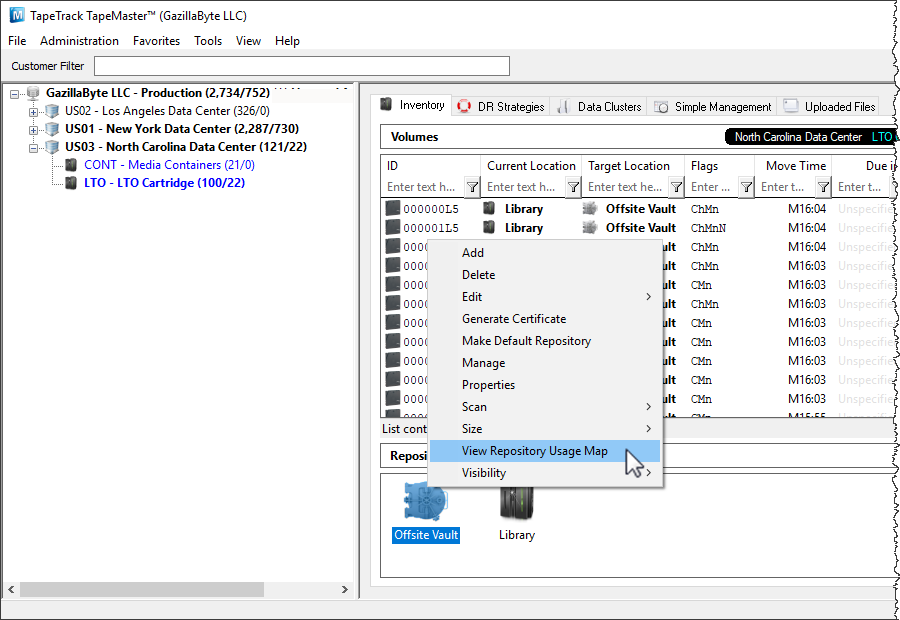
With the required Customer and Media Type open, right-click the Repository to assign the slots for and click View Repository Usage Map
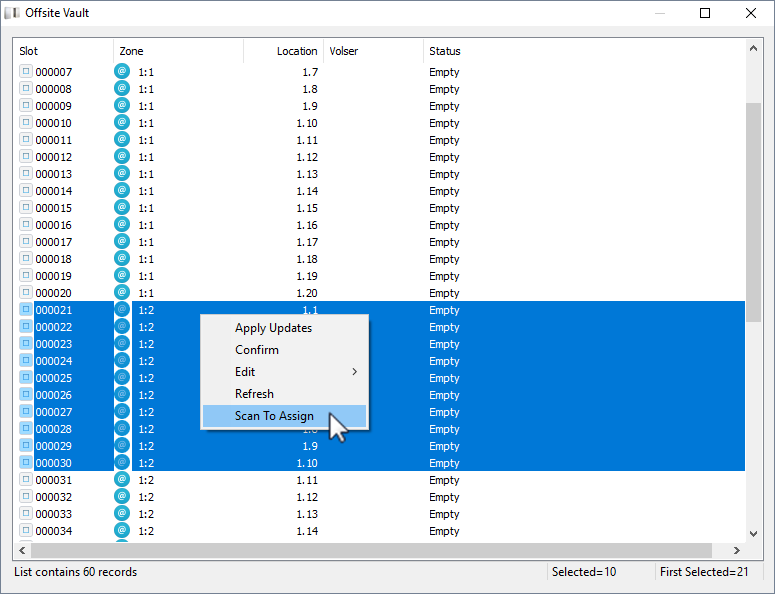
Select the range of slots (control + shift click or Ctrl+Click) from the required Zone/s. Right-click highlighted slots and select Scan to Assign to open the scan in window.
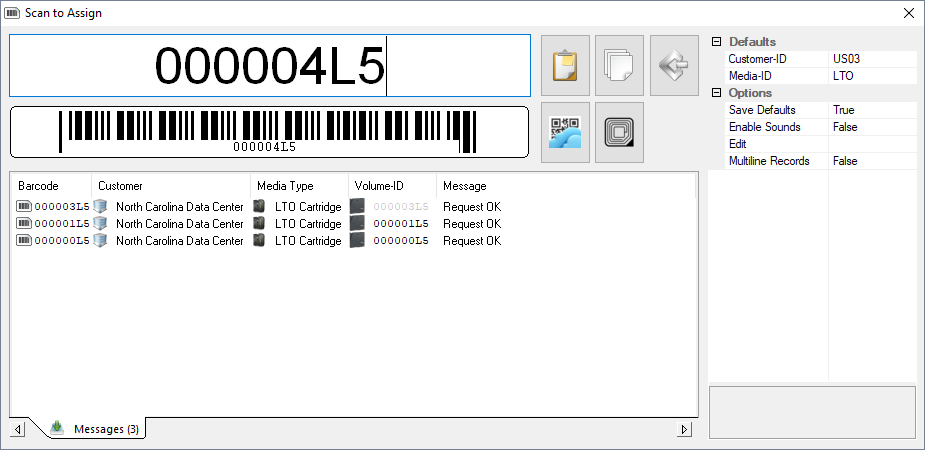
Scan the Volumes in using a Barcode scanner in the order you want them slotted.
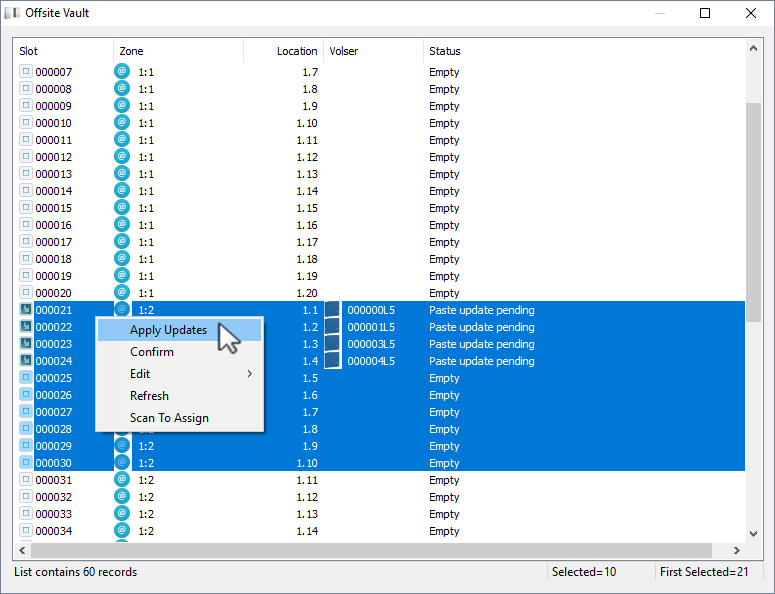
Once the Volumes have been scanned, close the scan window. Allocated Volumes will be displayed with a slot status of paste update pending. Right-click the highlighted volumes and select Apply Updates to save the changes to the database.

Once the update has been performed the slot status will now display as reserved and the Volumes will now be in a move status in TapeMaster.
If the Volumes are not yet physically slotted, close the Slot allocation window and press F5 in the inventory window in TapeMaster to refresh display information. If the Volumes are physically in their allocated slots you can confirm them by right-clicking the highlighted Volumes and selecting Confirm before closing the window.


