Table of Contents
Printing Zone Barcodes
Zone barcodes can be printed from TapeTrack TapeMaster using the TapeTrack Barcode Printer.
Identifying Required Zones
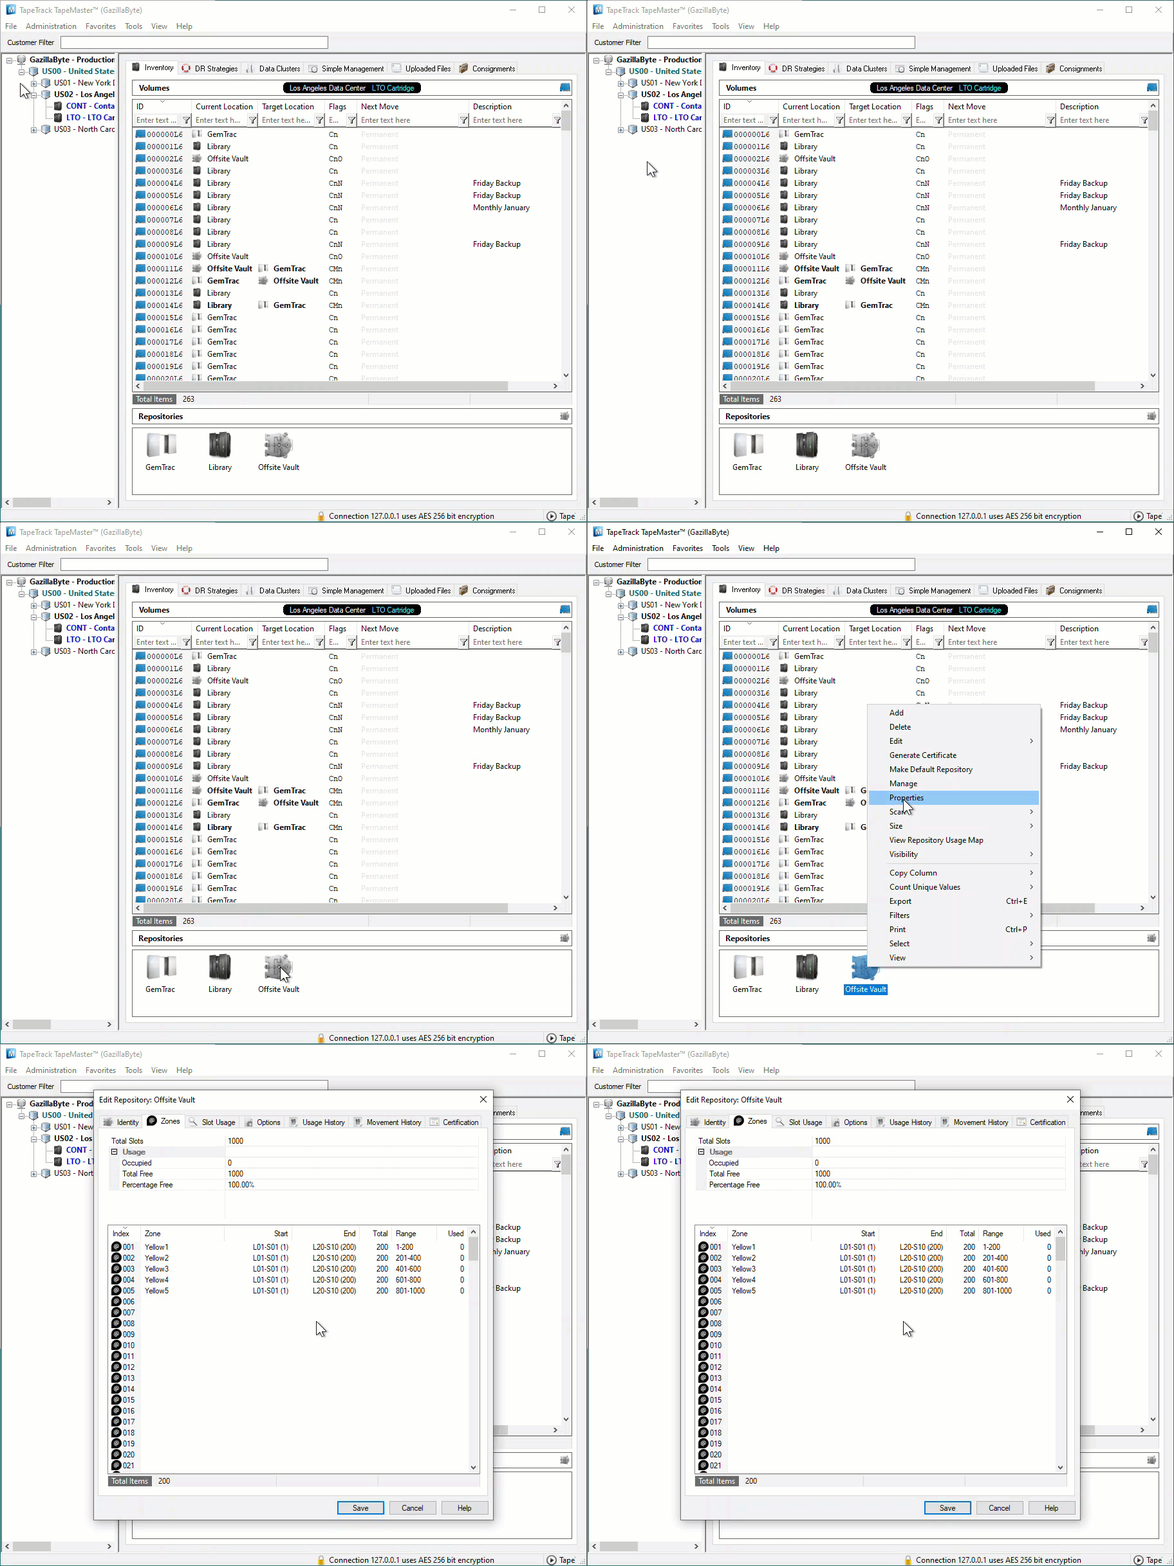
Identify what zone ID barcodes required to print by right-clicking the Repositories, in the respective Customer Media Types, and select Properties and then the Zones tab.
In the Zone Administration window under the heading Zone is the Zone-ID number and Zone description (in the format number:description). Record these details and close the window by the X at the top right or using the Cancel button.
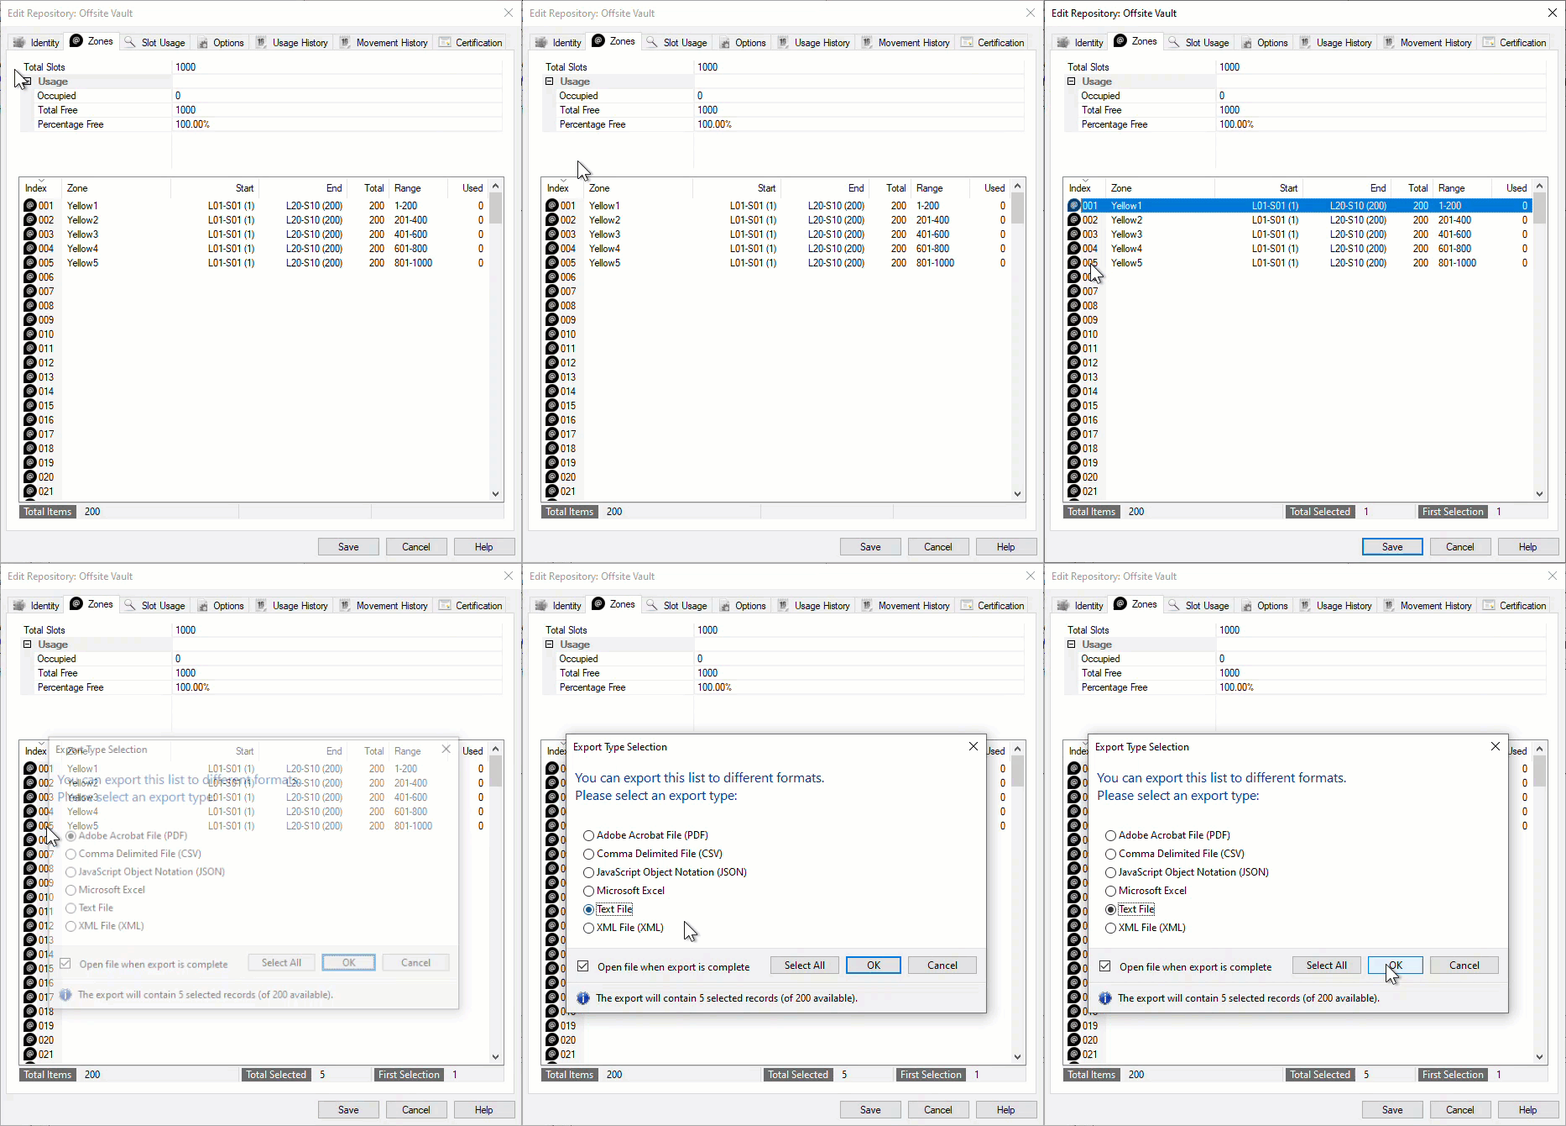
If you have a large range of Zones, or hard to remember Zone-ID's, you can select the Zones (Shift+Click) and press Ctrl+E to export the Zones to file for future reference.
Barcode Printer
Export Zone Barcodes To Barcode Printer
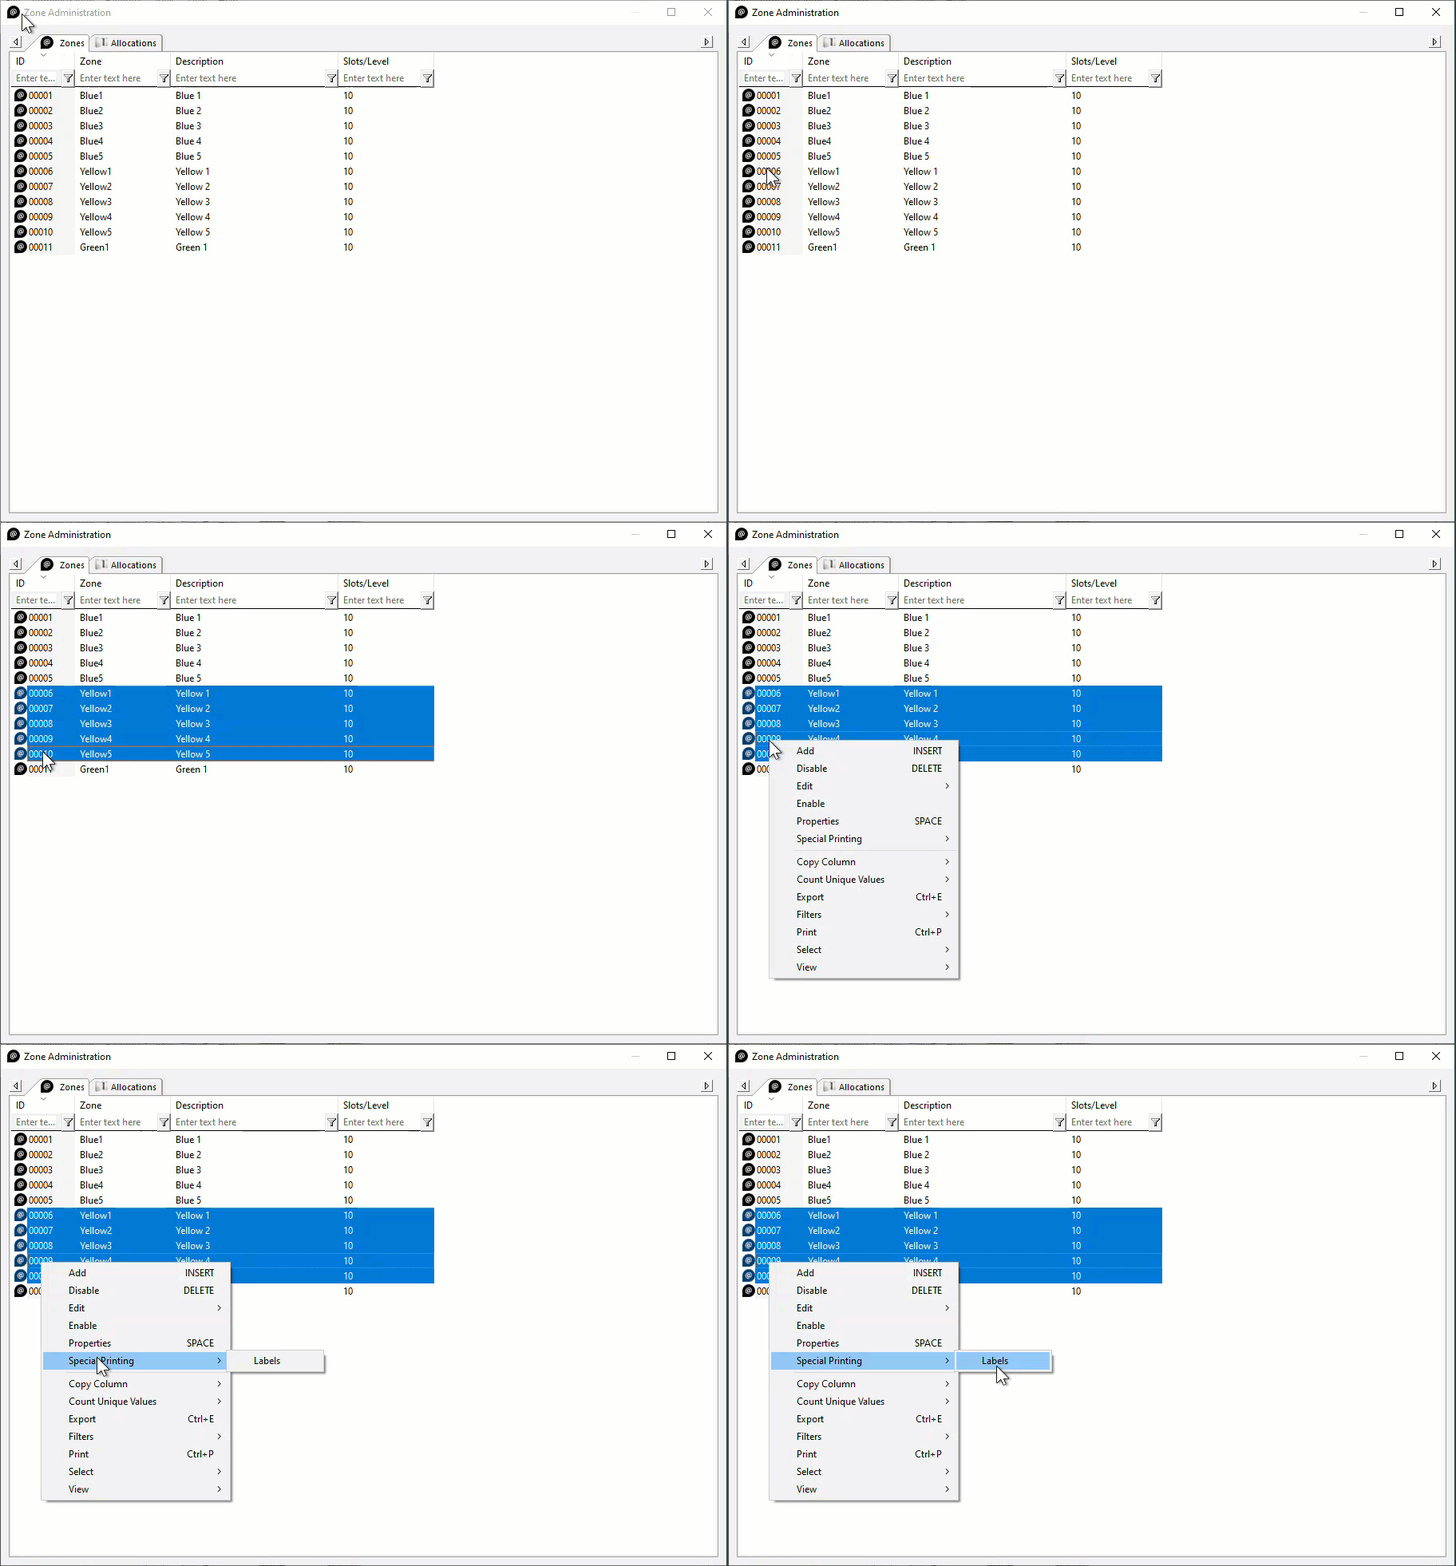
From the Main Menu, select Administration→Zone Administration.
From the displayed Zones, select the required Zones (range select Shift+Click, Control+Click).
Right-click the highlighted Zones and select Special Printing > Labels to pass the barcodes through to the TapeTrack Barcode Printer. If you have an older release of TapeMaster installed from the right click menu select Print > Labels.
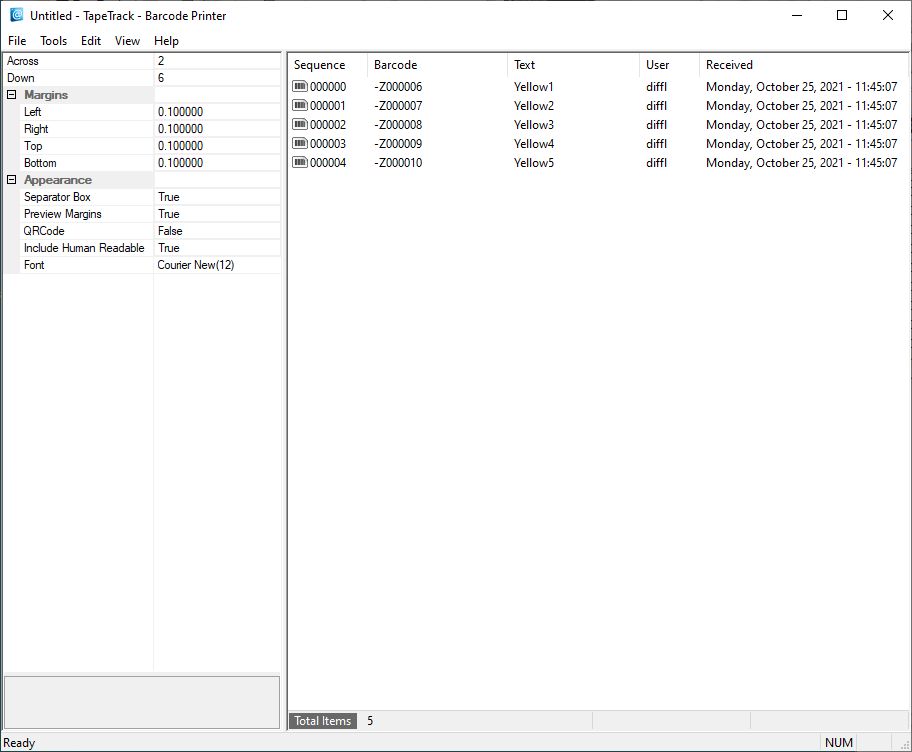
A popup will signal the Barcodes have been loaded into the Barcode Printer which will open minimized in your toolbar, maximise to continue.
Editing Print Layout
Use the left window pane on the Barcode Printer to edit the print layout options to suit your requirements.
Across: Number of barcodes to print across the page.Down: The number of barcodes to print down the page.Margins: Margins to be placed around the barcodesLeft: Left margin paddingRight: Right margin paddingTop: Top margin paddingBottom: Bottom margin padding
Appearance:Separator Box: Adds a grey border around each Barcode to aid in separating individual Barcodes when manually cutting them out.Preview Margins: Adds a preview of print boundaries to aid in confirming Barcode will print within a specified area.QR Code: Adds a QR code to the Barcode label.Include Human Readable: Adds text representation of Barcode to make it readable by Humans.Font: Sets font for Human Readable content, does not alter scannable Barcode.
Preview Print Layout
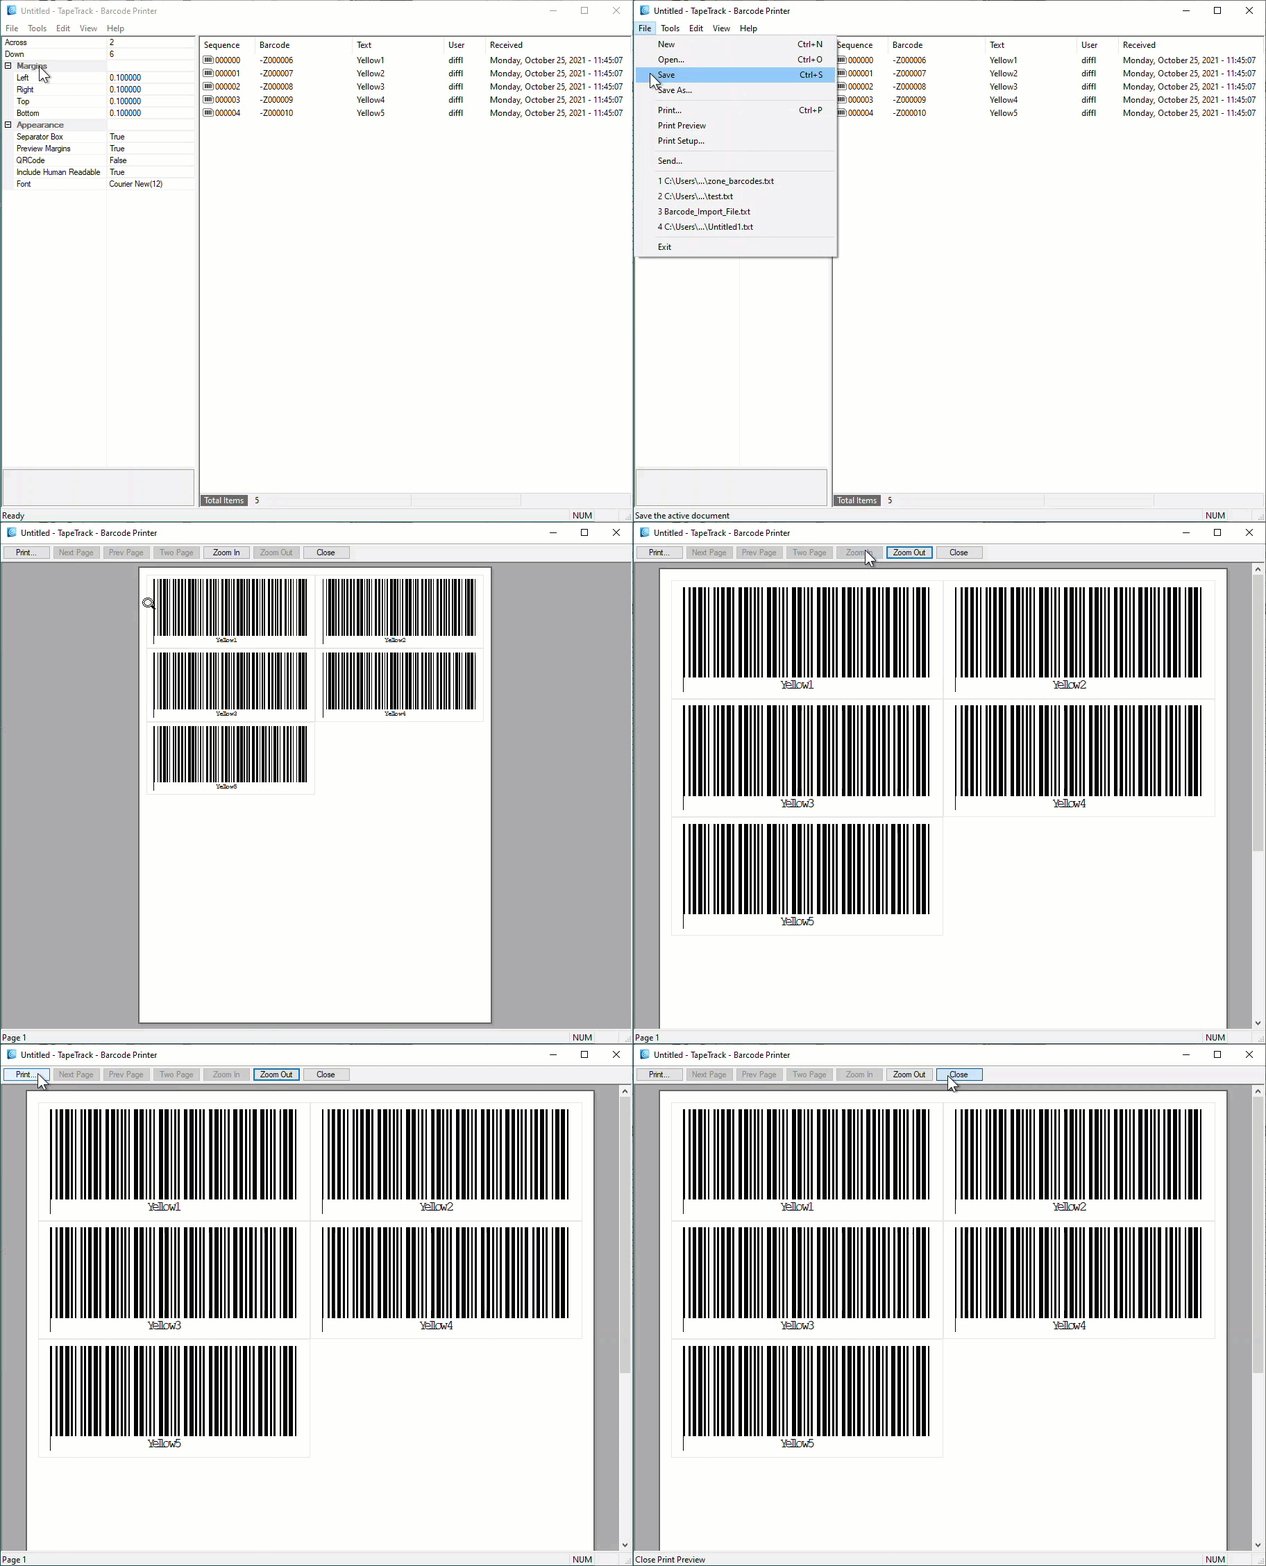
From the Main Menu, select File → Print Preview
From the preview screen, you can click Zoom to enlarge the barcodes, Print if your happy with the layout, or Close to return back to the Barcode Printer to make further adjustments.
Print Labels
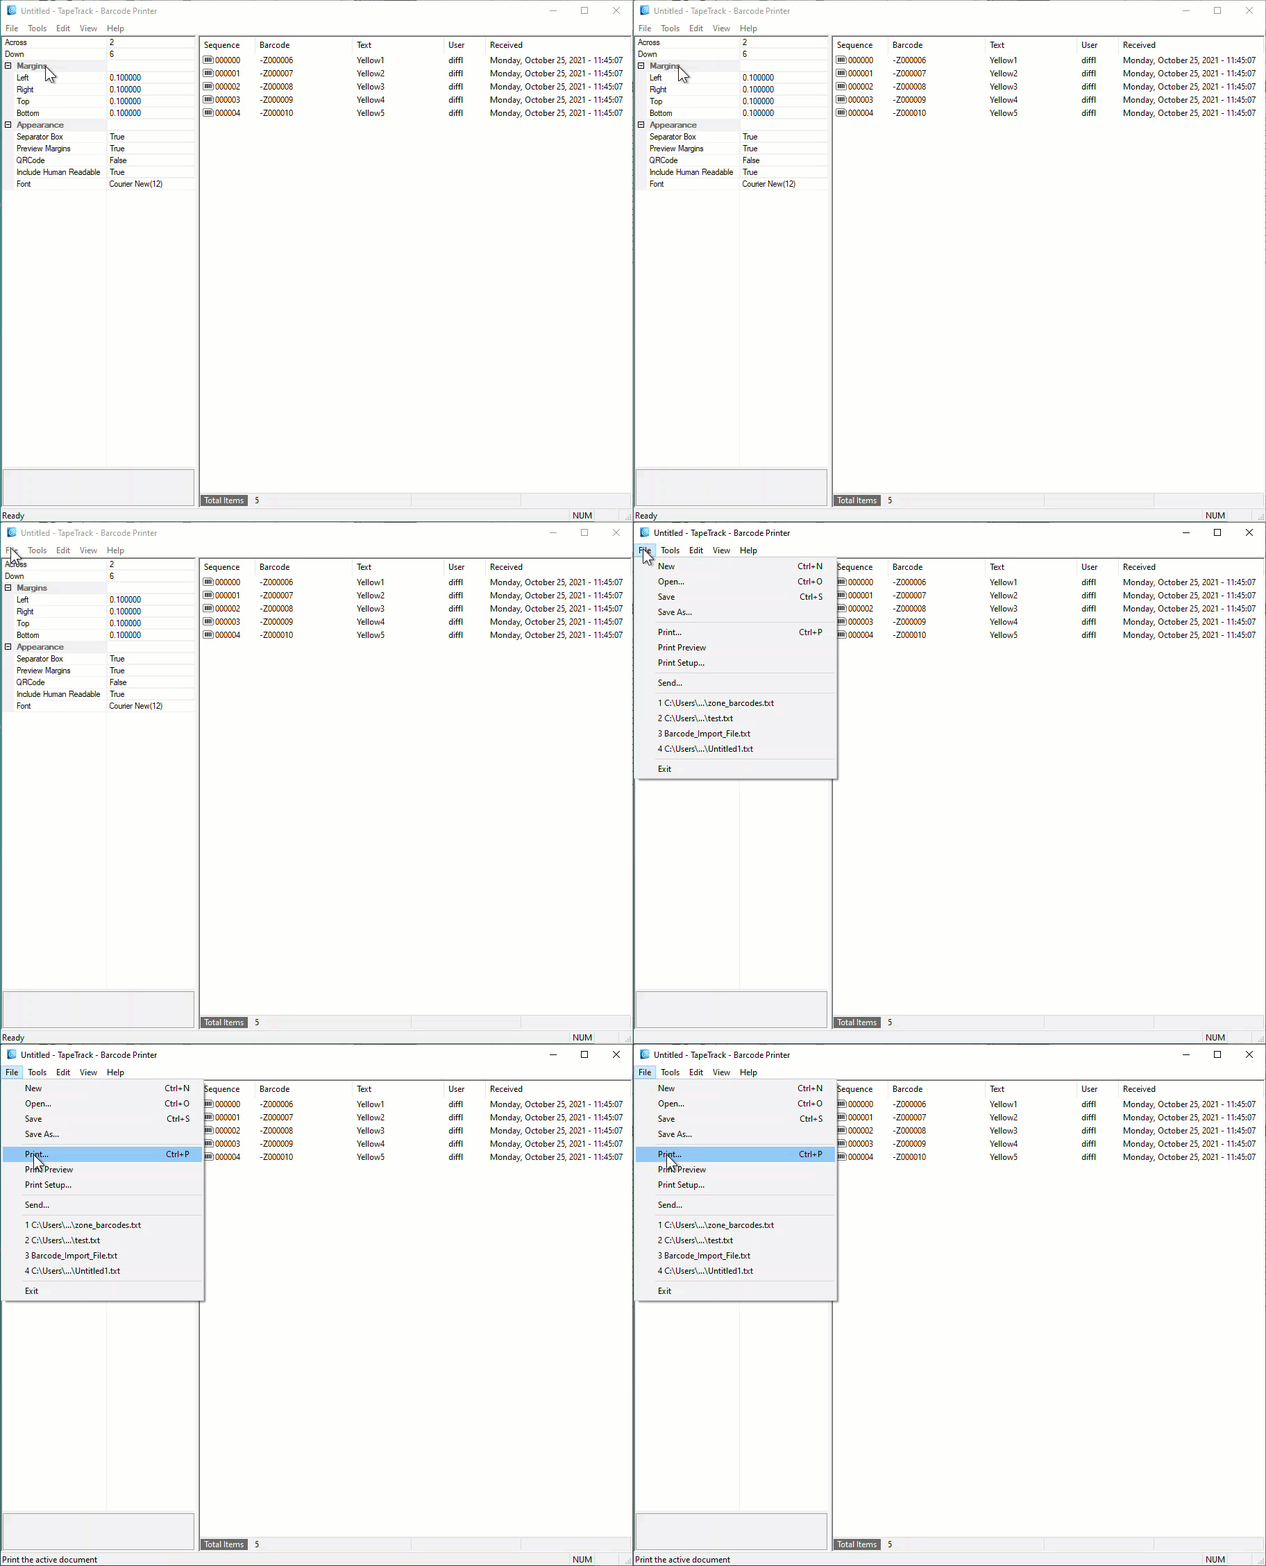
To print the labels, from the Main Menu select File → Print to open the Print dialog, select your desired printer and click OK.

