Table of Contents
Using Lite To Scan In And Out
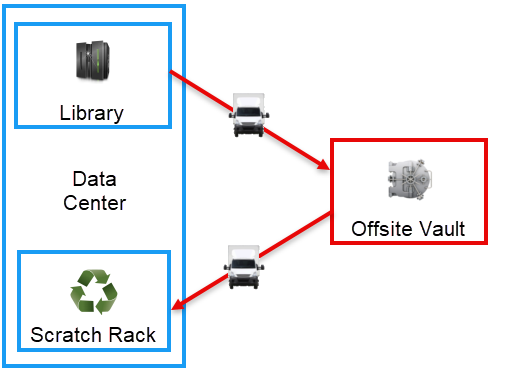
Using the following Repositories, or locations, as an example of Volume movement.
Volumes are placed in the Library to be written to. When full, the Volume is placed in a move to either the onsite or offsite storage. For this example we will move the Volume to the offsite vault. When the Volumes expire, they are moved to the scratch rack to await re-use in the Library.
Following the life cycle of Volume LTO123L4 from the Library.
The Volume, once written to is placed in a move in TapeTrack from the Library to the offsite vault by either:
- Manually using drag and drop in TapeMaster
- Sync process between TapeTrack and the Library
- Using the Send process in Lite
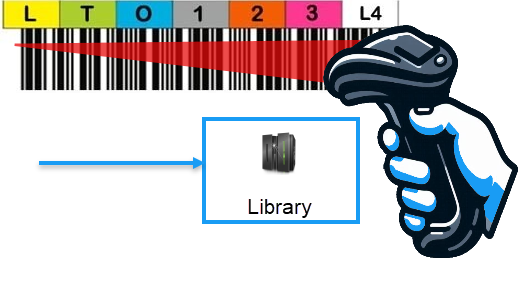
Library To Vault
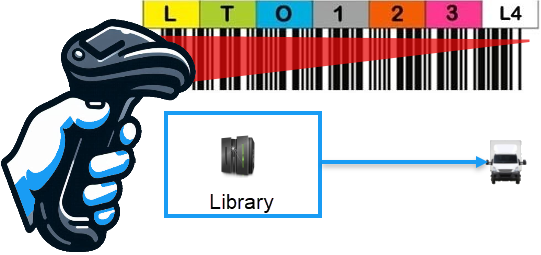
Volume being scanned out of the data center Library to be transported to the vault where it will be scanned in.
Scan Out
The Tape Librarian staff remove the Volume from the Library and using a barcode scanner and Lite, scan the Volume out into a transport case for delivery to the vault premises.
This process also adds a U flag to the Volume in the database and TapeMaster to show it has been scanned out.
Scanning the Volume out has two main purposes:
- Records history records against that Volumes history including:
- Time scanned out
- User details including name and ID
- Software interface used
- Repository details
- Confirmation of the correct Volume/s being sent out as incorrect Volumes will flag as an error, as well as a notification of any Volumes not scanned out.
See Lite Scan Out for more detailed information on the Scan out function.
Scan In
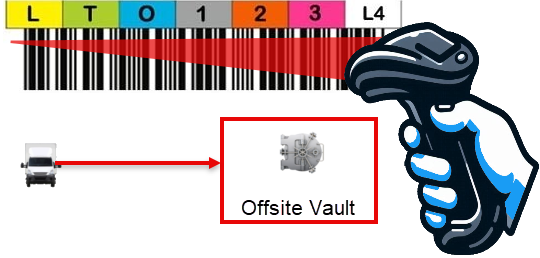
Once the Volume arrives at the vault, it is scanned in to confirm arrival.
Scanning the Volume in has two main purposes:
- Records history records against that Volumes history including:
- Time scanned in
- User details including name and ID
- Software interface used
- Repository details
- Confirmation of the correct Volume/s being received as incorrect Volumes will flag as an error, as well as a notification of any Volumes not scanned in .
When the Volume arrives at the Vault there are usually three options for scanning the Volumes in:
- If the vault uses TapeTrack as well, the receiving staff can scan in the Volumes to confirm their arrival and with updated history records, maintain the chain of custody of the Volumes.
- Set up the ability to SFTP an inventory file from the vaulting service. This list is then run through a reconciliation script to confirm the Volumes in TapeTrack as having been received by the vault.
- Set up TapeTrack to automatically confirm any Volumes sent to the vault without interaction between the vault staff or inventory. While this method is very easy to implement it is not recommended as there are no checks to confirm the Volumes all arrived, or proof that the Volumes were taken into the vaults custody should they go missing in transit or some other movement.
Once the Volume is confirmed at the vault, it is updated in TapeTrack from a moving status to currently being at the vault Repository. The U flag is removed
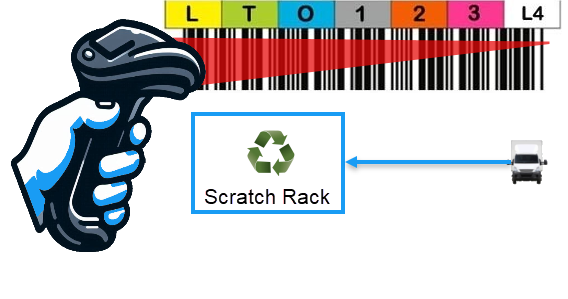
Vault To Scratch Rack
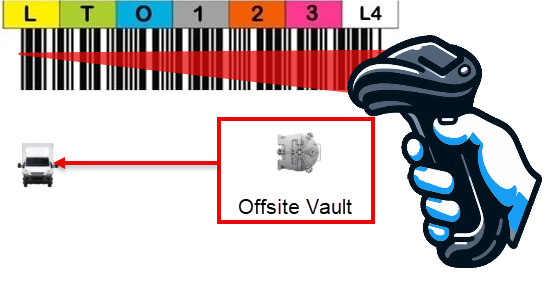
Volume being scanned out of the Vault to be transported to the data center scratch rack where it will be scanned in.
Scan Out
Volumes at the vault are placed in a move from the vault to the data center scratch rack either by:
- Manual recall
- Recalled by the Sync process
- Next move date expiring and being placed in a move by a daily script
If the vault is using TapeTrack, they can scan the Volume out using Lite or Checkpoint to register the Volume leaving their location.
Scanning the Volume out has two main purposes:
Records history records against that Volumes history including: Time scanned out User details including name and ID Software interface used Repository details Confirmation of the correct Volume/s being sent out as incorrect Volumes will flag as an error, as well as a notification of any Volumes not scanned out.
See Lite Scan Out for more detailed information on the Scan out function.
Scan In
Once the Volume arrives back at the data center, it is scanned in to confirm arrival and placed in the relevant spot in the scratch rack.
Scanning the Volume in has two main purposes:
- Records history records against that Volumes history including:
- Time scanned in
- User details including name and ID
- Software interface used
- Repository details
- Confirmation of the correct Volume/s being received as incorrect Volumes will flag as an error, as well as a notification of any Volumes not scanned in.
See Lite Scan In for more detailed information on the Scan in function.
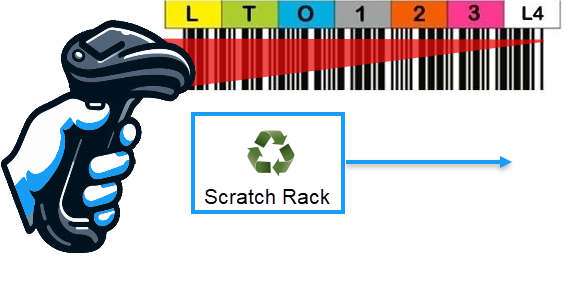
Scratch Rack To Library
Volume being scanned out of the scratch rack and into the Library to be scanned in.
While most data centers don't usually select specific Volumes to go from the scratch rack to the Library, if you do then scanning the Volumes out of the scratch rack to ensure the correct ones are selected is best practice.
If you have a Sync running against the inventory of Volumes it contains, simply placing the Volumes in the Library will automatically move them in TapeTrack from the rack to the Library and confirm them in.
Scan Out
If you make the moves manually, the Tape Librarian staff remove the Volume from the scratch rack and using a barcode scanner and Lite, scan the Volume out for delivery to the Library for loading.
This process also adds a U flag to the Volume in the database and TapeMaster to show it has been scanned out.
Scanning the Volume out has two main purposes:
- Records history records against that Volumes history including:
- Time scanned out
- User details including name and ID
- Software interface used
- Repository details
- Confirmation of the correct Volume/s being sent out as incorrect Volumes will flag as an error, as well as a notification of any Volumes not scanned out .
See Lite Scan Out for more detailed information on the Scan out function.
Scan In
If you have a Sync running against the inventory of Volumes it contains, simply placing the Volumes in the Library will automatically move them in TapeTrack from the rack to the Library and confirm them in.
If you make the moves manually, the Tape Librarian staff will scan in the Volumes as they are placed in the Library.
Scanning the Volume in has two main purposes:
- Records history records against that Volumes history including:
- Time scanned in
- User details including name and ID
- Software interface used
- Repository details
- Confirmation of the correct Volume/s being received as incorrect Volumes will flag as an error, as well as a notification of any Volumes not scanned in .
Once the Volume is confirmed at the Library, it is updated in TapeTrack from a moving status to currently being at the Library. The U flag is removed
See Lite Scan In for more detailed information on the Scan in function.
