Table of Contents
Using Lite To Move Volumes
While placing Volumes into a move is usually performed by using TapeMaster or a syncronization method, they can be moved using Lite when required.
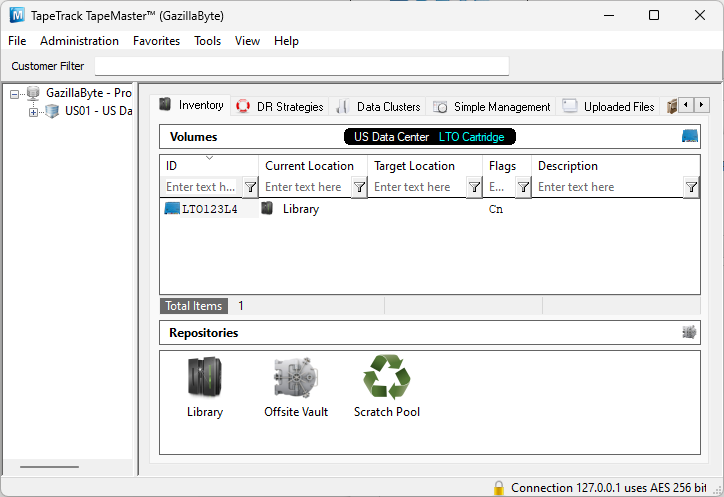
Example Volume before move, current location in the Library Repository.
Sending Volumes
Sending a Volume is the process of placing a Volume into a move status from the Repository you are currently at to that Repository's next Repository. The Next Repository is set in the Repository Options in TapeMaster.
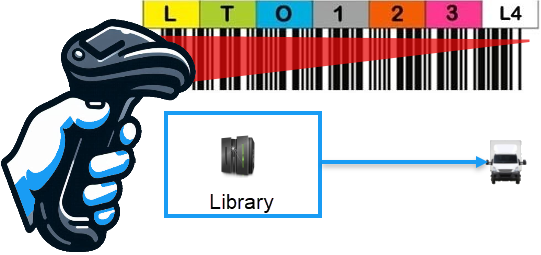
For this example we will assume you are located at the Library in the data center. We will be placing a Volume in the Library into a move to the next Repository, the Vault. Essentially pushing the Volume into a move from where you are, to the Next repository, the vault.
Using Lites' Send function, scan the required Volumes to place them into a move to the vault.
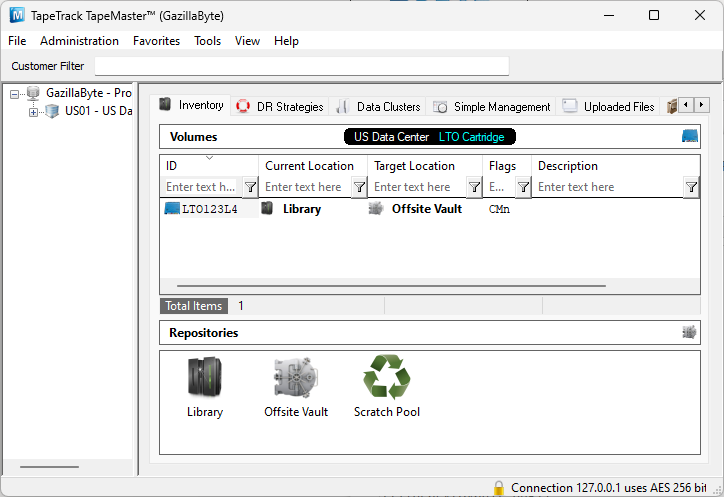
The Volumes that were scanned in the Send process will now be in a move to the Next Repository, in this example the vault.
See Lite Send for more detailed information on the Send function.
Volumes, using Lite Scan Out can now be scanned out.
Recalling Volumes
While placing Volumes into a move is usually performed by using TapeMaster or a syncronization method, they can be moved using Lite when required.
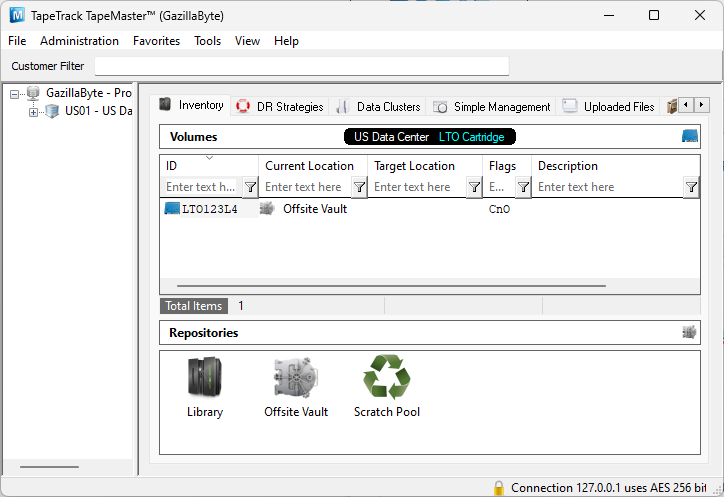
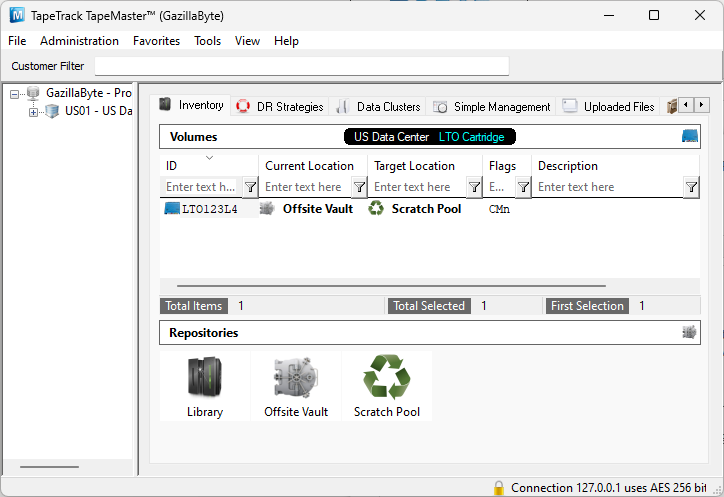
Example Volume before move, current location in the Vault Repository.
Recalling a Volume is the process of placing a Volume into a move status from another Repository to the Repository you are currently at.
For this example we will assume you are located at the Scratch Rack in the data center. We will be placing a Volume into a move from its' current location, the vault, to your location, the Scratch Rack. Essentially pulling the Volume from where it is to where you are.
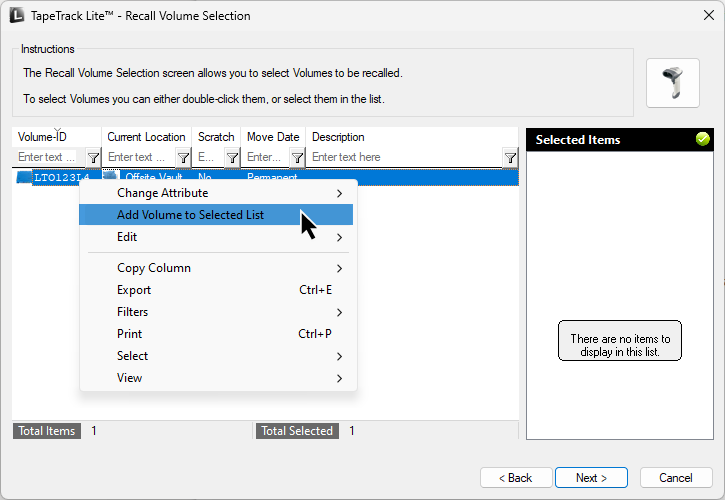
Using Lite's Recall function, select the Volumes required to place them into a move from the vault to the Scratch Rack. As the Volumes are located in another location, Volumes can be selected manually, pasted in from your clipboard, file or selected by right clicking a Volume and choosing Add Volume To Selected List.
The Volumes that were scanned in the Recall process will now be in a move to the Next Repository, in this example the Scratch Rack.
See Lite Recall for more detailed information on the Recall function.
Volumes can now be scanned in to the Scratch Rack using Lite Scan In when they arrive onsite.

