Table of Contents
Built In Repositories
TapeMaster has 3 built in Repositories, which are hidden by default.
To display the Hidden Repositories, right-click on the required Media type and select Properties.
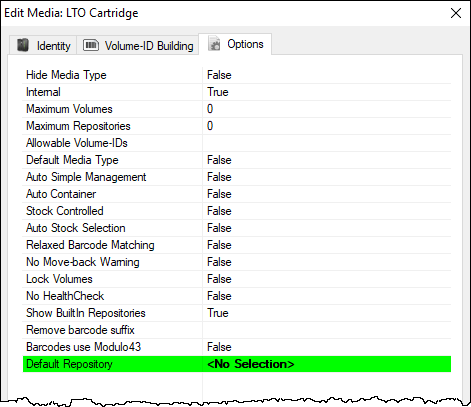
Select the Options tab in the Media Type Properties window and set Show Built In Repositories to true.
The Repositories Initial, Next and Home will be displayed in the Repository window.
The Built-In Repositories often do not exist as locations, but are used as settings in the Options Tab of the Volume Properties Window to dictate movements.
Built In Repository Functions
Initial Repository
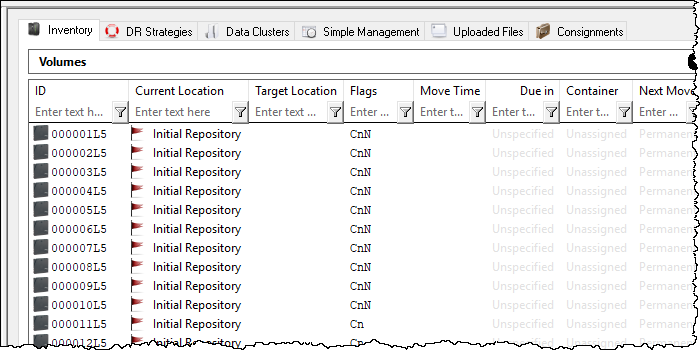
If No Selection is set in the Default Repository field in the Media Type Properties Window's Options Tab, newly added Volumes will be allocated to the Initial Repositories.
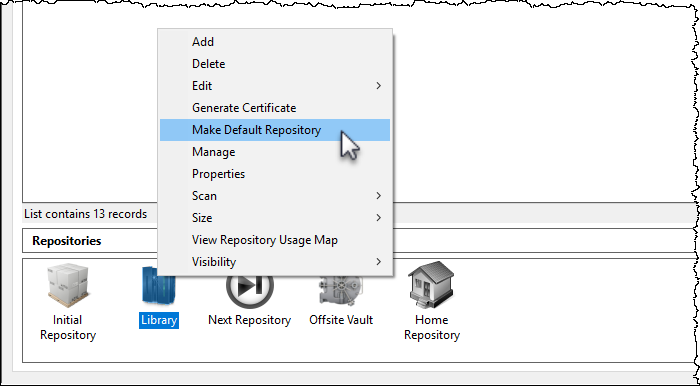
Any other Repositories may be set as the default location for new Volumes by right-clicking the required Repository and selecting Make Default Repository
Home Repository
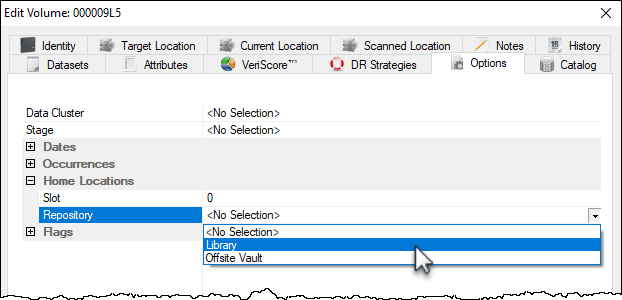
Dragging and dropping Volumes to the Home Repository places them into a move status to the Repository set as the Home Repository in the Volume Properties Window Options tab.
An example for using this function would be Volumes returning from offsite storage back on-site and needing to be stored in different racks (Repositories). Having the required rack set for each Volume allows you to drag and drop all the Volumes on the Home Repository and letting TapeTrack sort which Repository each of the Volumes belong in, saving you having to separate each group of Volumes for each Repository manually.
A Volume's Home Repository can be set in the Volume Properties Window Options Tab.
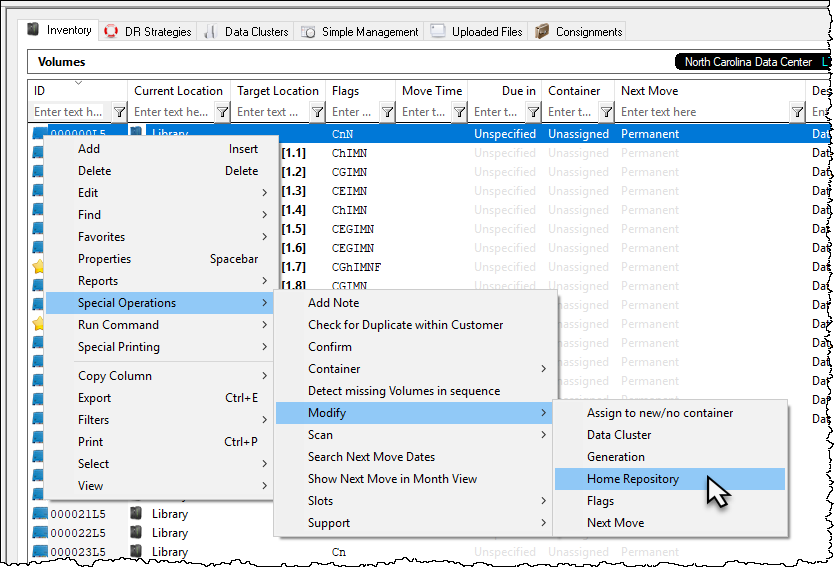
or by right-clicking Volumes in the Volume List, then selecting Special Operations, Modify, and Home Repository. Selecting a range of Volumes allows you to assign multiple Volumes Home Repository in the one operation.
Select Repository from popup window drop-down box.
Next Repository
Drag and dropping Volumes to the next Repository places them into a move status to the Repository set as the Next Repository in the Volume Properties Window Options tab.


