Table of Contents
Scan To Slot
Scanning Volumes To Slots Using Zone, Slot and Volume Barcodes
This method relies on both the zones and Slots being Barcoded (further information on printing Barcodes can be found here). Slotting on the Repository also need to be disabled if you have the Slotting allocation script being run by the scheduler or volumes will be automatically allocated a Slot based on the Slotting mode of that Repository.
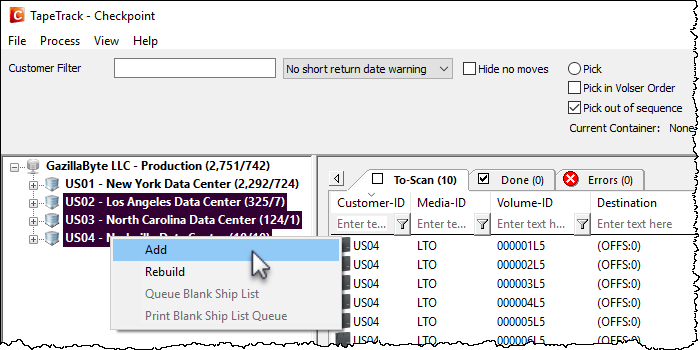
From the customer tree right-click the required customer/s and select Add to load volumes into the To Scan window.
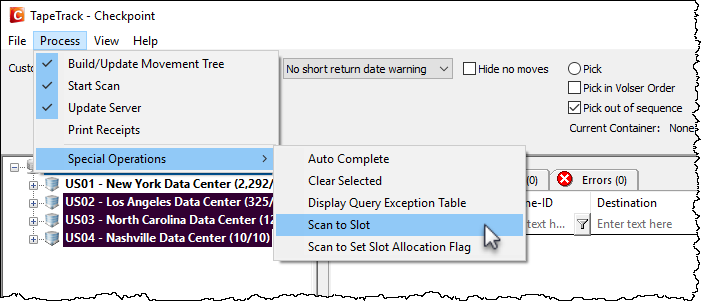
Once all volumes required have been added to the To Scan window, select Process→Special Operations→Scan To Slot from the main menu to open the scan window.
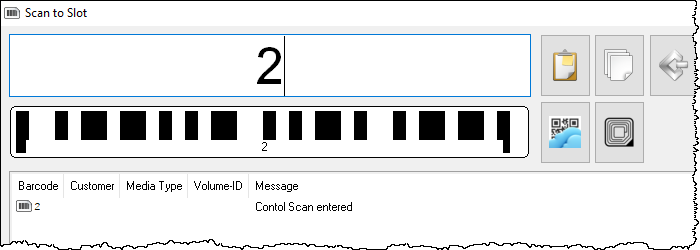
Enter the number 2 into the scan window to set scan mode to Zone, Slot and volume.
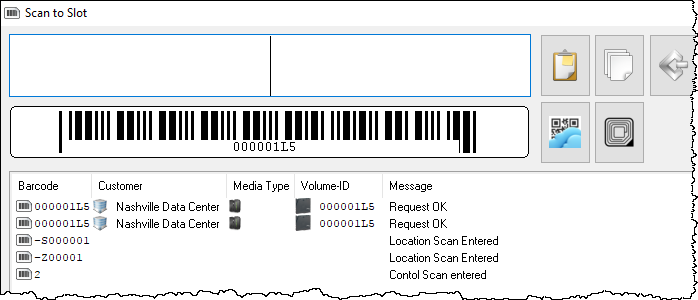
Scan Zone barcode, Slot barcode and then the Volume barcode.
Checkpoint will now ask you to confirm the Slot and volume by rescanning the volume barcode. If the same volume barcode is scanned the Volumes will be allocated to that Slot.
While still allocating Volumes in the selected zone, subsequent scans only require scanning the next Slot and Volume and then scanning the Volumes again to confirm the Slot allocation.
Scan to Set Slot Allocation Flag
Using this method enables you to control the Slot allocation order of Volumes, based on the order you scan them in.
This process requires the Do not slot option to be enabled for the Target Repository and the executable TMSS10SlotAllocation to be run either manually after scanning Volumes or scheduled on a regular basis so that it runs after scanning to set Slot allocation Flag and before scanning in to the Slots to confirm.
As Volumes are placed in a move to the Repository, a t Flag will be assigned. This t Flag stops the slotting.bat script automatically assigning a Slot.
When the Volumes arrive at the Repository, after loading the required Media into the To Scan window, selecting Process→Special Operations→Scan to Set Slot Allocation Flag to open the Scan window.
Scan the Volumes in the order you want the Slots to be assigned and, when all Volumes have been scanned, close the Scan window. Select Process→Update Server to update the Slot allocation Flags on the scanned Volumes.
Either wait the required time (depending on how often you have the Slotting.bat file scheduled to run) or run the script manually if required.
Update the Checkpoint tree by selecting Process→Build/Update Movement Tree from the main menu. Add required moving media back into the To Scan window, which will now display the allocated Slots for the Volumes.
Open the Scan window to scan-in the Volumes.
Ensure the default Customer-ID and Media-ID on the right of the Scan window are correct.
Enter in the required scan mode:
- Enter 0 for scanning Volumes barcode only.
- Enter 1 for scanning Zone and Volumes barcodes.
- Enter 2 for Zone, Slot and Volumes barcodes.
Scan in the Volumes as per normal operations to confirm Volumes into their assigned Slots.


