Table of Contents
Library Management
The Library Management function allows you to manage individual libraries and the Volumes contained within them.
Library Management Process
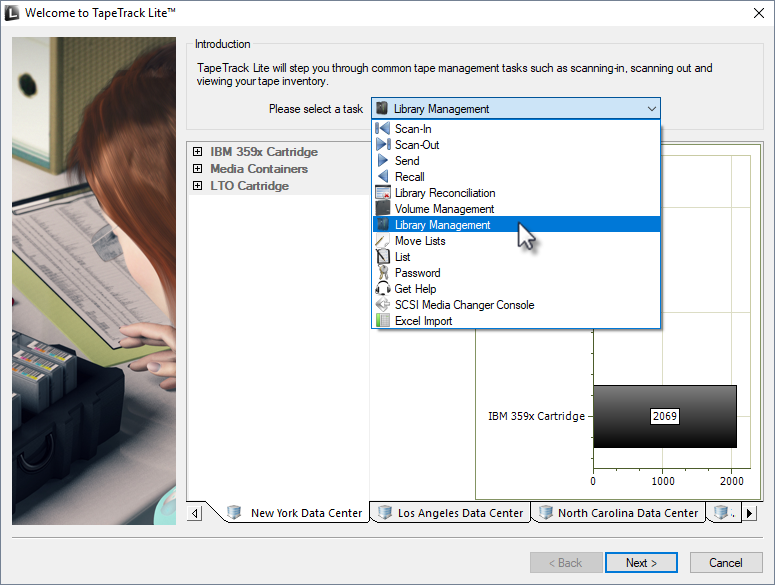
Select Library Management
Options
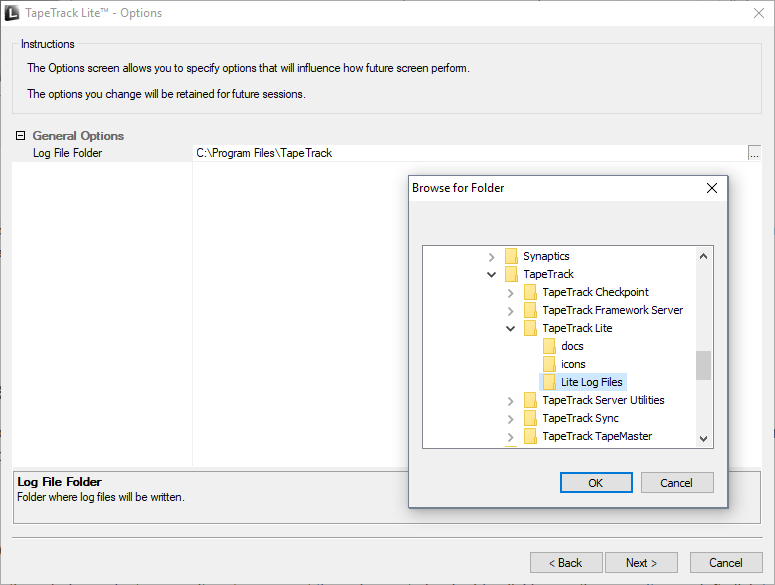
This will open the Options window. If required you can set the location for the log files to be written to, or leave the default.
To change the default directory, click in the field to the right of the Log File Folder and click on the (…) button and select directory.
Click Next to continue.
Customer Selection
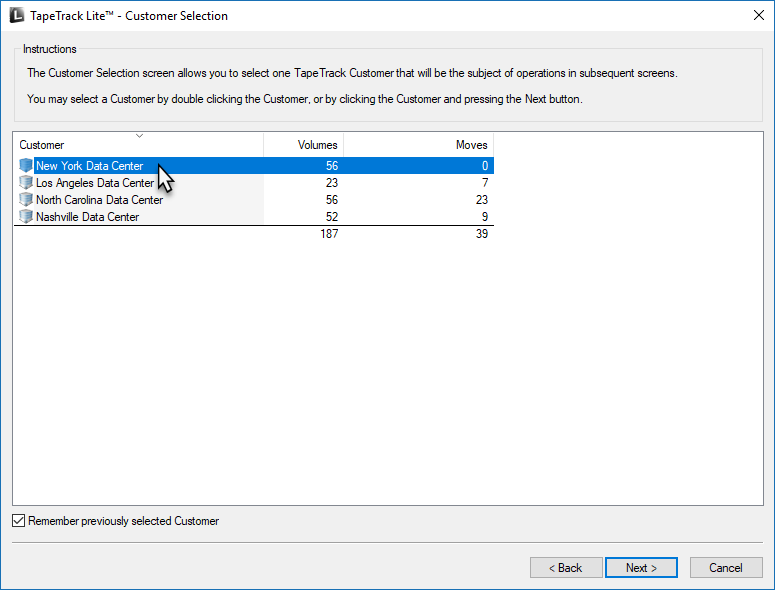
Select the Customer that you want to manage Volumes for by double-clicking the Customer-ID or left-clicking the Customer-ID and clicking Next at the bottom of the page.
Remember previously selected Customer will retain the currently selected Customer for future Lite functions.
This can be removed at any time by unchecking Remember previously selected Customer
Media Selection
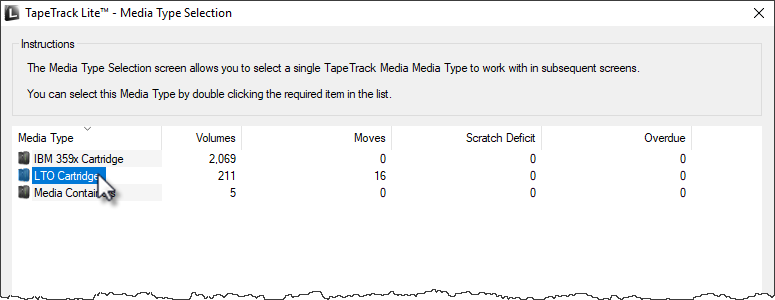
Select the Media to manage Volumes by double-clicking the required Media or by selecting the Media and clicking Next
Repository Selection
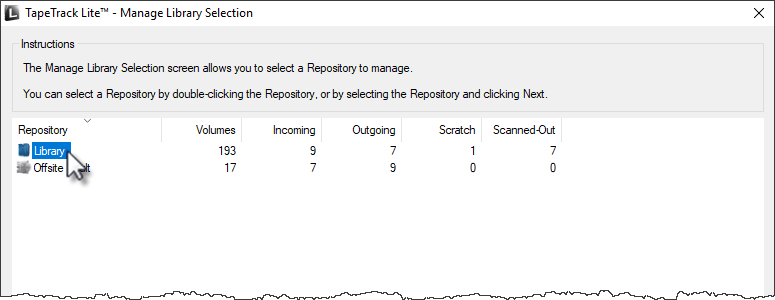
Select the Repository to manage by double-clicking the required Repository or by selecting the Repository and clicking Next
Volume Management
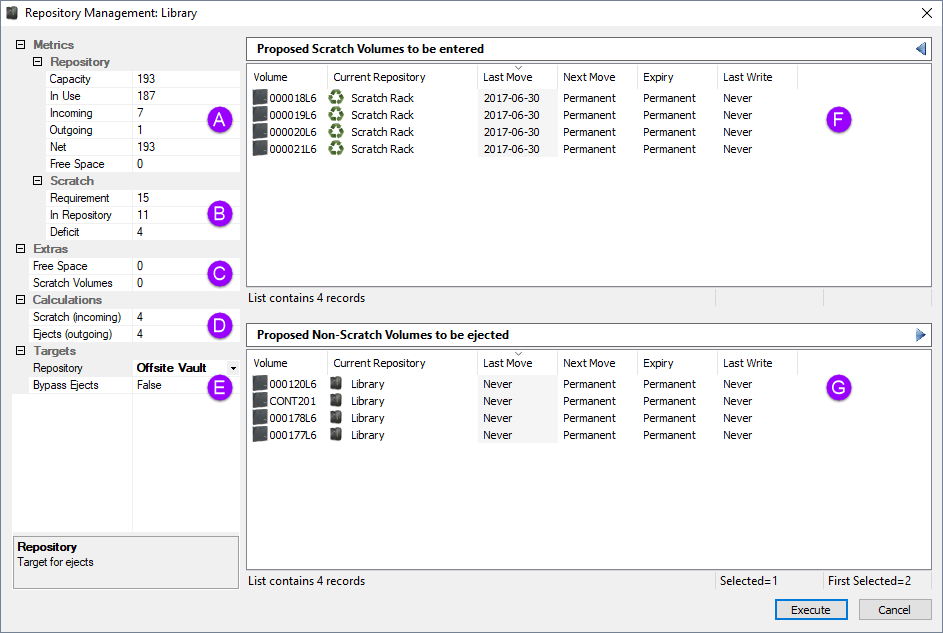
The Volume Management window displays Volume and Repository information including required moves to maintain the set level of scratch Volumes.
Clicking Execute will affect the displayed moves to manage the selected Repository's management requirements and take you to the Move Lists window.
If you don't wish to execute the move command, the Volume Management window can be closed by clicking the X at the top right to continue to the Move list window.
Notes:
- A Repository usage statistics.
- B Repository scratch requirements.
- C Free slots and current scratch Volumes in repository.
- D Movement calculations required to hit scratch Repository targets.
- E Target Repository (required) for ejected Volumes.
- F Volumes selected to move into the Repository.
Move List
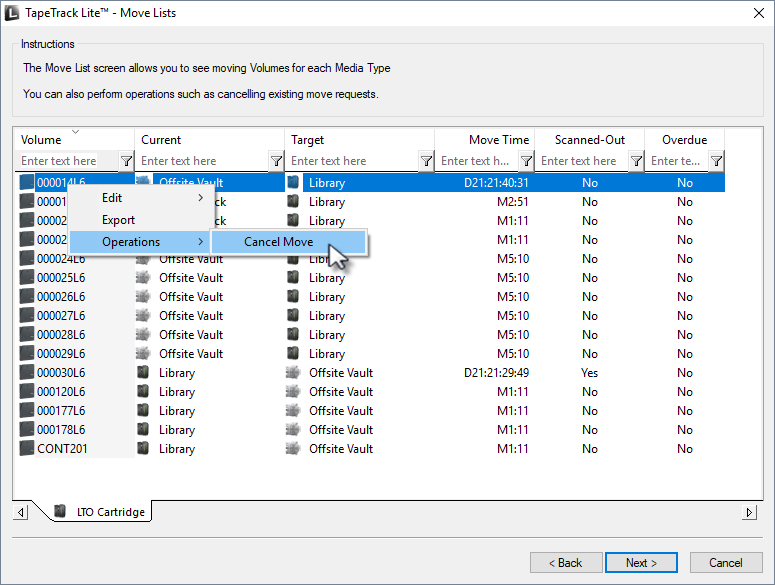
The Move list window displays all Volumes currently in a move status including Volume-ID, current and target location, elapsed move time, scanned out status and whether the Volume is overdue at its intended target Repository.
Move List Right-Click Options
- Edit
- Copy: Volume-ID's can be copied to the Windows clipboard by selecting the required volumes and right-clicking the highlighted Volume/s and selecting
Edit → Copy.
- Operations
Complete
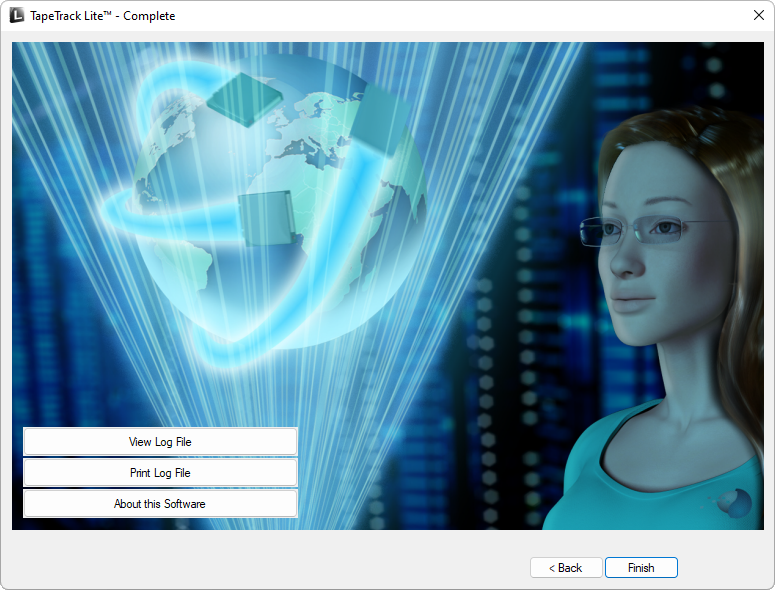
This will bring up the Complete window, from here you can:
- Click
View Log Fileto view the log file of the last completed process.. - Click
Print Log Fileto save a PDF of the log file to print from your PDF viewer. - Click
About this Softwareto view product and support (email, phone & website) information. - Click
Backbutton to return to start menu and select another task. - Click
Finishbutton orXat the top right of the window to exit TapeTrack Lite.

