This is an old revision of the document!
Table of Contents
Send
The TapeTrack Lite Send function is used to select Volumes that reside in one location for the purpose of putting the Volumes into a Move status to another location or Repository.
When a Volume is put into a Move status this only represents the request to move the Volume and a second step is required to Confirm the movement of the Volume.
In addition to putting each Volume into a Move status, the Send function also allows you to set values such as:
- A Next Move Date which will influence when a Volume returns to you.
- A Description of the Volume .
- A Time Threshold which will raise an alert if the Volume is not Scanned-In.
- A Data Cluster which can be used to automatically determine the Next Move Date, using a Simple Management Rule.
Send Volumes Process
Best results are obtained by reading the instructions and then viewing the implementation of the process via the video
Select Send
Select Send from the Task Menu and click Next to continue.

Options

Notes:
- A If required you can set the location for the log files to be written to, or leave the default.
To change the default directory, click in the field to the right of theLog File Folder, click on the more options button(…)and select the preferred directory. - B Under
Advanced Options:- Set the time deadline before a Volume will be marked as overdue at its Target Repository.
- The date for the Volumes Next Move.
- List of pre-defined Volumes .
To add additional lists, create new files in the install directory that match the pattern List-*.txt.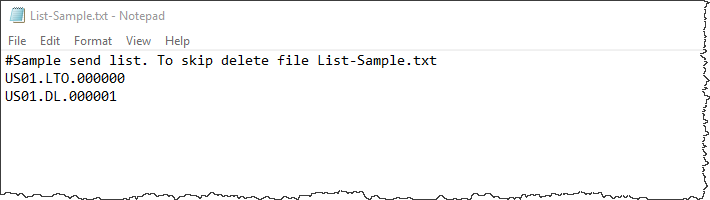

Scanning to select Containers
If the Volumes you are sending are in Barcoded Containers, scan the Container before scanning the Volumes.
If required scan subsequent Containers, as needed, before scanning the Volume to be assigned to them.
Scanning to add Volumes
This opens the Scan and Modify window which, by default, opens the Scan To Add Volumes window.
Scan out the required Volumes using your preferred scanning method.
When all Volumes are scanned-in, close the Scan To Add Volumes window by clicking X at top right of window.
Displaying Volumes
This sets focus to the Scan And Modify window.
All Volumes previously scanned in are displayed in the main pane of the window. Recognized Volumes are displayed with black font on white background. Unrecognized Volumes are displayed with white font on a red background.
Left-clicking on any Volume-ID will display that Medias Identity, disposition and Attributes.
To alter current settings on a Volume select required Volume/s on the left pane in in the window. Change any Attribute on that Volume by clicking in Attribute window and selecting required value.

Notes:
- B Status (Known or unknown), Target Repository, Next move date, Time threshold and Data Cluster
- C The Volumes Description
Multiple Volumes can be edited as a group using the Quick Edit tab. Select a Volume and set Next Move Date, Description and/or Data Cluster.

Right-click the modified Volume and select Edit → Copy and the appropriate value from the options.

Select Volumes to apply the data to and right-click and select Edit → Paste and the appropriate value from the options.
After modifying Volume information to required values click Next button to continue.
If you have any unknown Volumes you will be prompted to add them before continuing. To add new Media successfully all fields associated with that Volume (Customer-ID, Media type, Volume-ID etc) must be applied.
If an unwanted Volume is scanned inadvertently it may be removed by right-clicking the Volume in the Scan and Modify window (Items tab) and selecting Remove from Scan List.

Click Next to continue.
Verifying Volumes
This will open the Send Apply and Verify window. This screen displays the final results of the Send operation including the Volume-ID, Current Repository, Target Repository next move date, Volume Description and request status.
Click Next to continue.

This will bring up the Complete window, from here you can:
- Click
View Log Fileto view the log file of the last completed process.. - Click
Print Log Fileto save a PDF of the log file to print from your PDF viewer. - Click
About this Softwareto view product and support (email, phone & website) information. - Click
Backbutton to return to start menu and select another task. - Click
Finishbutton orXat the top right of the window to exit TapeTrack Lite.
