This is an old revision of the document!
Table of Contents
Adding and Deleting Volumes
Adding Volumes
Method 1
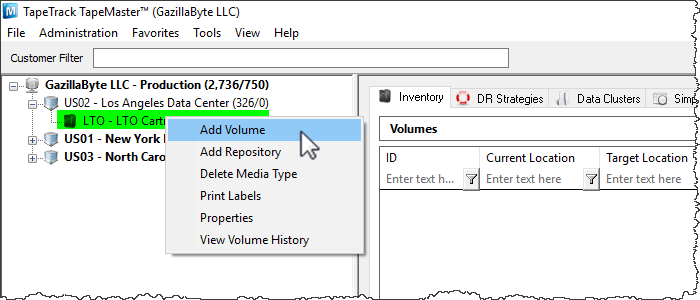
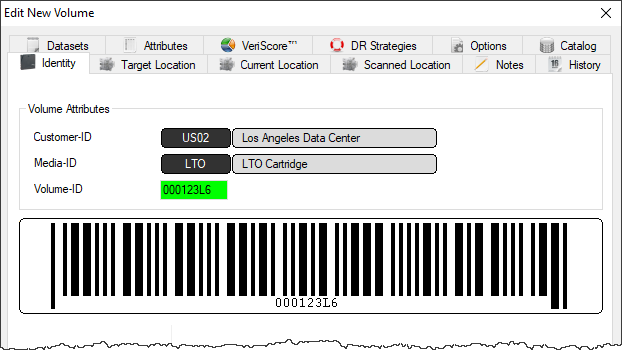
To add a Volume, right-click on a Media Type and select “Add Volume” or press Insert on the keyboard when viewing the Volume List. Insert the volume ID of the new volume to be added and click Save.
Method 2
Method 3
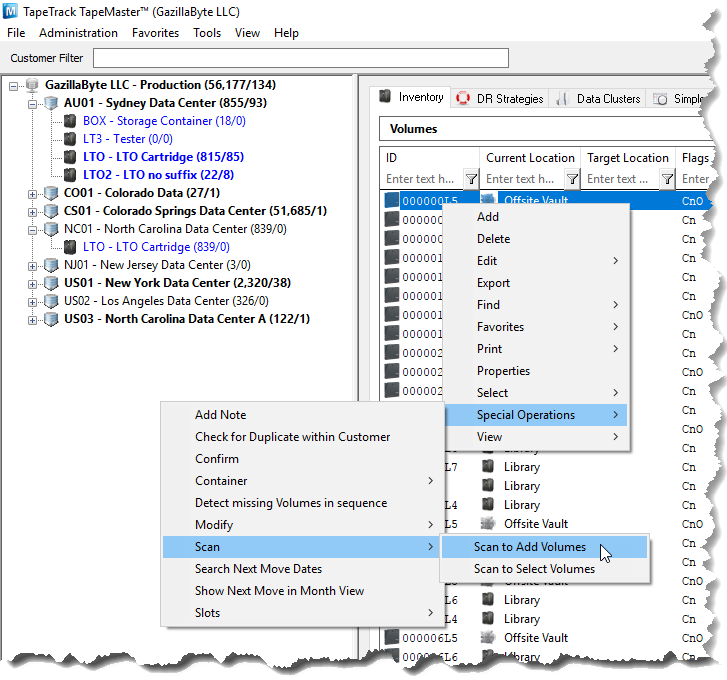
Right-Click in the Volume List, navigate to Special Operations, and select “Scan to Add Volumes” to use a Barcode scanner to add Volumes.
Deleting Volumes
To delete a Volume Allow Deletes must be set to True for the repository the relevant Volume is residing in.
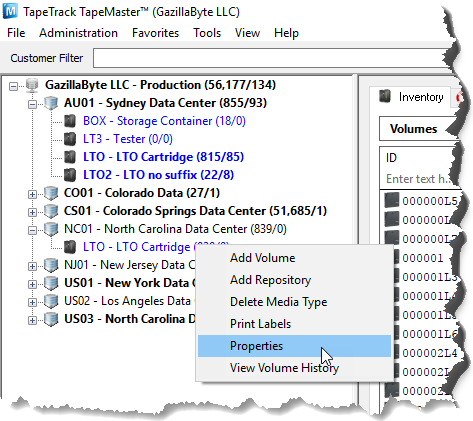
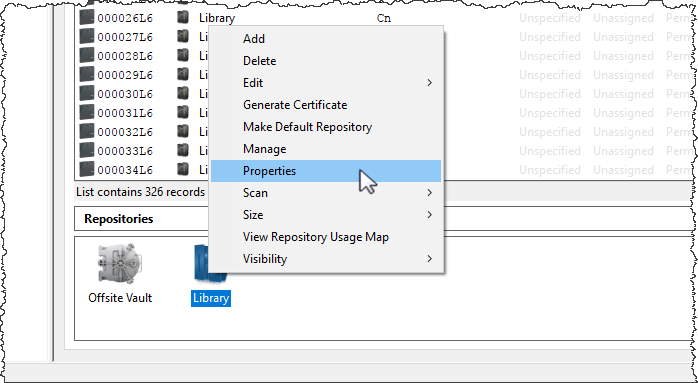
To enable this right click on the Repository and select Properties
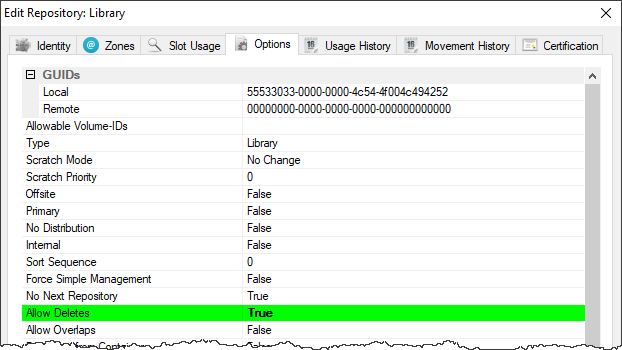
Under the Options tab, set Allow Deletes to True and Save.
False when finished removing required volumes to stop accidental deletion of any other volumes.
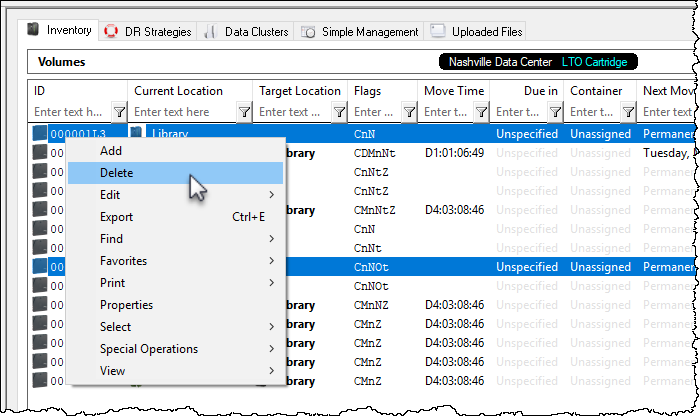
Select a volume or range select a group of volumes. Right-click and select Delete. A Delete Confirmation window will be displayed. Select Delete this Item or The volume will now be deleted from the database.
To delete multiple Volumes, select the volumes in the Volume List, Right-click, and select Delete Volume. Then select Delete All Items.

