This is an old revision of the document!
Table of Contents
Moving Volumes
Moving volumes between repositories so that they remain in sycronisation with the physical movement of the actual volumes between locations would be the most important function with TapeTrack.
Moving a volume from one repository to another involves several processes:
- Updating the volume's target repository to place it in a move status
- Scanning the volume out of the current repository (optional)
- Confirming the volume in the target repository
Volumes can be moved manually via drag and drop, using a barcode scanner, set move dates, synchronization scripts or a combination of these methods.
The method best suited to moving the volumes is dependent on the number of volumes to be moved, how the information is received on which volumes need to be moved and access to hardware such as scanners, keyboard or mouse.
Manually Moving Volumes
While manually moving volumes is, essentially, the simplest way of moving a volume from one repository to another the method best suited to small numbers of volumes or when the volume list is supplied in email or text file.
Drag and Drop
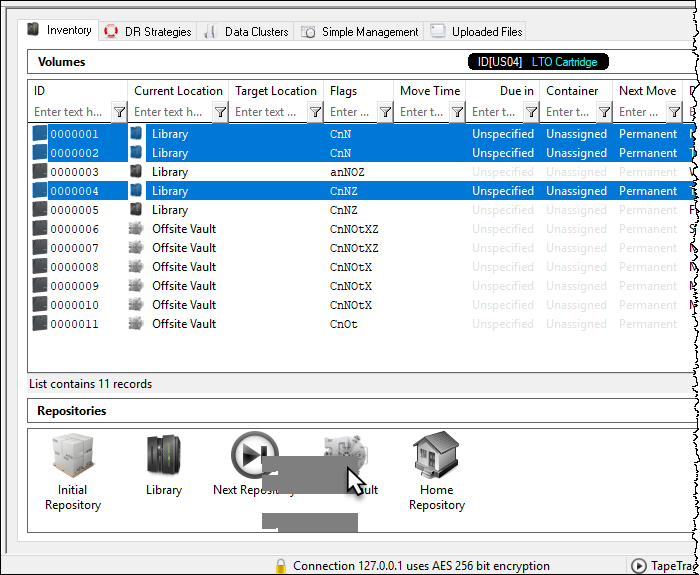
Drag and Drop selected volumes is a quick method for moving small groups of easily identified volumes. Simply select the volume (or range of volumes by Ctrl + click and/or Shift + click) and drag them to the required target repository and release the mouse.
Volumes can also be selected using the scan to select function.
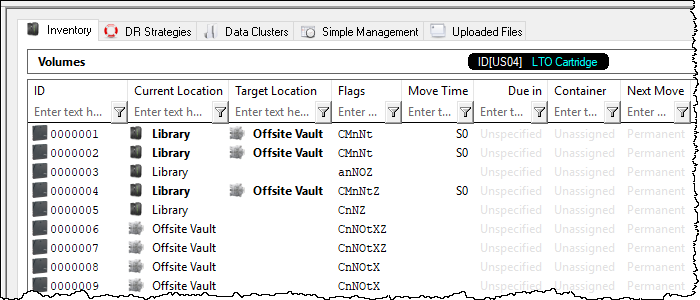
The selected volumes will now have a target repository of the repository you dropped the volume/s on.
Copy and Paste
Copy the volume ID's to your clipboard from text file, csv, email or other format.
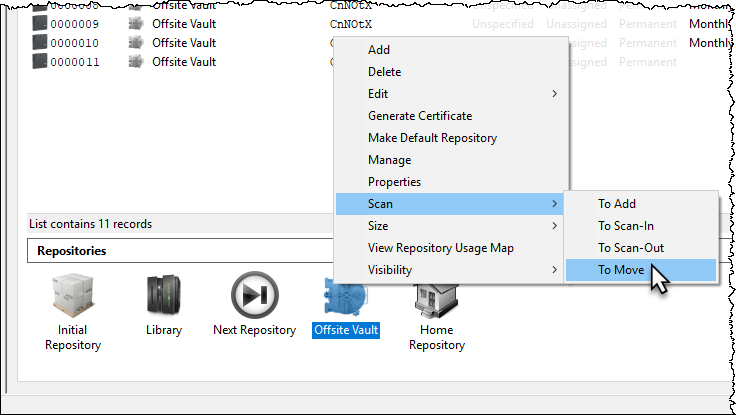
Right click the repository you want the volumes to move to and select Scan → To Move.
From the scan in window click the Clipboard icon to paste in the volume ID's.
Close the scan in window by clicking th X at the top right.
The volumes will now have a target repository displayed.


