Table of Contents
Adding and Maintaining a Zone
A Zone is a TapeTrack Object which represents a physical storage location.
Once created a Zone is then mapped to a Repository to keep track of where Volumes are allocated to a storage rack, shelf and slot number.
Adding a Zone
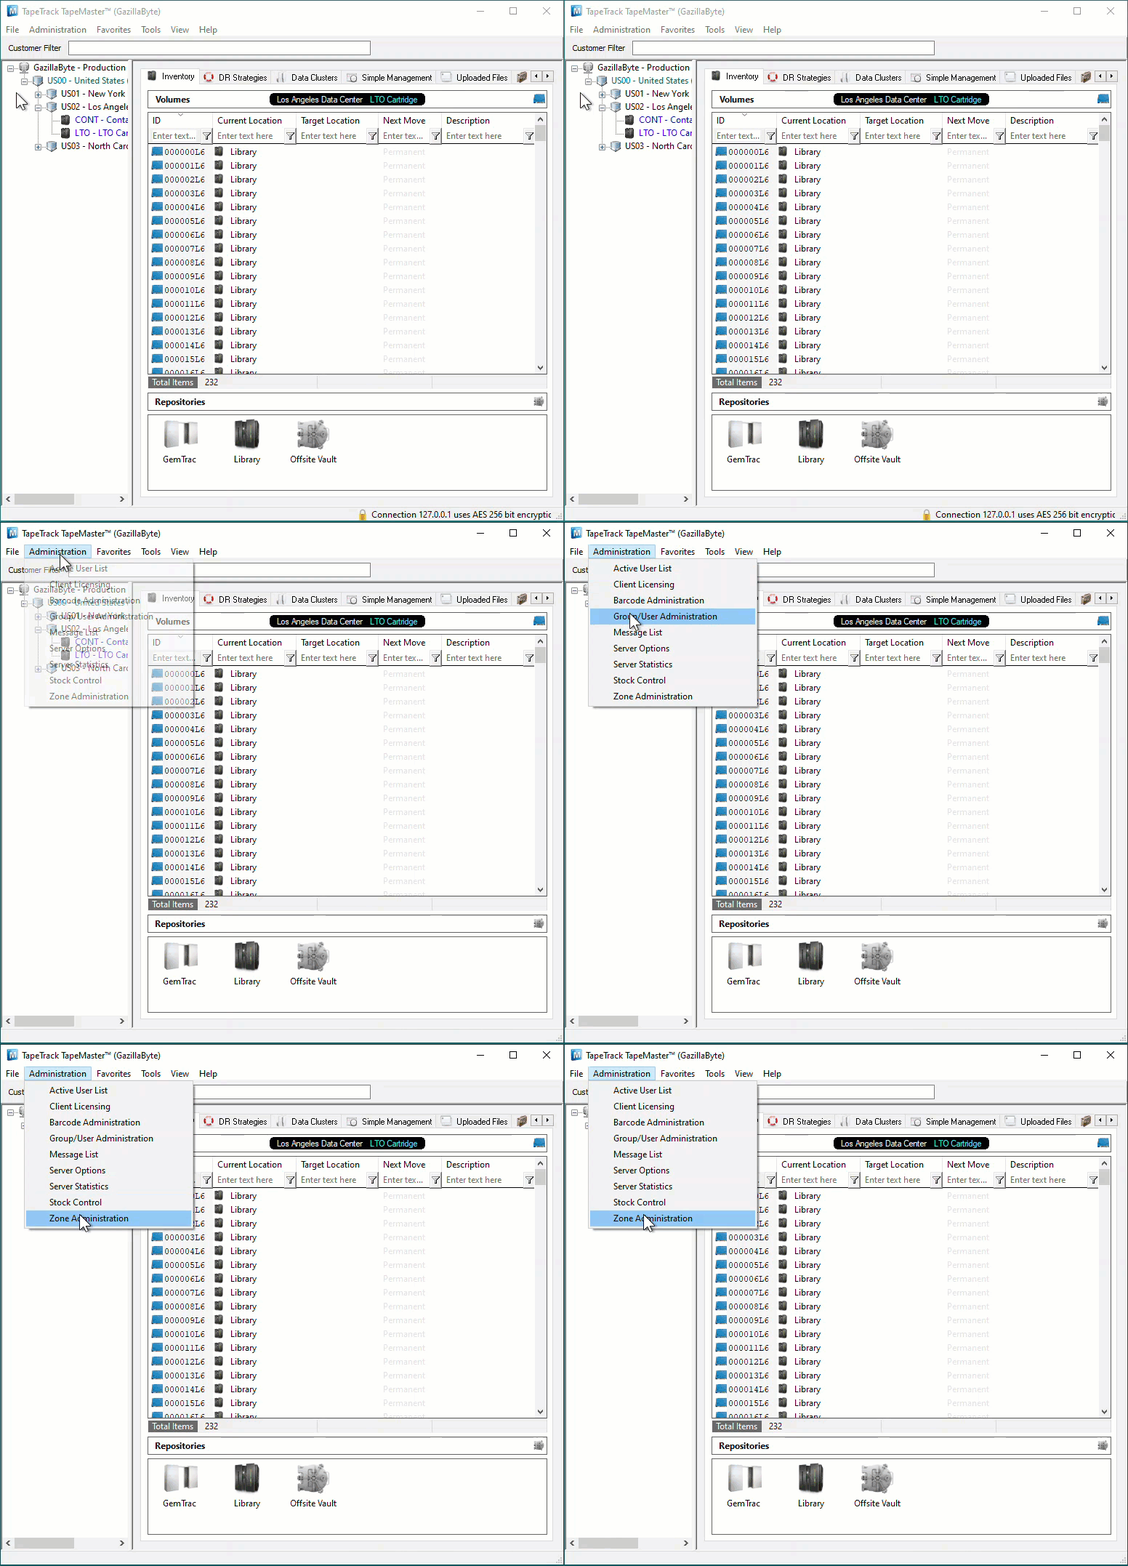
From the Main Menu, select Administration→Zone Administration.
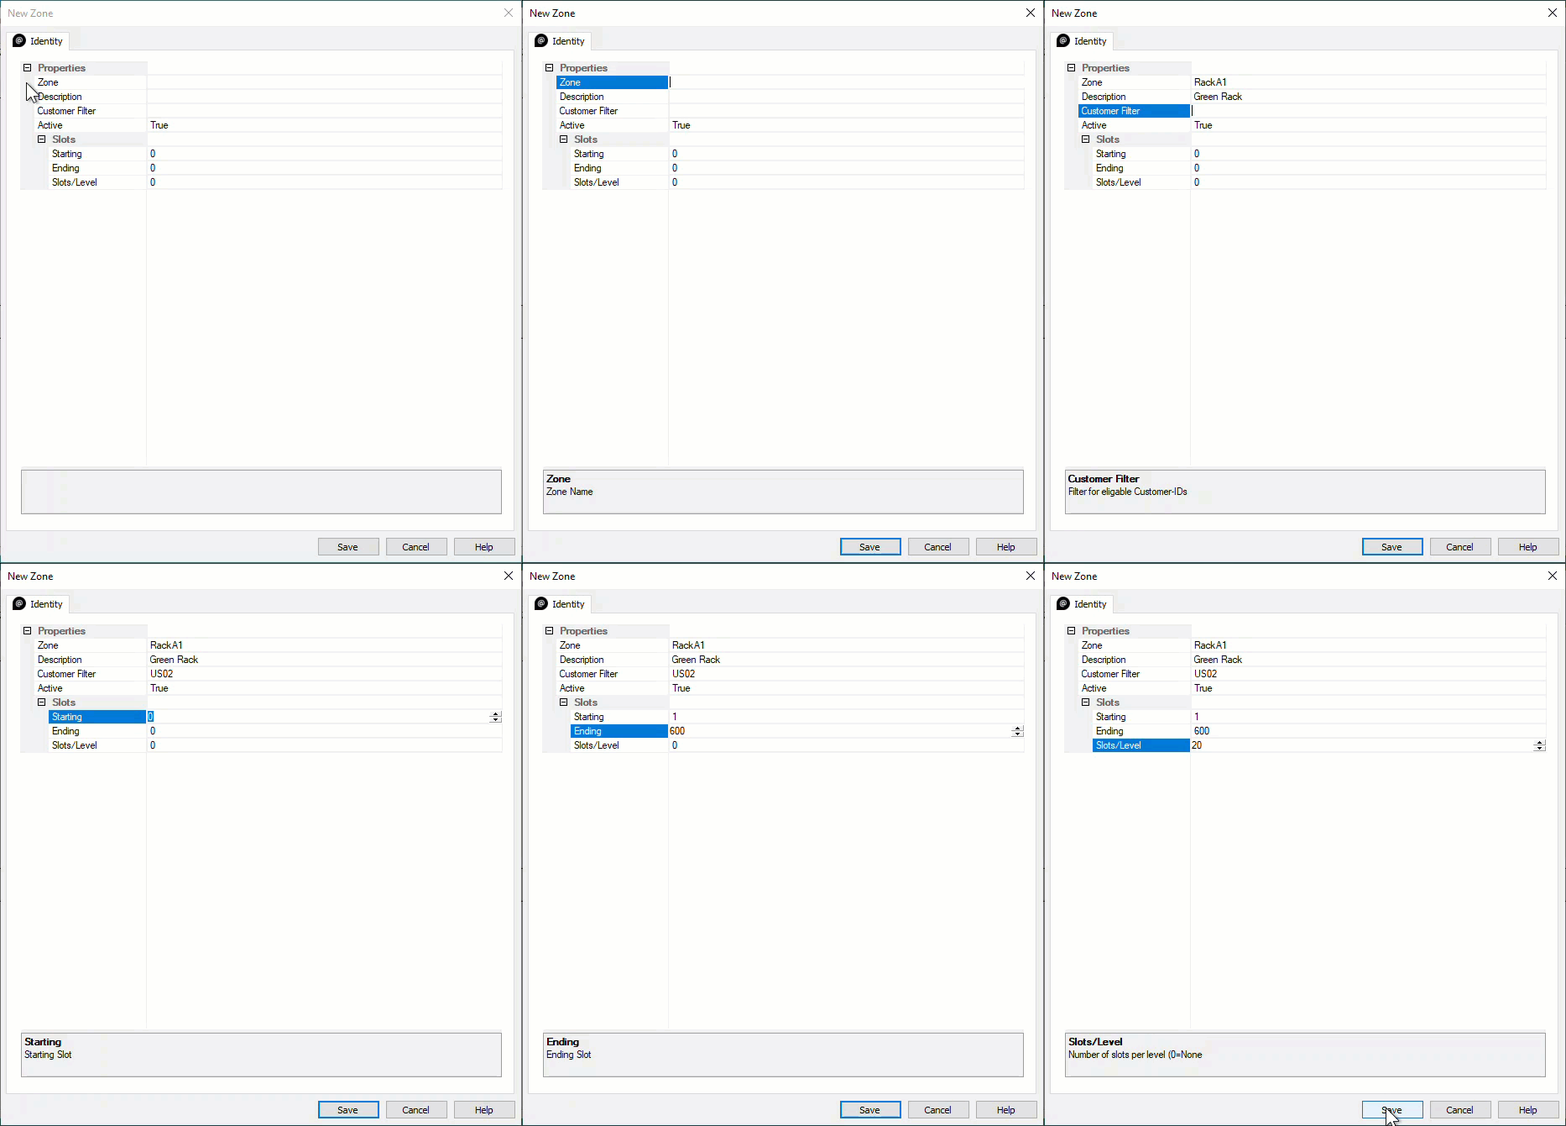
From the Zone Tab, click in the Zone List Window, and then right-click to select Add from the Context Menu to open the New Zone window.
The Identity Tab
Identity tab the Zone properties:
PropertiesZoneAssignable ID for the Zone (1 to 10 alphanumeric characters).Zone DescriptionDescription of the Zone (0 to 20 alphanumeric characters).Customer filter (optional)Limits which Customer-ID's have access to the specific Zone when assigning Zones to a Repository.
SlotsStartingFirst Slot number for the Zone.EndingLast Slot number for the Zone.Slots/LevelNumber of Slots per level.
Once all values have been entered click Save to commit data.
Associated Instructions
Once created, Zones can be then be mapped to one or more Repositories.
Maintaining a Zone
From the Main Menu, select Administration→Zone Administration.
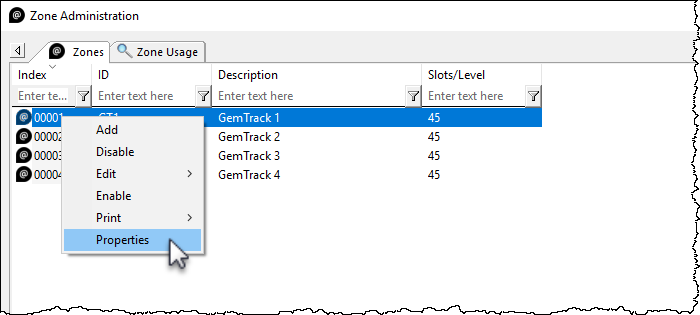
From the Zone Administration window right-click the required Zone and select Properties or double-click the Zone index Number.
Identity
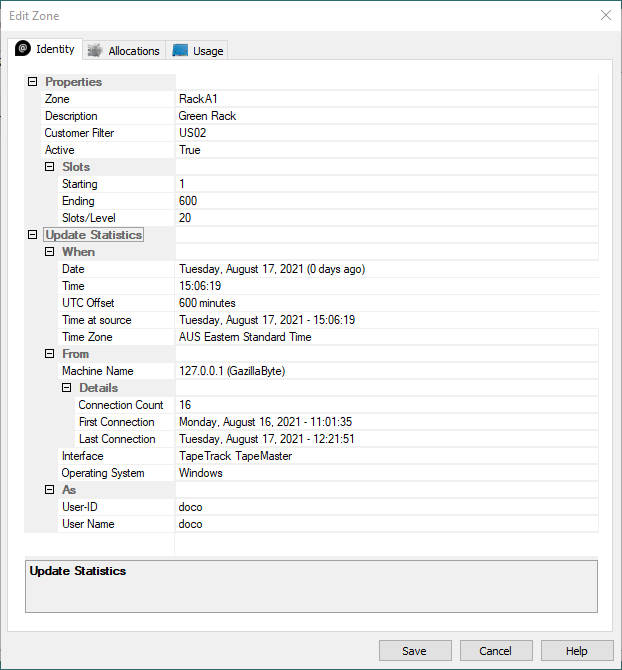
The Identity tab in the Edit Zone window:
- The
Activecheck box allows you to enable or disable the Zone. - Allows you to edit all fields except the
Index Number.- Editing the
IDandDescriptionfields will not affect the allocation or usage of the Zones, it will only update the displayed names within TapeMaster. - Editing the capacity of the Zone is not recommended without first understanding how Zones and slot numbers are related. As Zones are mapped to a repository, the slot numbers are allocated sequentially. For example two cabinets with 100 volume capacity - the first cabinet will occupy slots 1 to 100, the second cabinet would occupy slots 101 to 200. If you increase the first cabinets capacity to 150, the second cabinet would now occupy slots 151 to 250. In this scenario a volume in slot 101 would be displayed as being in the second cabinet's first slot (it's physical location) but after the increase in capacity of the first cabinet it would be displayed in the first cabinet slot 101. This means any Volumes already slotted after slot 100 will now be shown in the wrong locations.
- Editing the slots per level will affect the display in TapeMaster when viewing the slot allocation by shelf:slot and when using products like CheckPoint that direct the user to a slot via zone:shelf:slot.
- Editing the Customer filter will expand, restrict or remove restrictions on which customers can view/use the Zone.
- Expanding the
Update Statisticswill display:WhenDate: Day, date and offset of Zone creation.Time: Time of creation.UTC Offset: UTC time offset of the connecting computer.Time At Source: Local time at connecting computer.Time Zone: Operating time zone of connecting computer.
FromMachine NameConnection Count: Number of times computer has connected to server.First Connection: First time computer connected to server.Last Connection: Last time computer connected to server.
Interface: TapeTrack product used to connect to server.Operating System: Current operating system of connecting computer.
AsUser-ID: TapeTrack ID.User Name: TapeTrack user name.
These fields are informational only and cannot be edited.
Allocations
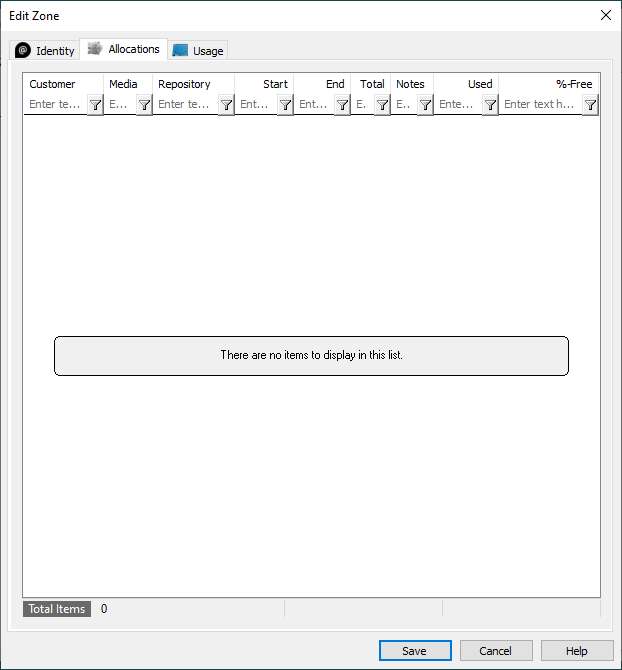
The Allocations tab displays information about Zone Allocation and usage details.
This information includes:
CustomerMediaRepositoryStartEndTotalNotesUsedFree
Usage
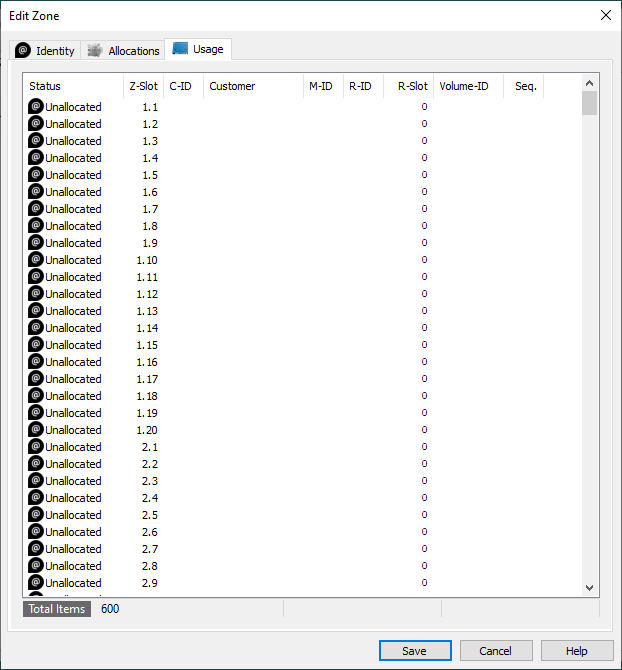
The Usage tab displays information about the current usage.
This information includes:
StatusStatus of esc Slot, Allocated, UnallocatedZ-SlotShelf and Slot numberC-IDCustomer ID of Volume that is SlottedCustomerCustomer Description of Volume that is SlottedM-IDMedia-ID of Volume that is SlottedR-IDRepository of Volume that is SlottedR-SlotVolume-IDSeq

