common:control_panel
This is an old revision of the document!
Table of Contents
Open TapeTrack Control Panel
The TapeTrack Control Panel can be accessed from the File Menu.
The TapeTrack Control Panel is divided into two tabs: TapeTrack Servers and Advanced Connection Settings.

TapeTrack Servers
The TapeTrack Servers tab displays active server connections.

Right-Click Operations
There are four options available when right-clicking in the TapeTrack Servers tab.

- Add: Launches the Server Information window to add additional connections. There are four fields in the Server Information Window.
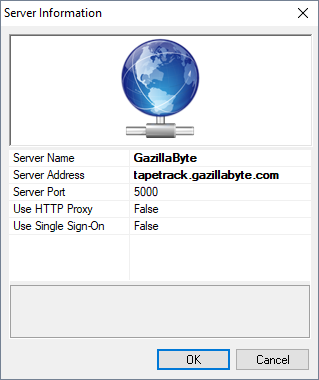
- Short Name: How this connection will be displayed in the TapeTrack login window.
- Address: The address of the TapeTrack Server.
- IP: The IP of the Server.
- Port: The port of the TapeTrack Server.
- Proxy: If set to “true”, the HTTP Proxy Settings will need to be set in the “Advanced Connection Settings” tab. See below.
- Delete: Deletes the Server from the list.
- Properties: Launches the Server Information window above so that changes can be made to a Server.
- Create Desktop Shortcut: Places a shortcut to this connection on the desktop of your Windows PC.

Advanced Connection Settings
The Advanced Connection Settings tab provides additional settings for when a Server uses an HTTP Proxy. It has the following fields:
- Address: The IP Address or Name of the HTTP Proxy Server.
- Port: The TCP/IP Port of the HTTP Proxy Server.
- User ID: The User ID for Proxy Authentication (if required).
- Password: The Password for Proxy Authentication (if required).
- Automatically detect HTTP Proxy: Click this button to automatically detect an existing HTTP Proxy Connection.
common/control_panel.1507778568.txt.gz · Last modified: 2025/01/21 22:07 (external edit)