Table of Contents
Upgrading Framework Server
As upgrading the Framework Server requires alterations around the database, following best practice, backing up the entire server install directory, including the executables and var directory using a utility such as Winzip is highly recommended before starting the upgrade process.
The Framework Server executable also contains installation files for both TapeMaster and Server Utilities. These installations will be automatically executed after the completion of the Framework Server installation.
If you are installing the Framework Server on a remote server and want to install TapeMaster only on another computer, simply cancel the installation process of the software package.
TapeMaster and the Server Utilities installation files (along with Sync, SecureSync, TapeTrack Lite and Checkpoint) can be downloaded on their own for installation on separate computers from https://mirror-us.tapetrack.com/
Download Installer
Download the Server to match your operating system.
Backup Before Starting Upgrade
- Notify your users in advance of the upgrade.
- Take a backup of the entire server install directory, including the executables and var directory using a utility such as WinZip.
- Rename the \TapeTrack\TapeTrack Framework Server\var directory to \TapeTrack\TapeTrack Framework Server\var.old.
Remove Current Installation
The following instructions are the suggested method for Windows 11.
If you are running another operating system, please follow the instructions for that system.
- Open the Start menu.
- Click Settings (Gear icon).
- Click System on the Settings menu.
- Select Apps & features from the left pane to display a list of all installed apps.
- Select TapeTrack Framework Server from the list by left clicking.
- Click the Uninstall button that appears.
- Click the Uninstall pop-up button to confirm.
If you are upgrading TapeMaster and/or Server Utilites on the same computer as the Framework Server uninstall these software packages using the instructions above now.
Install New Release
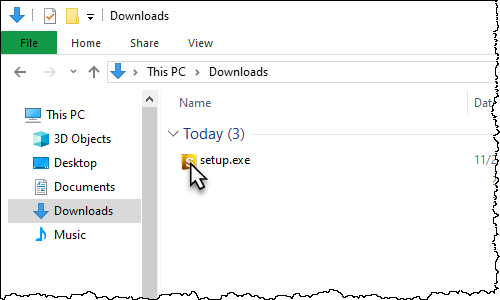
Locate the executable you downloaded, setup.exe, and double click to initiate the installation.
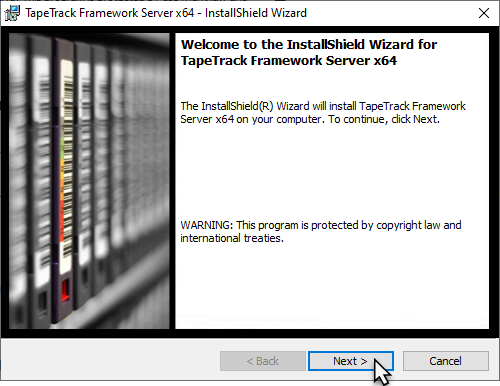
Click Next > to start the Install Shield Wizard.
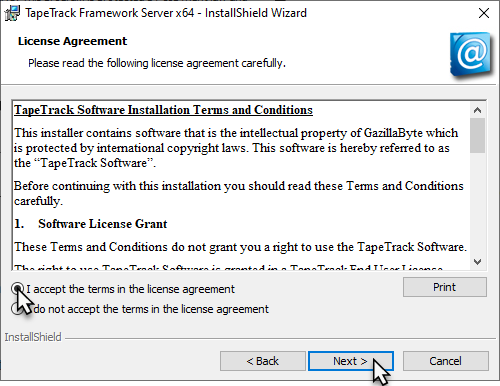
After reading and agreeing to the License Agreement click I accept the terms in the license agreement and Next > to proceed
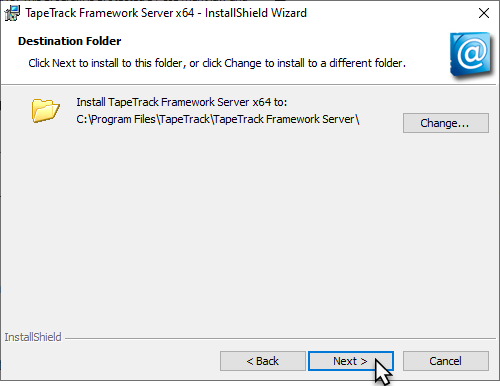
Confirm the installation directory is correct,
or click Change to select another installation directory.
Click Next > to proceed.
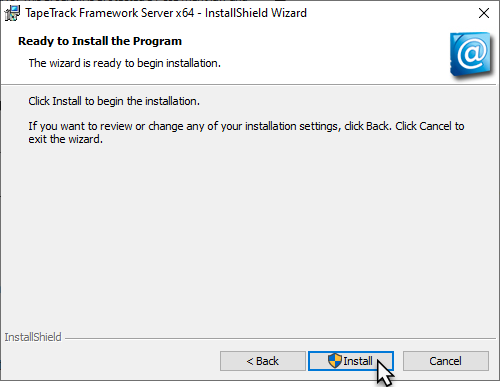
Click Install to begin the installation
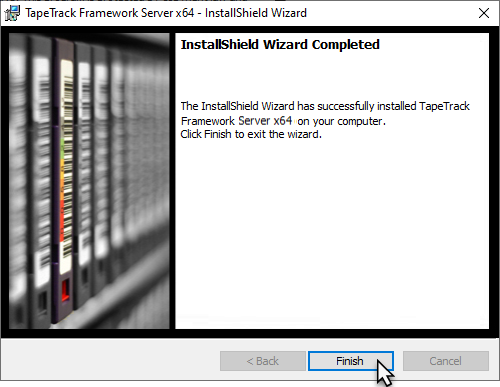
Click Finish to exit the installer.
TapeMaster and Server Utilites
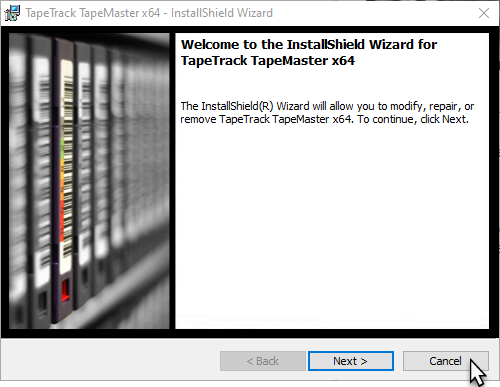
If you are installing TapeMaster and/or Server Utilites on this computer, click Next on the InstallSheild window and follow the instructions (bypassing the uninstall process) at:
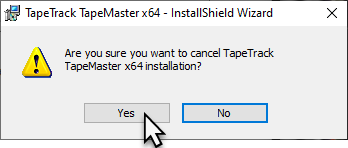
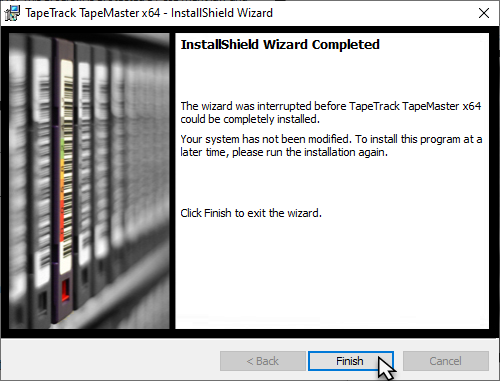
If you are not installing TapeMaster and/or Server Utilites on this computer, click Cancel on the InstallSheild window.
Click Yes on the popup confirmation.
Click Finish to exit the installer.
Check Upgrade Was Successful
Login to TapeMaster to check that the upgrade was successful. As this will be a fresh install, login with the username tapemaster and a blank password. The database will be blank and Customer name will be displayed as ACME.
Log out of TapeMaster.
Implement Original Database
- Rename the \TapeTrack\TapeTrack Framework Server\var directory to \TapeTrack\TapeTrack Framework Server\var.new
- Rename the \TapeTrack\TapeTrack Framework Server\var.old to \TapeTrack\TapeTrack Framework Server\var
C:\Program Files\TapeTrack\TapeTrack Framework Server\var\db) and delete the file TMSS10.attribute-aix or TMSS10.attribute-reference depending on the version you had installed before restarting the service.
If the Framework Server wont restart it is usually caused by a large gap between the old version and the new one. To alleviate this issue, you will need to reload the database.
Once you have logged into TapeMaster and the database has been confirmed successfully, you can delete the \TapeTrack\TapeTrack Framework Server\var.new directory to reclaim disk space. Do not delete the \TapeTrack\TapeTrack Framework Server\var directory.

