Table of Contents
Migrating TapeTrack To A New Server
Migrating a Windows TapeTrack Server.
If you have an alternate operating system please see the Accessing Technical Support page for more assistance.
Your current TapeTrack installation, or the server you are migrating from, will be referred to as the old installation and the new TapeTrack installation, or the server you are migrating to, will be referred to as the new installation.
Preserving The Server Setup
It is best practice to create a complete copy of the TapeTrack installation at the start of the migration process to preserve any data, scripts and relevant files that may be overlooked in the migration. This is especially important if the old server is going to be decommissioned before all processes and functions have been confirmed working and active on the new server.
Ensure if you have the installation split over multiple drives that all folders are backed up.
Installing TapeTrack Server
Download the TapeTrack Server executable for your new system Windows x64 Server and install TapeTrack Framework Server, Server Utilities and TapeMaster if required.
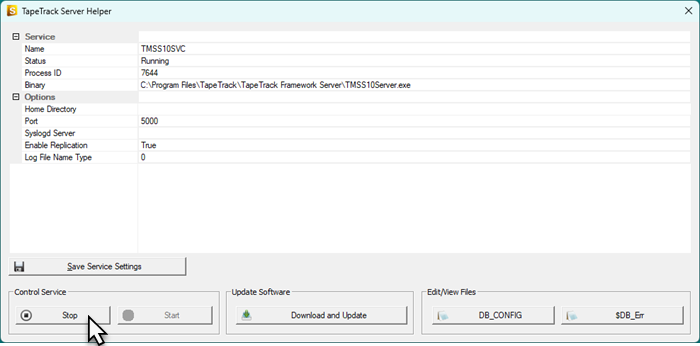
Stop TapeTrack Server
Importing Database
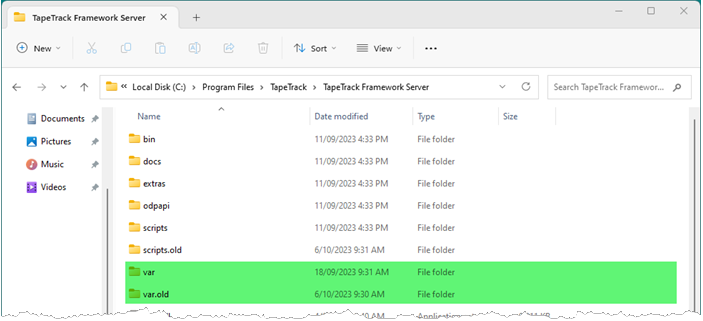
Navigate using File Explorer to the TapeTrack install directory (default: C:\Program Files\TapeTrack\TapeTrack Framework Server). Rename the var directory to var.old
From your old TapeTrack installation, stop the TapeTrack Service and copy the var folder over to the new server in the same directory the var.old is.
Importing Scripts
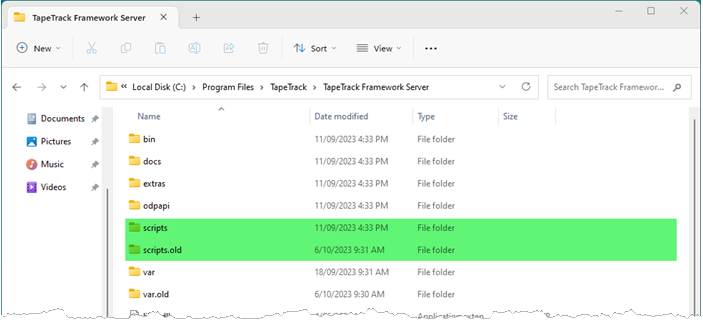
Navigate using File Explorer to the TapeTrack install directory (default: C:\Program Files\TapeTrack\TapeTrack Framework Server). Rename the scripts directory to scripts.old
From your old TapeTrack installation, copy the scripts folder over to the new server in the same directory the scripts.old is.
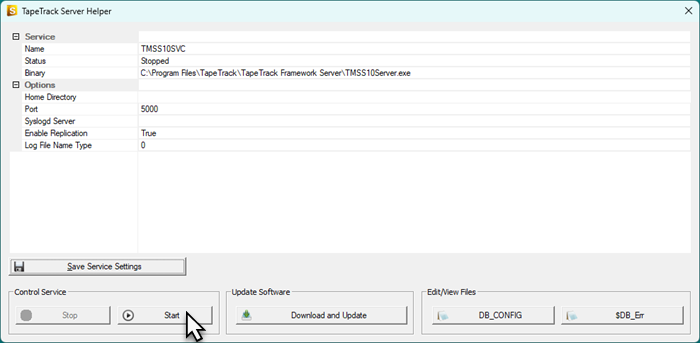
Start TapeTrack Server
New Connection
Open TapeMaster and add a new server connection using the new installations IP or DNS address and connect to the database using you usual login details.
Add License
If you have cloned a VM and have the same MAC address you should now have a functional database.
If you have a new MAC, you will need a new licence key.
If you have an internet connection, you can apply a temporary license until you get a new permanent key.
To apply for a permanent license, update the expiry date and export the license file and forward to the support desk so we can cut the new key and forward it to you along with installation instructions.
Update Desktop Connections
When the new server is running and considered the active server, you will need to update or add the new server address if you are using a different IP or DNS address for the desktop to server connections from the old server.
update the connection details or add new connection (depending on whether you need to access both servers or just switch to the new server)for each installation of TapeMaster, Lite or Checkpoint.
When the original Server is decommissioned, if you added new connections, you can remove the old connection from each installation of TapeMaster, Lite or Checkpoint to remove any confusion in connecting to the correct database.
Import Scripts
If you have any Scripts running on the original server, they will need to be copied over to the new server installation following the same directory structure.
Scripts for reports may be located in the Server Utilities Scripts folder (C:\Program Files\TapeTrack\TapeTrack Server Utilities\Scripts) or any other location based on your individual installation setup.
If the reports are generated automatically, checking the Windows scheduler for scheduled scripts will give you the location of the scripts that will need to be copied from the old server to the new one.
Ensure you also duplicate any entries from Windows scheduler that relate to TapeTrack, eg syncs, slotting, reports etc.
TMSS10Sync
If you use TMSS10Sync to synchronize tape movement data with a tape library you will need to install TMSS10Sync
From your old TapeTrack Sync installation (default: C:\Program Files\TapeTrack\TapeTrack Sync), copy the folders:
- etc
- reports
- scripts
- var
Navigate using File Explorer to the new TapeTrack Sync install directory (default: C:\Program Files\TapeTrack\TapeTrack Sync). Paste in the folders, overwriting the existing folders.
TMSS10SecureSync
If you use TMSS10SecureSync to synchronize tape movement data with a external vaulting service (e.g. Iron Mountain) you will need to install TMSS10SecureSync
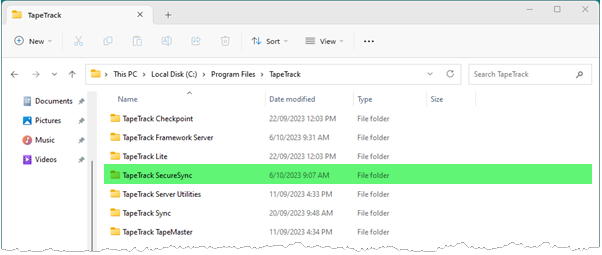
From your old TapeTrack Sync installation (default: C:\Program Files\TapeTrack\TapeTrack SecureSync), copy the folders:
- etc
- reports
- scripts
Navigate using File Explorer to the new TapeTrack SecureSync install directory (default: C:\Program Files\TapeTrack\TapeTrack SecureSync). Paste in the folders, overwriting the existing folders.
File Removal
Once you have confirmed that the TapeTrack Server is installed and active you can remove the var.old directory to reclaim disk space.

