This is an old revision of the document!
Table of Contents
Adding and Maintaining Volumes
Adding Individual Volumes
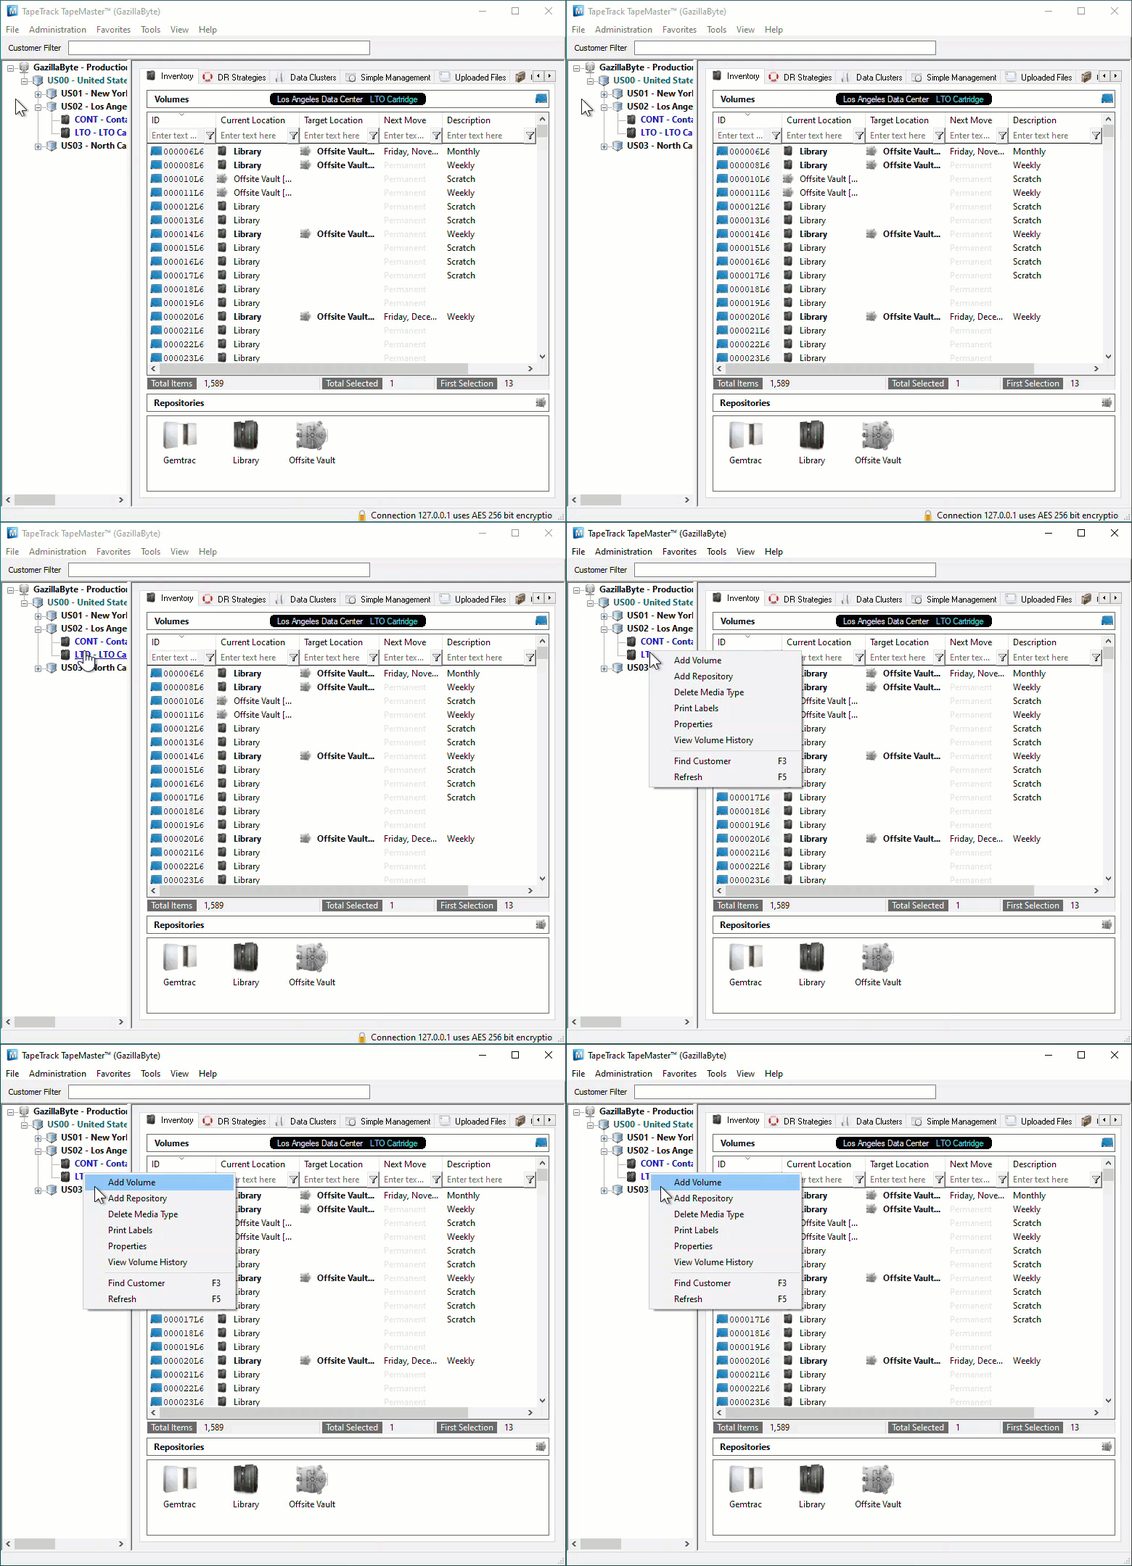
To add a Volume either:
- Right-click on a Media Type and select
Add Volume.
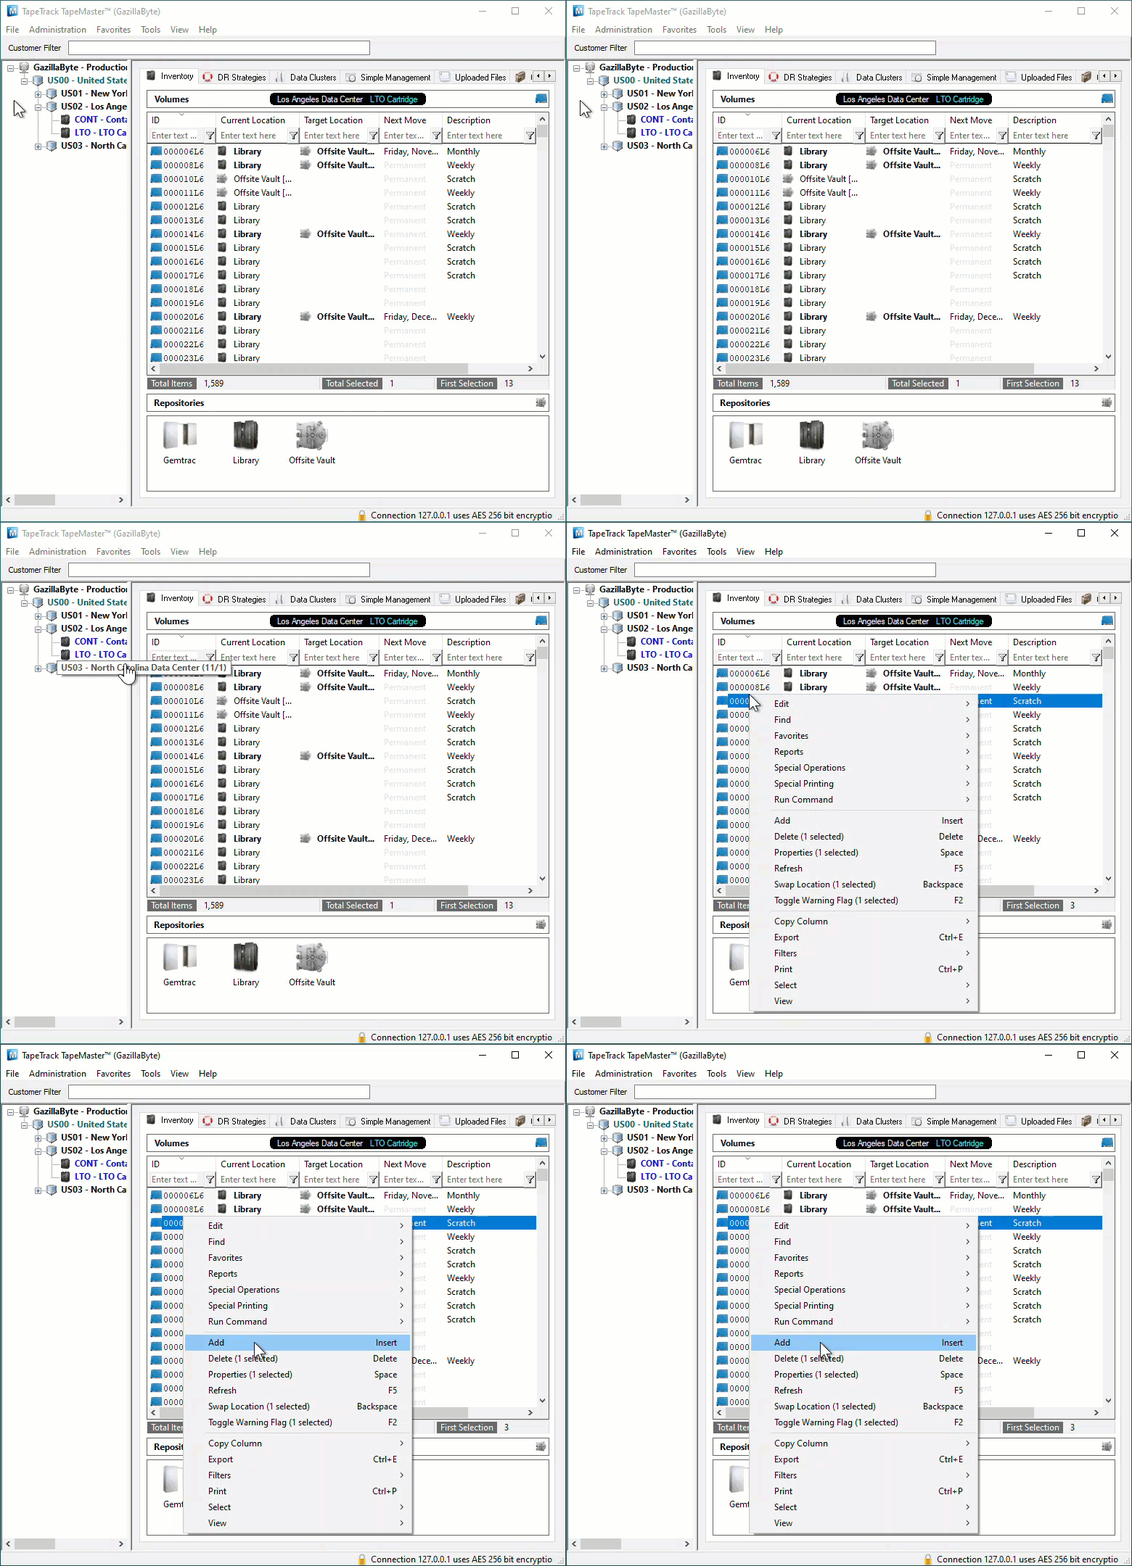
- Right-click in the Inventory window and select
Add.
- Click in the Inventory window and press
Inserton the keyboard
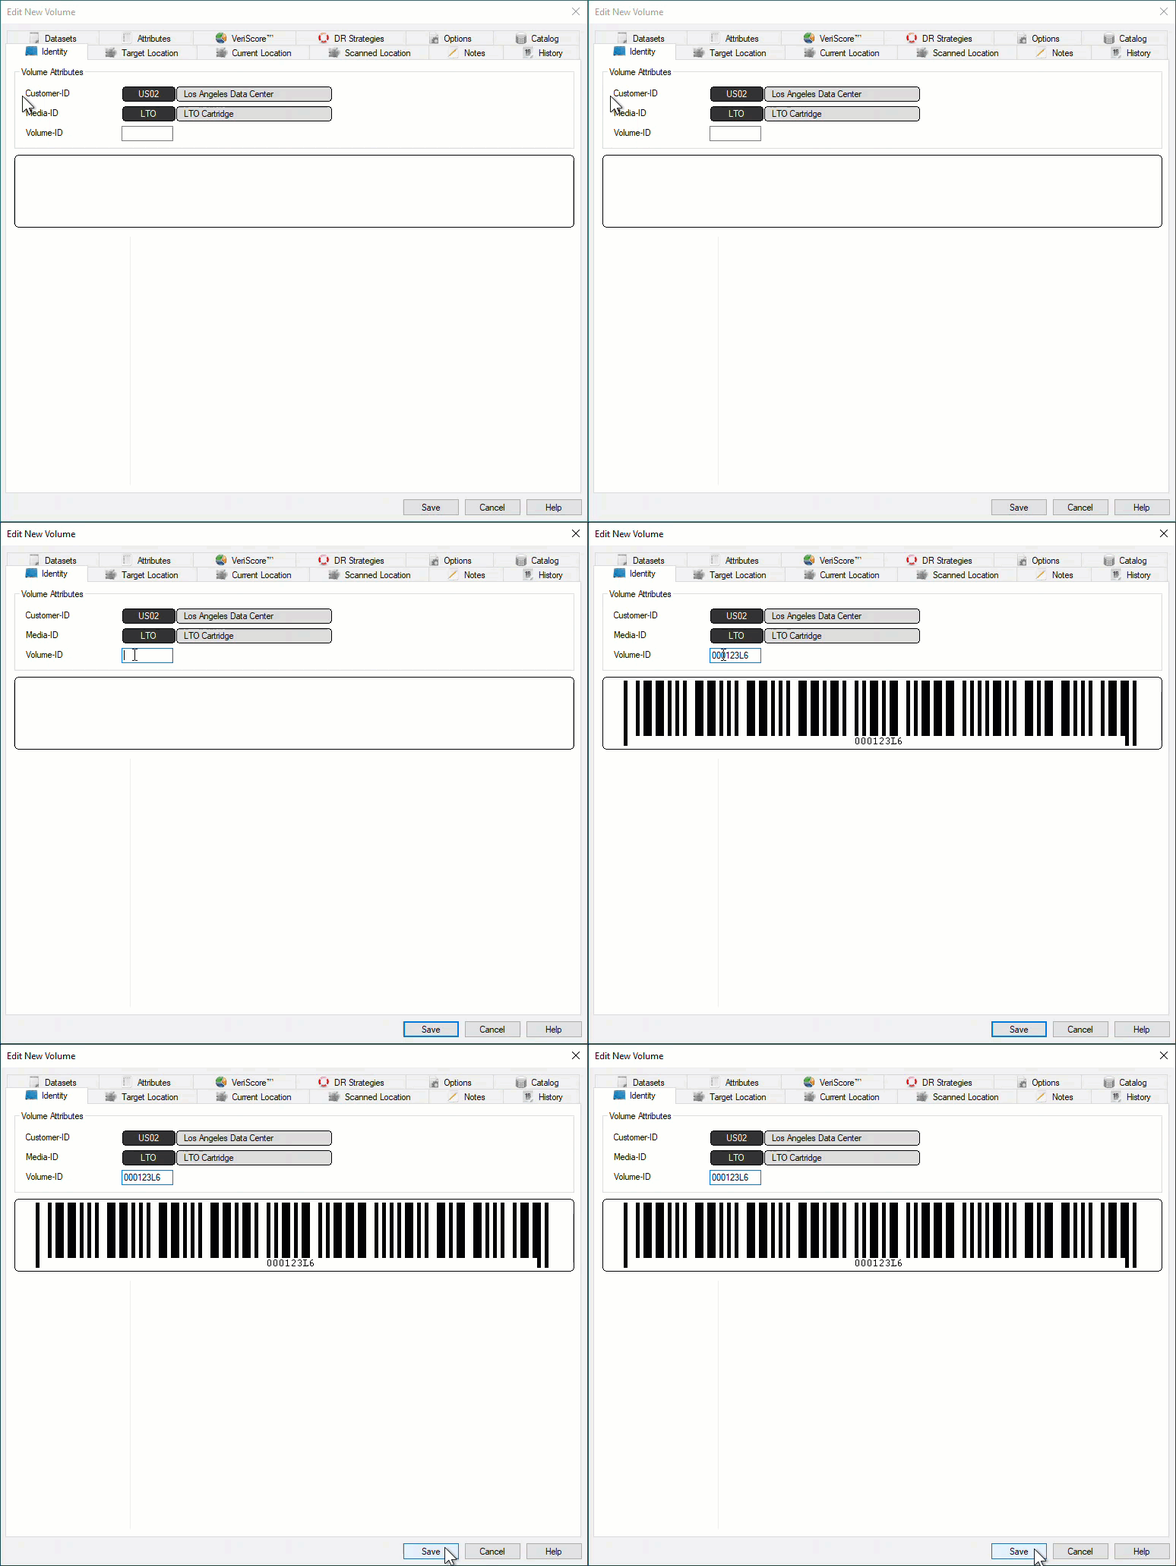
This will open the Edit New Volume window.
In the Edit New Volume window enter the Volume-ID of the new Volume to be added. Volume-ID's must be unique within a Customer/Media Type scope and must be between 1 and 10 alphanumeric characters long.
Click Save to add Volume.
Adding Multiple Volumes
Adding multiple Volumes can be accomplished using several different methods.
- Scanning Volumes using the
Scan To Addprocess, best suited to adding small groups of Volumes with a scanner, keyboard or GazillaByte CloudScan App. - Pasting in Volumes from Windows Clipboard or file, best suited to adding new Volumes from emailed or file lists of Volume-ID's.
- Importing Volumes from Excel file, best suited to adding Volumes and additional data from Excel sheets.
- Creating Volumes using the
Volume-ID Buildingtool, . - Importing Volumes from your Backup Software with TMSS10Sync.
Scan To Add
To add Volumes to your default Repository (or Initial Repository if no default is set) right-click in the Volume List, navigate to Special Operations, and select Scan → Scan to Add Volumes to open the Scan In window.
To add Volumes to a Repository other than your default, right-click the required Repository and select Scan → To Add and scan Volumes to be added.
Scan your Volume Barcodes using a Barcode scanner to add Volumes to TapeTrack.
Once all Volumes have been scanned, close the Scan In window by clicking the X at the top right corner.
Deleting Volumes
For information on deleting Volumes see Deleting Volumes


